
You’ve seen what I’m growing in my raised beds this year, but I wanted to try my hand at growing some pumpkins too.
And aside from the starter plants, I’m proud to say that I didn’t buy anything new for this project!
I’m most proud of trying to use up the wood pile in our back yard.
A couple of years ago, the ash tree in our backyard was struck by lightning.
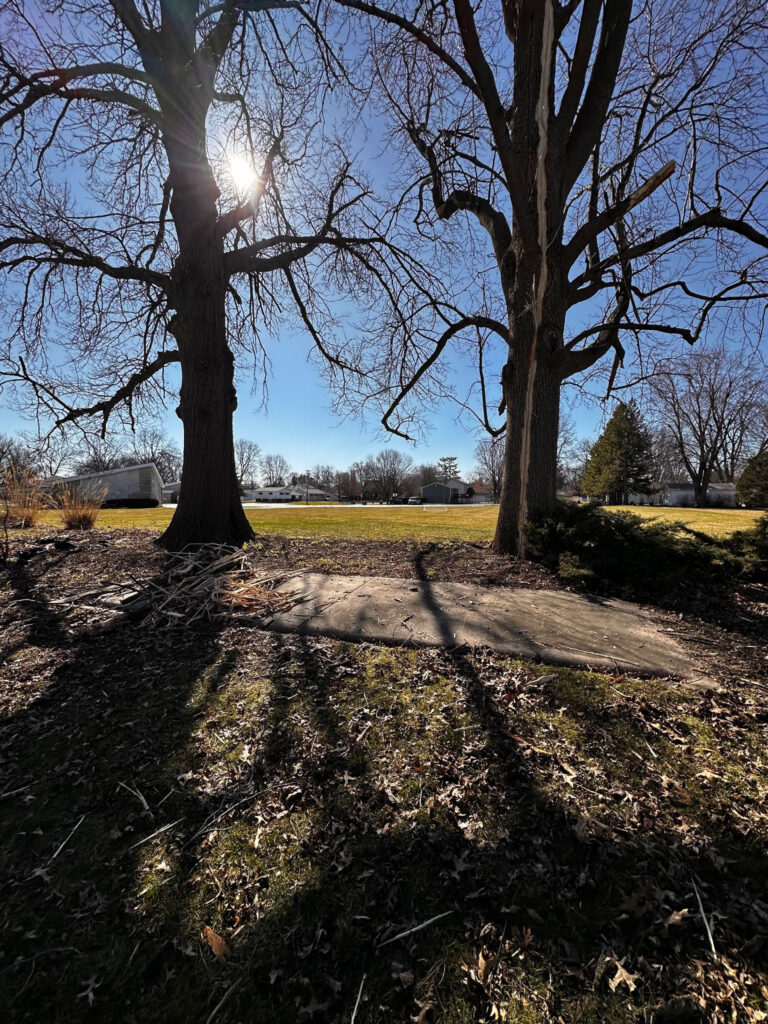
Unfortunately, the cost of saving it would have been out of our budget, so we were advised to her cut down.
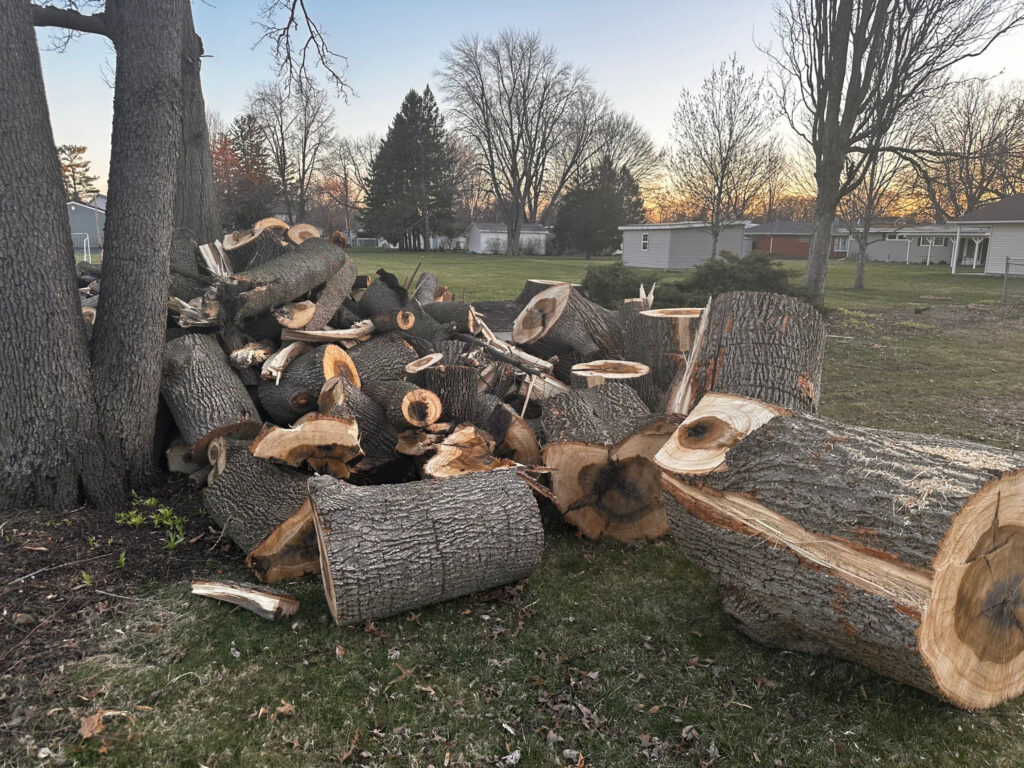
We decided to save the wood, but it’s just been sitting here, in the yard, and we’ve done nothing with it. I’m not sure how usable the wood currently is is for woodworking projects.
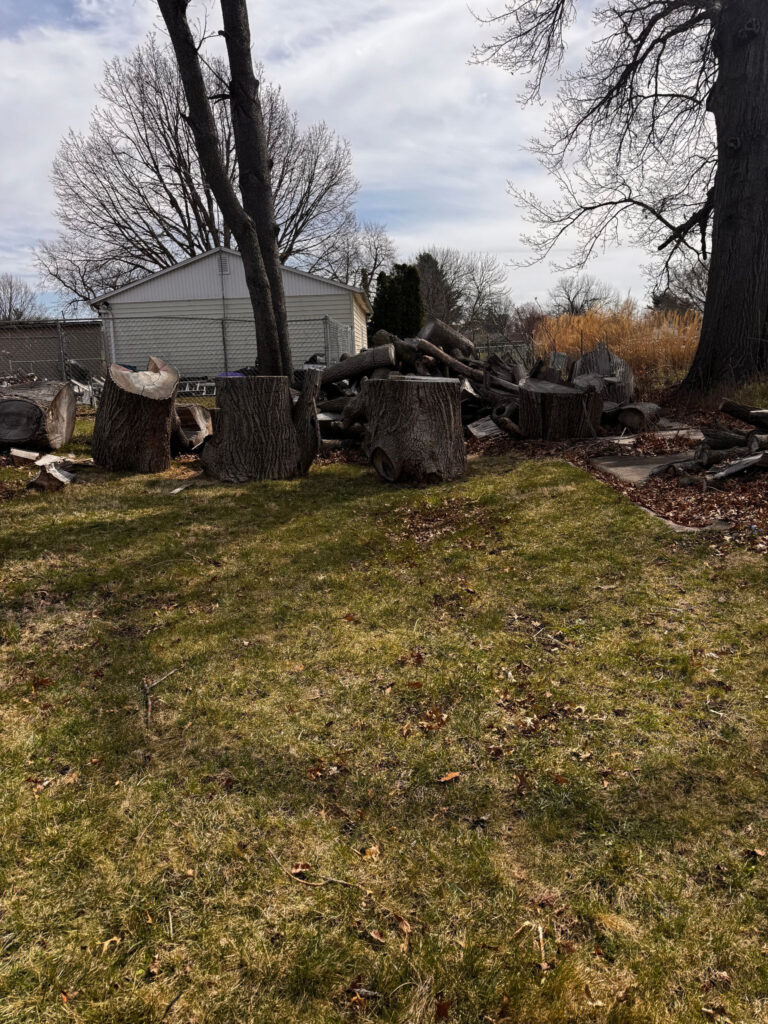
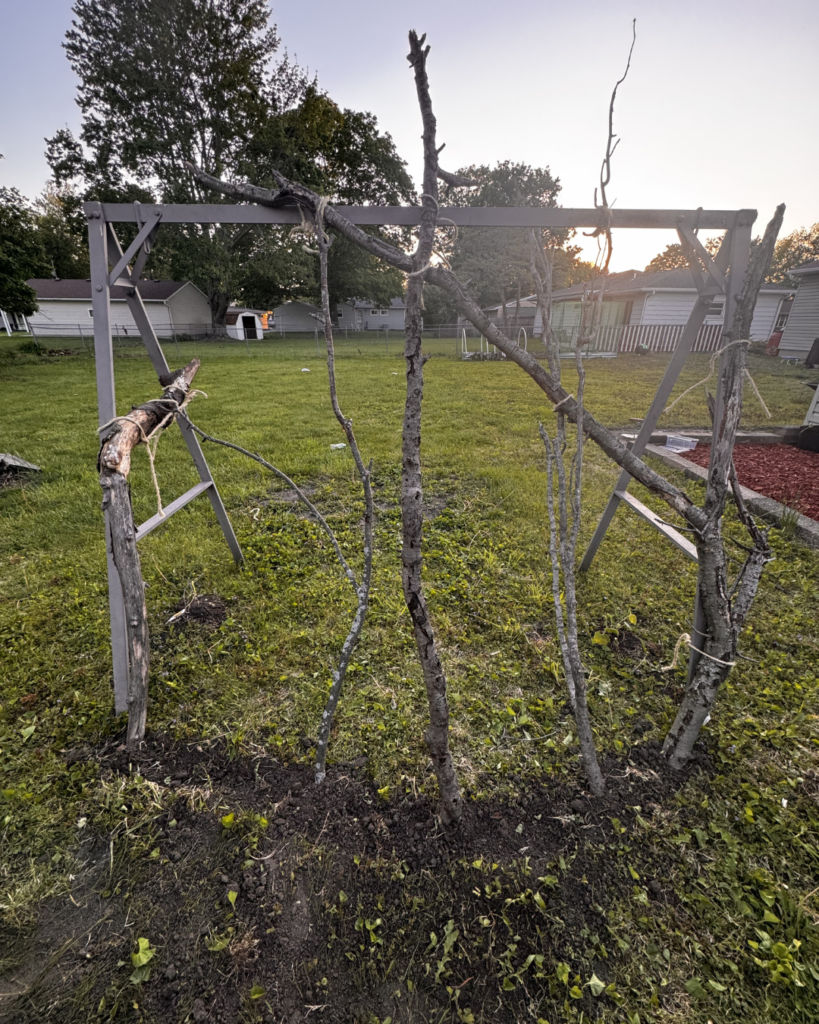
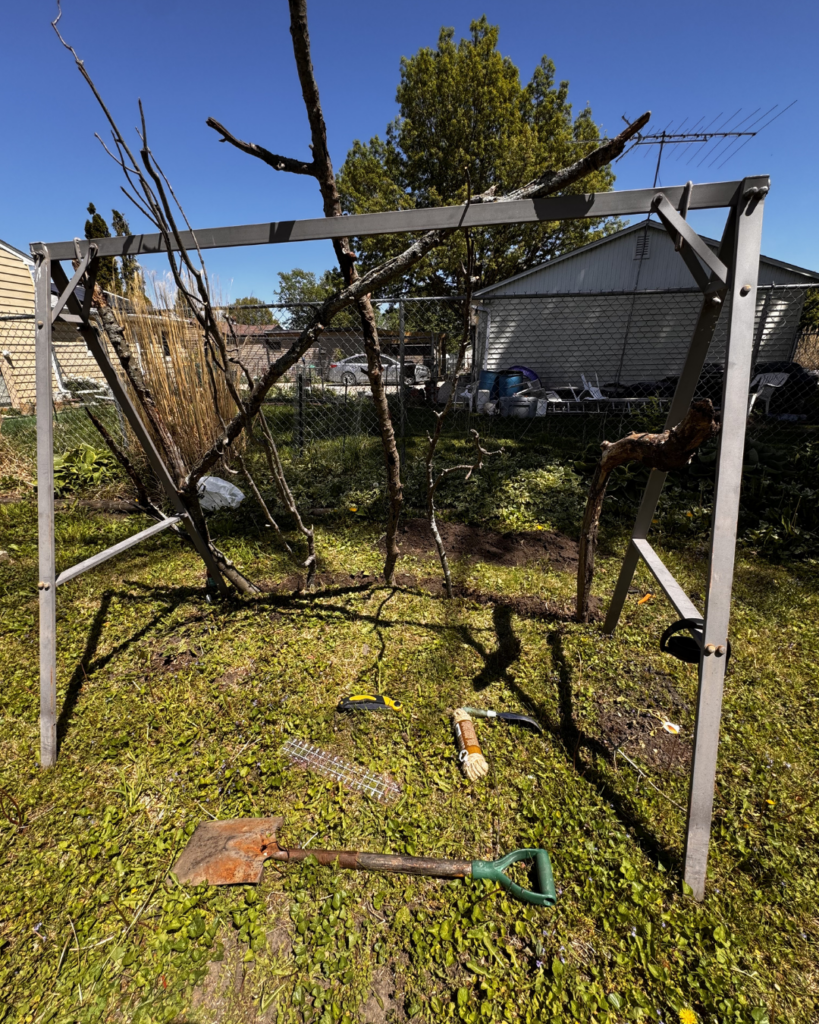
But in my quest to try to spend less money and be eco-friendly, I thought, why not use the wood in my gardening? I decided to use the loose branches and my old swing frame to create a space for pumpkin growing!
This was my inspiration picture.
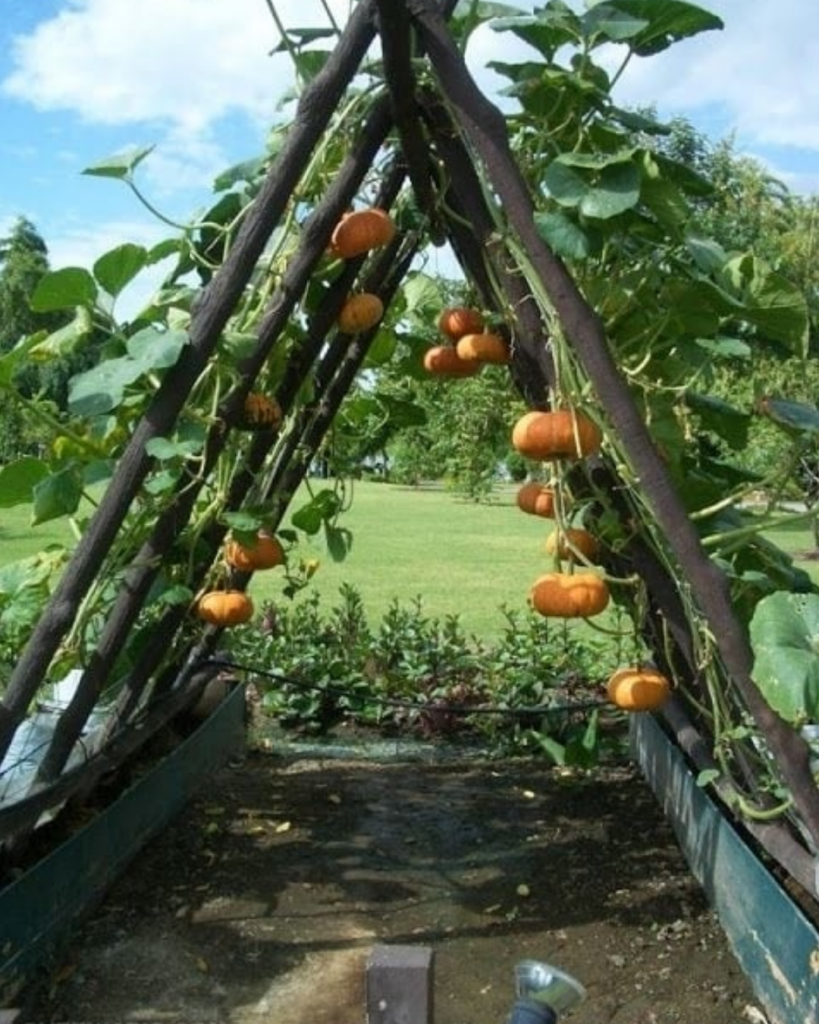
(image: https://www.leafrootfruit.com.au/giant-edible-trellis-project-plan/an-a-frame-pumpkin-trellis/ )
And this is how my version currently looks.
Disclaimer/Declaration
Upon sharing the pictures with my sister and brother-in-law, I was told it looks like I’m setting up a shrine to the Blair Witch (which… thank you? I guess?).
I’m very much aware of how ‘rustic’ it looks. I almost didn’t share these pictures.
But…
I’ve come to accept that I am never going to be a polished homeowner with an aesthetically pleasing home to look at.
So, I won’t pretend that every project comes out looking as perfect as the inspiration picture.
Will what I share work? Most likely. If nothing else, it will be a great starting point. Hopefully we will all continue to grow, adapt, and tweak the projects to suit our needs.
And on that note, here is how I set up my pumpkin trellis for now, and what plans I have for it.
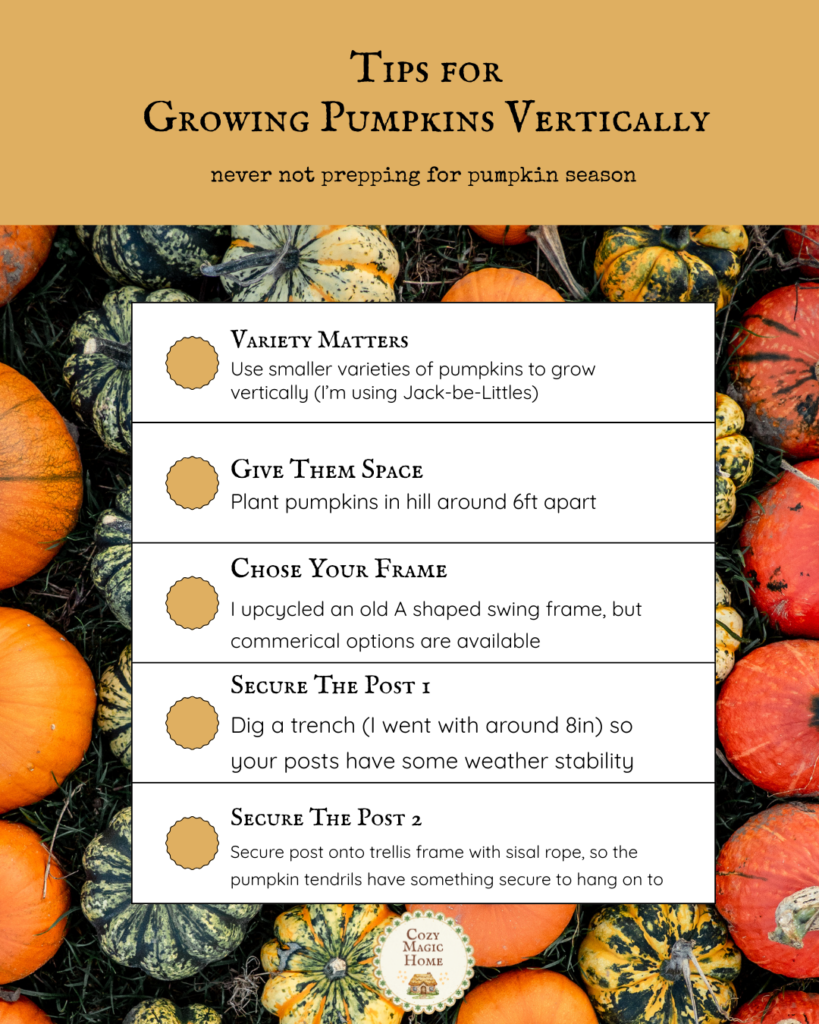
Tutorial for D.I.Y. Vertical Pumpkin Garden Trellis
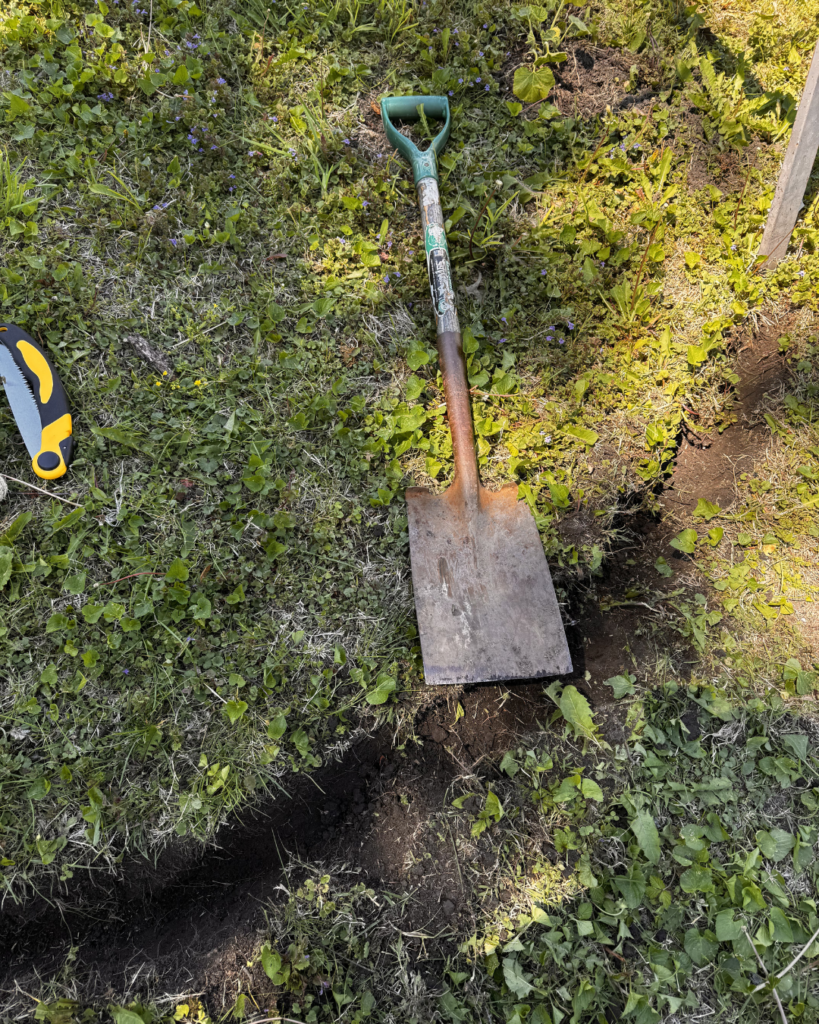
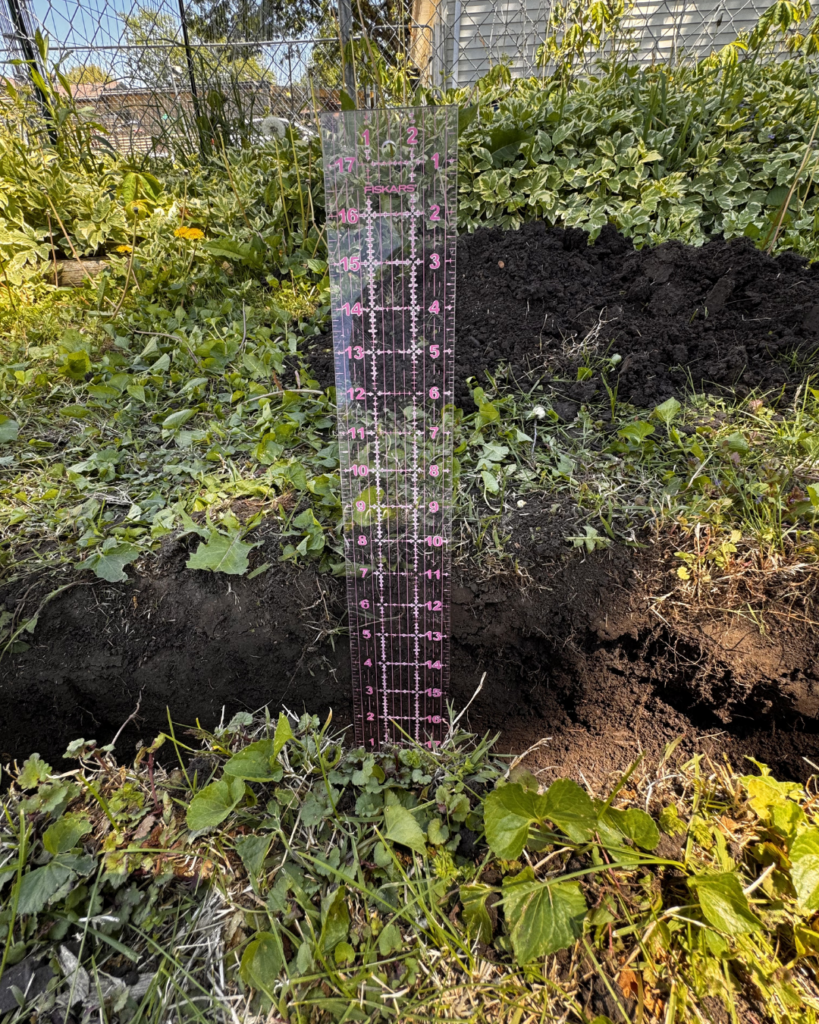
Equipment and Tools Used
(all of which I already had)
- Old garden swing frame
- Loose branches
- Serrated hand trowel
- Sisal rope
- Clippers (to cut the rope, probably should have used scissors though)
- Shovel
- Ruler (happened to be a quilting ruler)
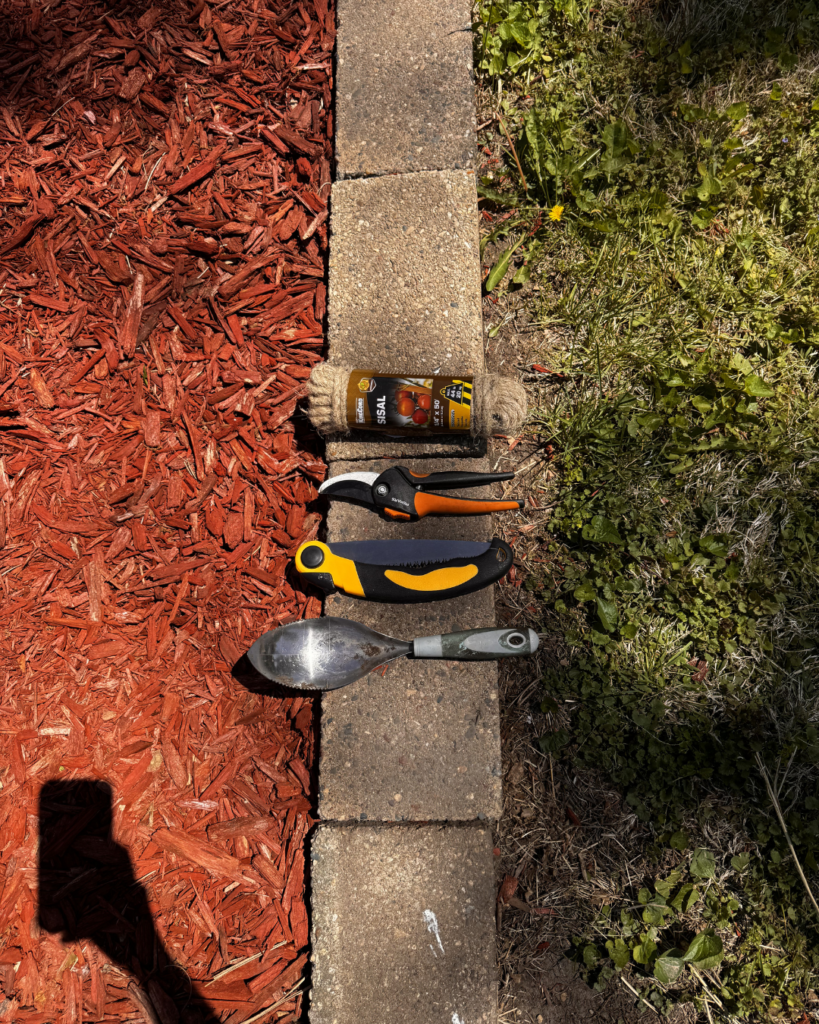
And I didn’t need to use it, but I had a mini handsaw available, just in case
Instructions
I used this tutorial by Martha Stewart to plant my pumpkins (but honestly, I’m not sure I got the hills quite right).
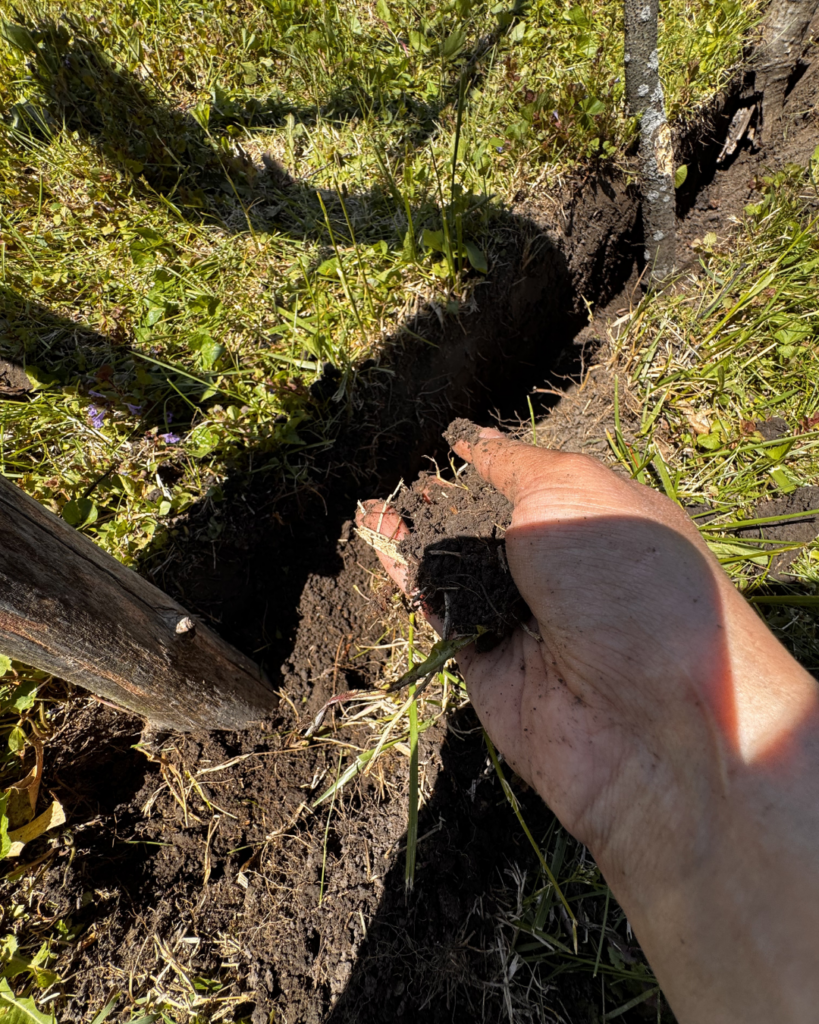
- Dig an 8 inch ‘trench’ the width of the frame
Place branches in the trench, making sure they reached the top of the frame.
Placed soil back in trench
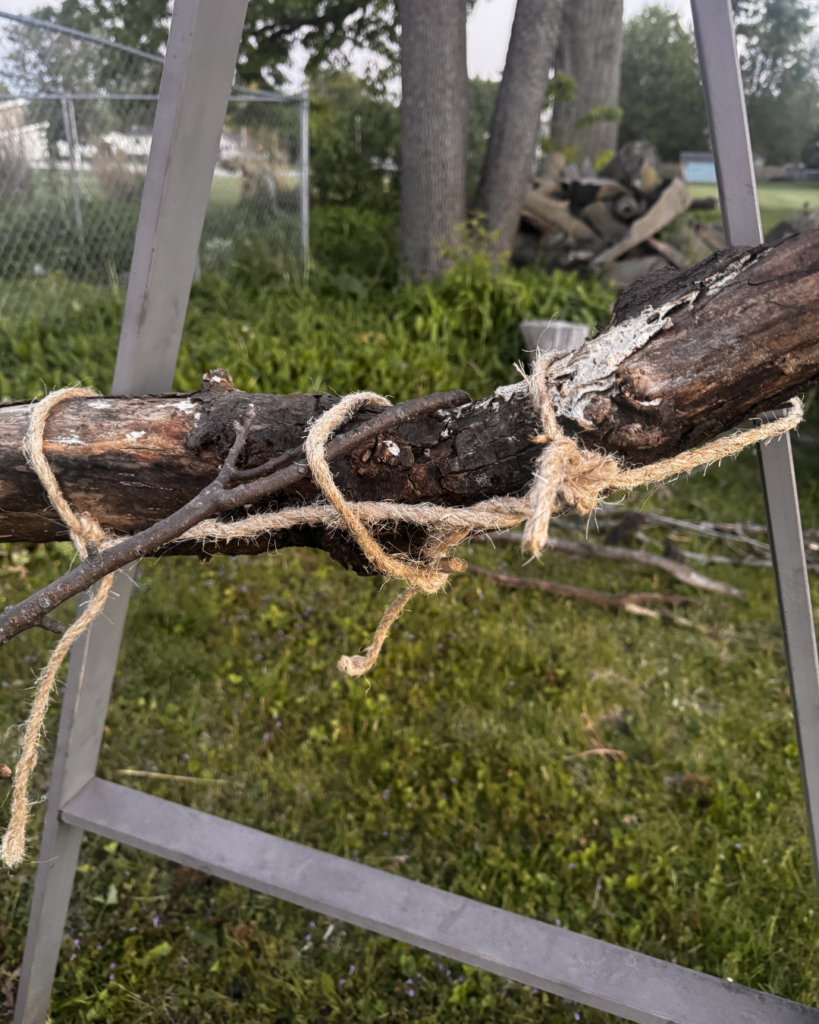
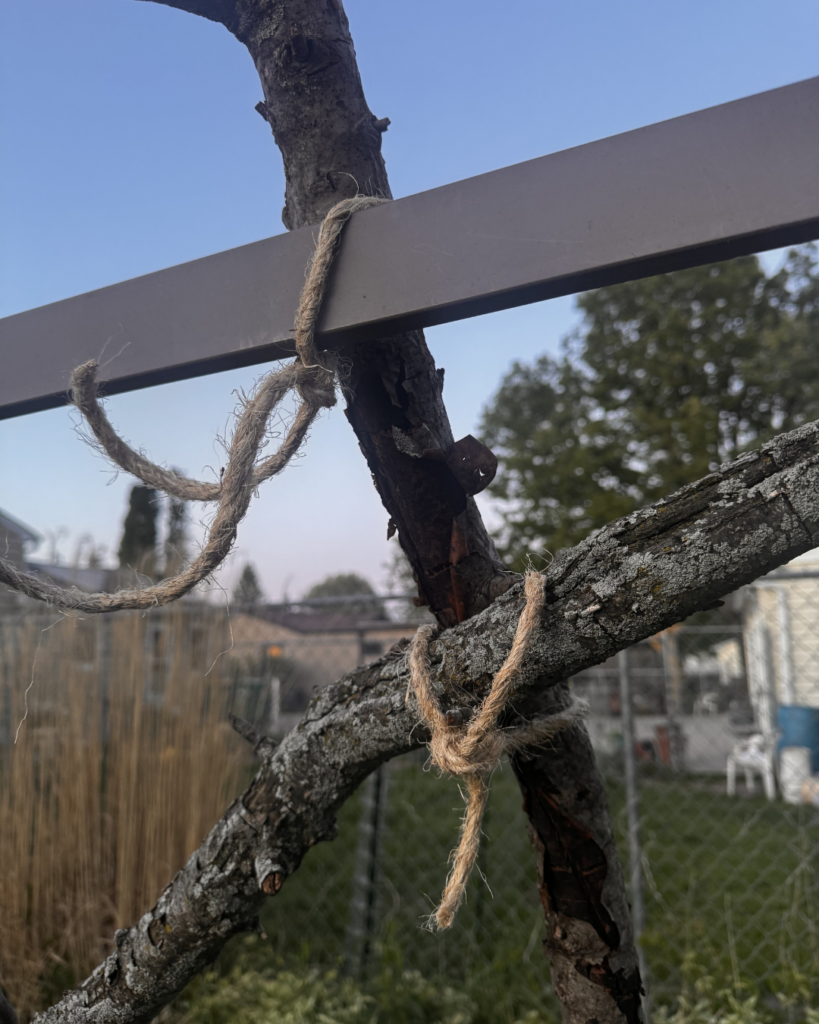
Secure branches on frame with sisal rope
And that was it!
At a Glance
Honestly, writing it out makes it seem so easy, and this was a fun project. I did it while my son napped for a couple of hours, drank a beer, listened to an audiobook (The Irregular Society of Witches by Sangu Mandanna) and enjoyed a beautiful breezy 68℉ (20℃) Illinois afternoon.
It doesn’t quite look how I hoped, and I may need to add more support to the frame. I couldn’t quite find enough branches that were long enough (I’m sure they are there, but I don’t have the equipment or manpower to move those trunks and have a search).
I’m hoping it will look closer to what I envisioned once the pumpkins start growing.
Only 80-100 days to go until then!
What are your growing plans this year? Ever built a gardening project that was mistaken for a cursed object instead? Let me know below!
Until the next magical mess,
Amrita