
Pull up Your Plants: A Starter Guide to Raised Bed Gardens
Raised bed gardens… what a bastard.
Technically, bed gardening isn’t bastardly. My lack* of gardening skills are.
But here I am, my third year of trying to grow some blooming vegetables.
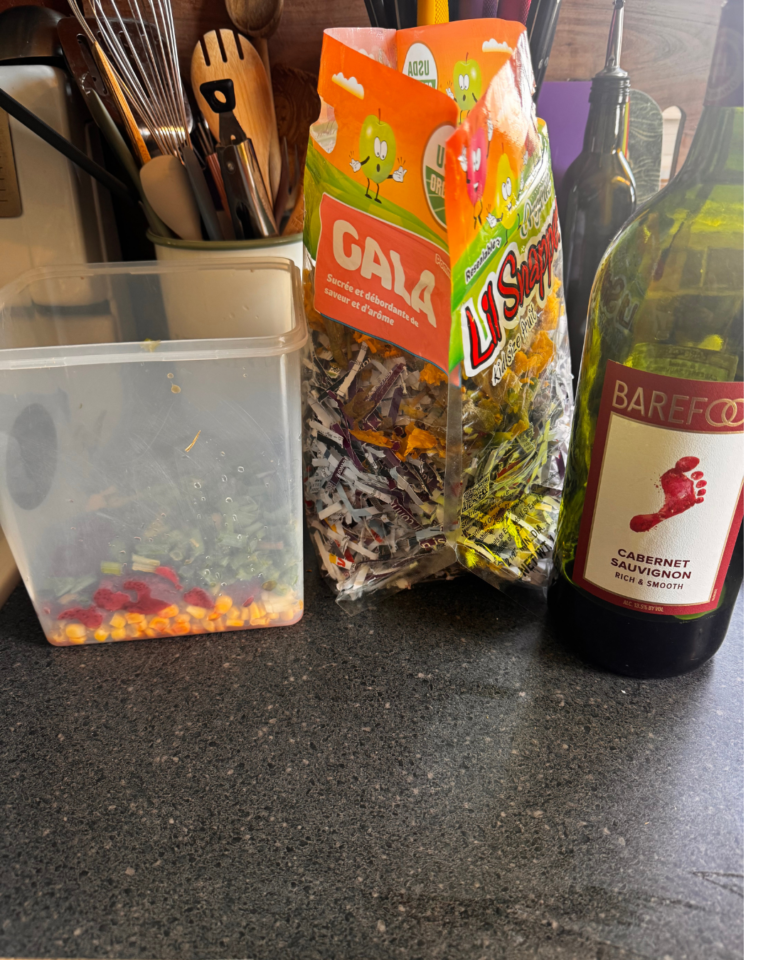
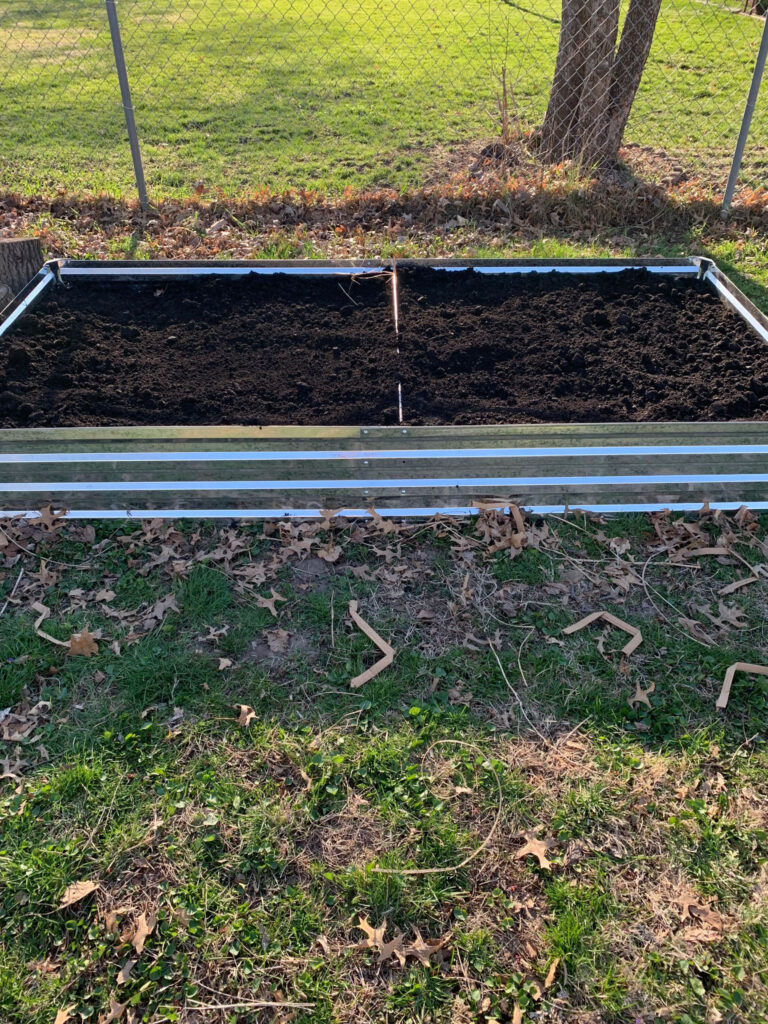
Here are some pictures from my attempts of the last few years.
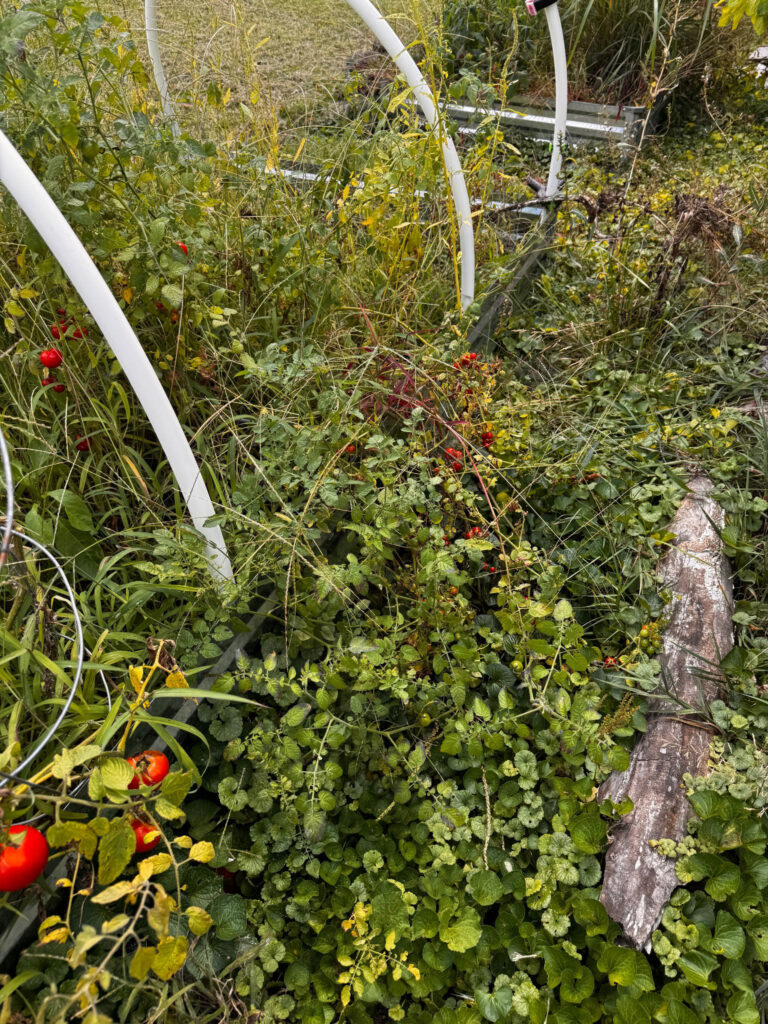
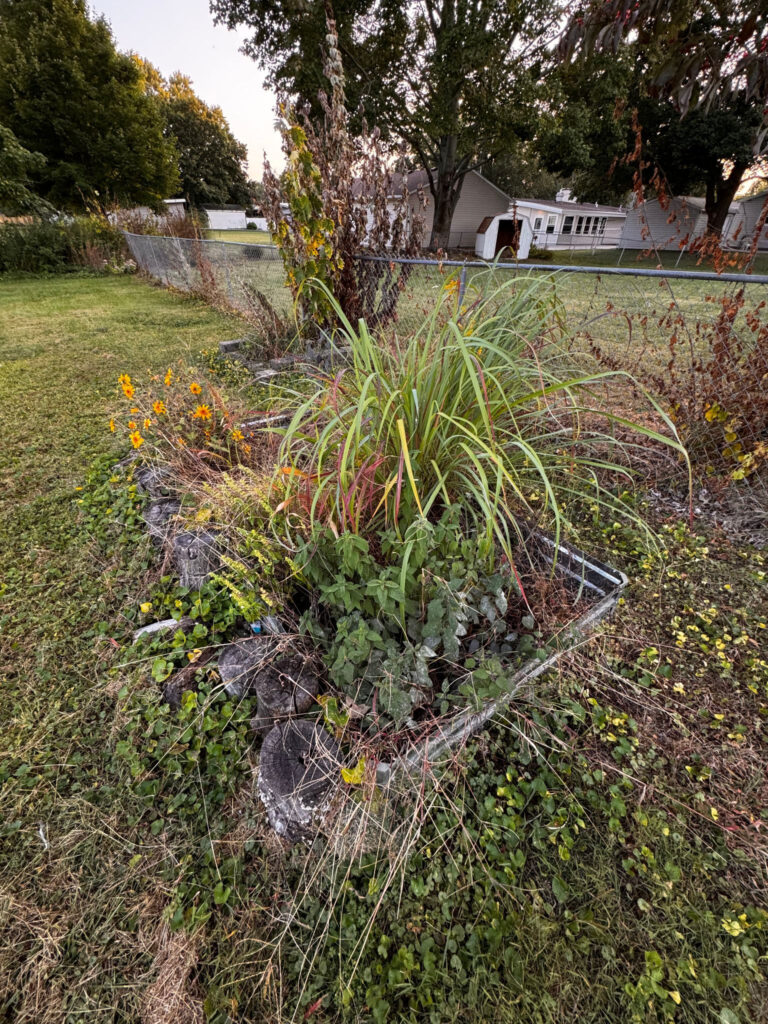
If you are thinking ‘blimey, this looks terrible’, you are right. But stick with me for a second.
I may not have mastered the art of raised bed gardening, but I have picked up a thing or two.
So if you ran across this page because you were desperate enough to get onto your Google search’s second page of results and randomly found me, here is how I set up my raised beds:
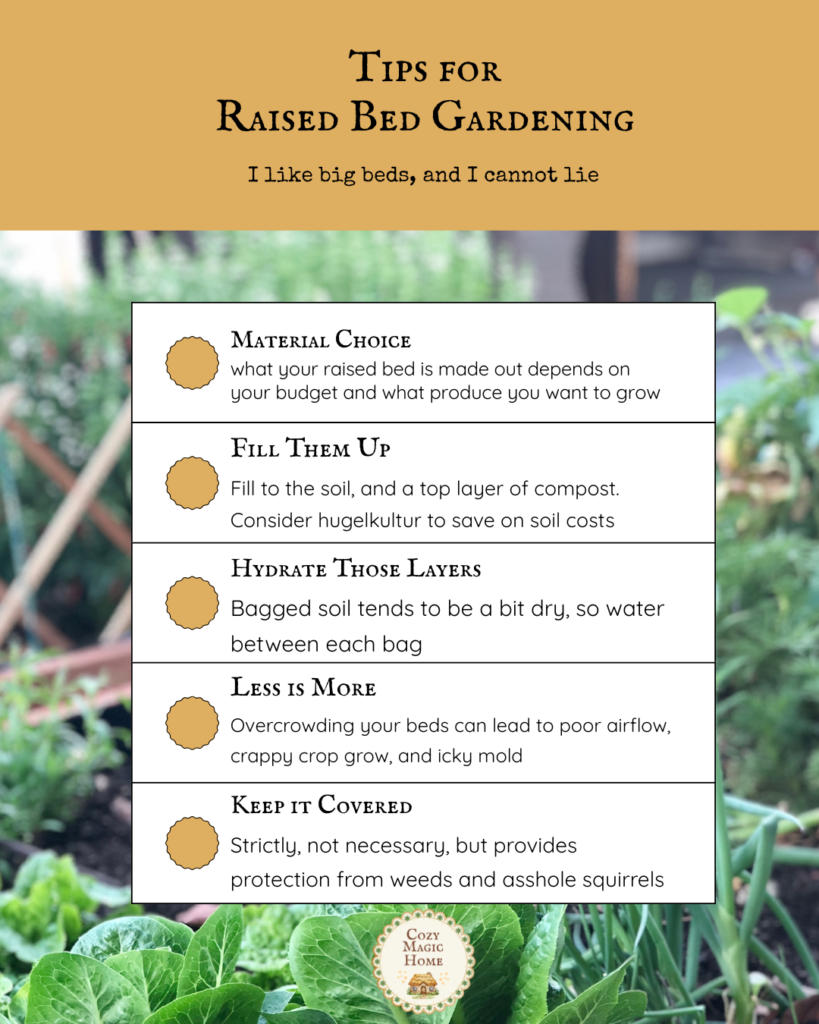
1 – Raised Bed Garden Material choices
Because I did minimal research, and am incredibly lazy, I bought my raised beds from Amazon. They happen to be metal. I chose them because it had the option of making one large bed, or two smaller ones, and promised to be rust resistant (has held true so far).
But, there are so many options.
From high-end fancy cedar wood which is pricey (but if you are a D.I.Y.er, check out this post by White and Woodgrain) but long-lasting, all the way to bricks or cinder blocks you may have access to, setting up a raised bed doesn’t have to be costly.
You also have the option of having relatively low raised beds (like mine, only 1 foot tall), or up to 36 inches tall.
How tall your raised bed will be dependent on what you want to grow.
2 – Fill those bad boys up
A potentially expensive part of setting up the beds is the cost and/or delivery cost of soil and compost.
You can save a little on costs by filling the bottom of your beds with large branches, dead leaves and cardboard (a modified version of hügelkultur) . After putting soil over the top, the original brown matter will eventually break down, providing the roots of your plants with some rich compost.
I wouldn’t be able to tell you what I spent on it in previous years, but this year, having the soil and compost delivered cost almost as much as the products themselves.
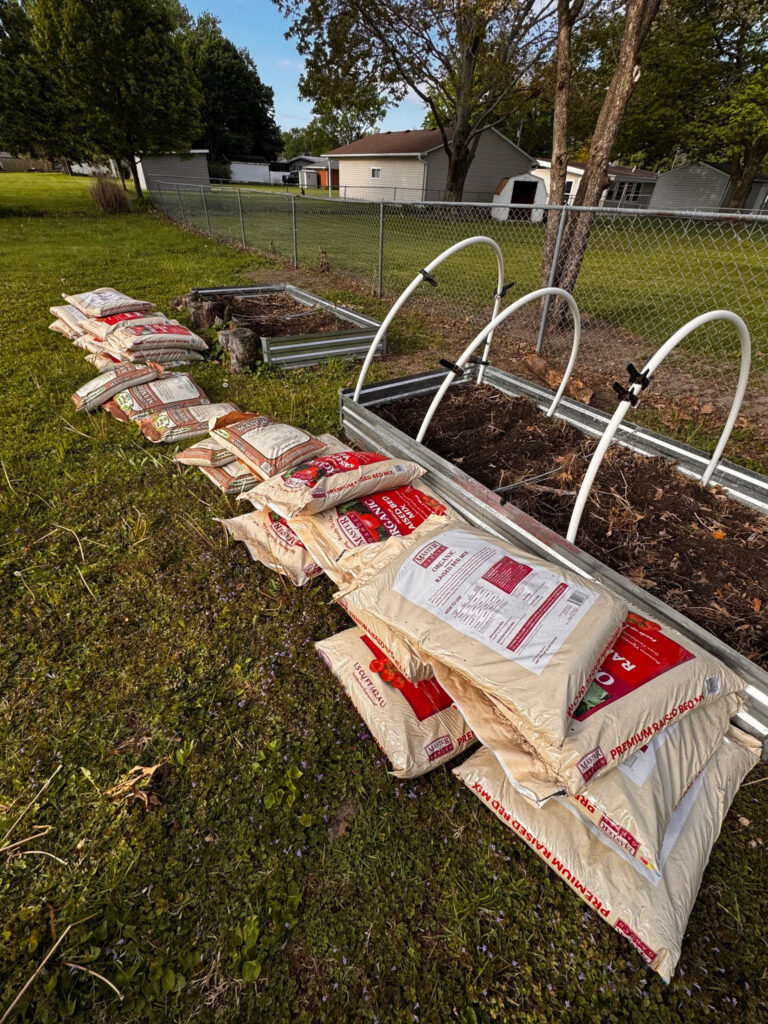
But that is because my options were limited due to my vehicle, and so I ordered from a major retailer.
But if you have access to a decent sized vehicle, and/or know someone in gardening or farming services, you could probably get a great deal on soil and compost.
Regardless, ideally you will fill your beds up to the top (or very close, like I ended up doing this year), and your top layer should be compost (how many inches though depends on how deep your produce roots grow).
And as things settle down during the growing season, you may need to top the soil up, to ensure your plants have enough to grow.
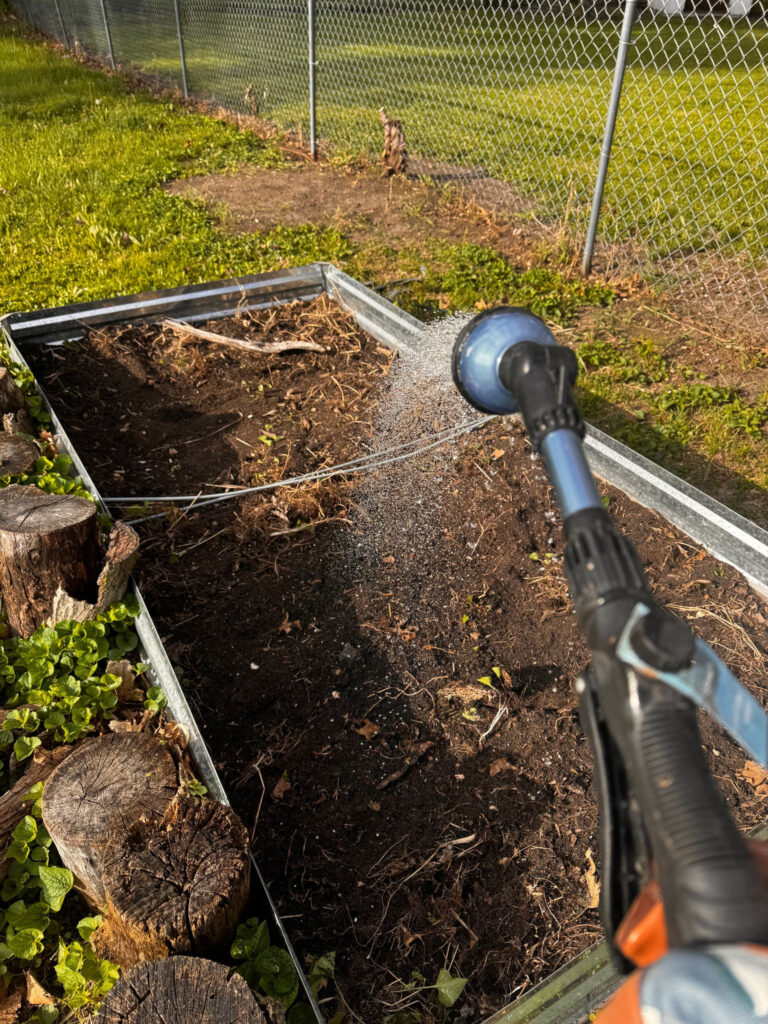
3 – HYDRATE layers
I’m not sure if you have to do this, but I found bagged soil to be drier than I was expecting, so after opening a bag and spreading its contents, I watered it between each bag.
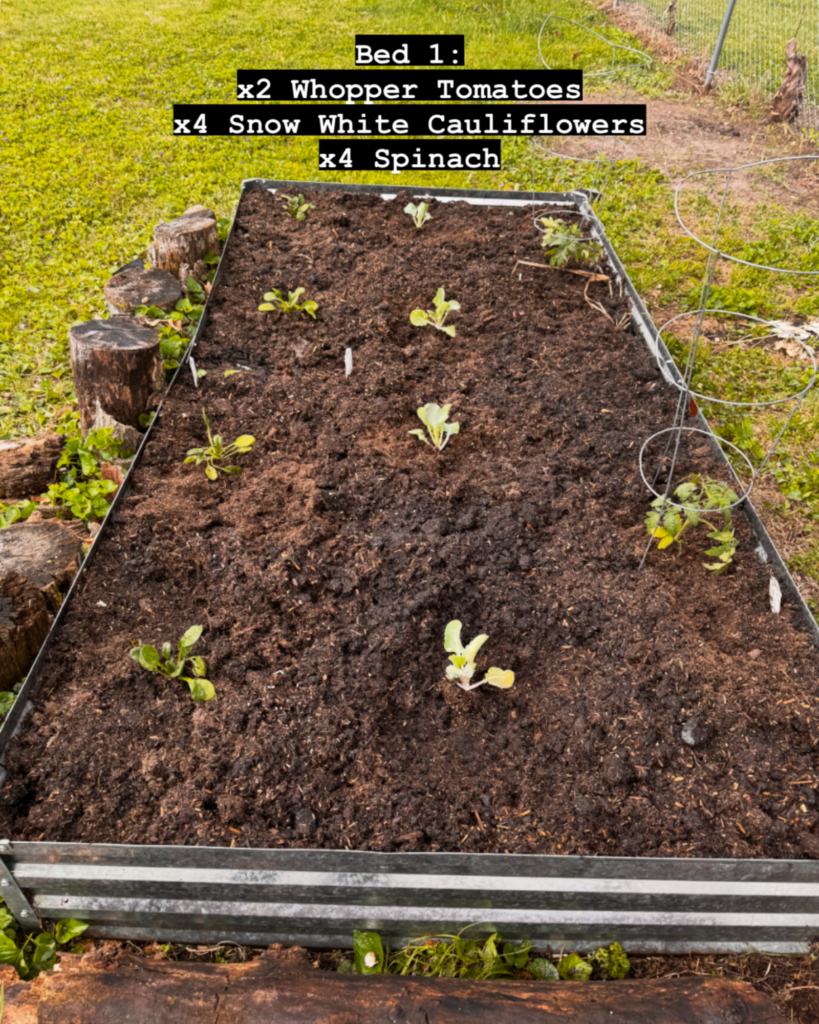
4 – Don’t overcrowd – less is more
In the past, I have gotten a little excited, done some (looked at one random website) research, and got a little carried away with how much I have planted (see the first two pictures of this post to get an idea).
It became overwhelming, and I didn’t enjoy gardening, even though I was still blessed with a decent produce haul. There were a lot of mildewy, powdery, moldy leaves though.
But, in order to be fairer to the veggies this time, I have given them something we all deserve. Personal space.
The beds feel empty compared to the past couple of years, but I am hoping that by planting less, things stay manageable.

Still want to go out and buy all the starters though.
5 – A cover isn’t necessary, but nice to have
The first year I tried raised bed gardening, I did not have a cover of any sort.
The plants flourished, and we grew so many tomatoes and zucchinis.
But you know what we never got.
A blooming eggplant, because that one asshole squirrel kept stealing it.
We’d get an eggplant started, get excited because it was growing, decided to give a tiny bit more time to grow, and then when we went to check on it, it was gone.
To be completely fair, I’m not sure it was the squirrels. But we have a sus squirrel that frequents our yard. So I’ve got covers for both beds this year.
Having a cover can also help keep weeds and other pests out. If you fancy making one yourself, here is a video for hoop cover I made last year. Let me know if you’d like a full tutorial! I bought the other one from Amazon.

So, what am I actually growing this year?
Even though I know my Mum and aunts aren’t going to read this, I’m growing an Indian food inspired garden this year. I miss eating Aloo Gobi, so my goal is to make it this summer with produce I have grown myself!
But my full garden plans are as shown below:
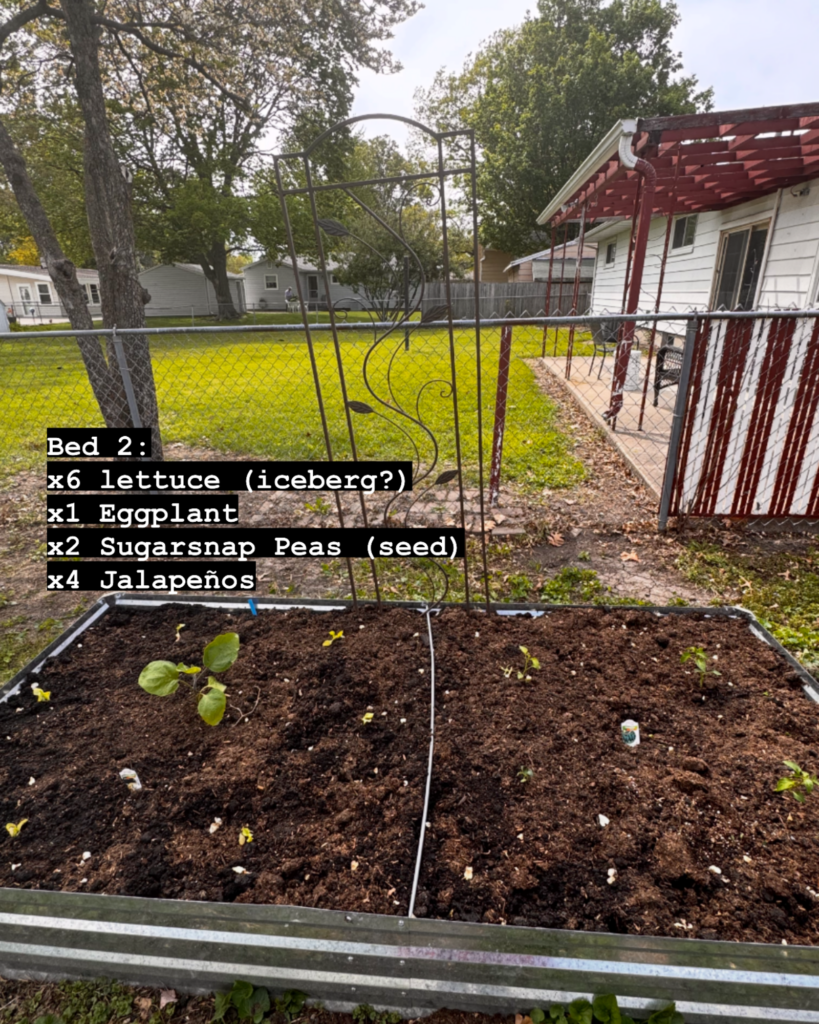
And I’m also growing onions, and potatoes in grow bags, as well as pumpkins, but that’s a post for another day.
At Glance
This is the part of my post I am supposed to encourage you to engage with me. I would love it if you did. Drop me a message about your garden plans for the year. Or, if you have any tips on how I can make my thumbs greener, I’d appreciate that too.
Until the next magical mess,
Amrita
* I know the language I am using is self-deprecating, I don’t mean to be. I think I am brilliant, and know I have the skills to be a gardener. Somewhere.