
Guide for Installing a Rain Barrel
Did you know plants need water?

And while I love Illinois and it is well and truly home now, something I do not like is the doolally weather, and the stonking hot summers.
Also, the price of everything is dumb right now, including basic utilities.
So, in an attempt to be a little greener for my raised beds, I started looking into installing a rain barrel. I found that having a rain barrel can save between $20-40 USD a month during the growing season (B. Chenkin 2025).
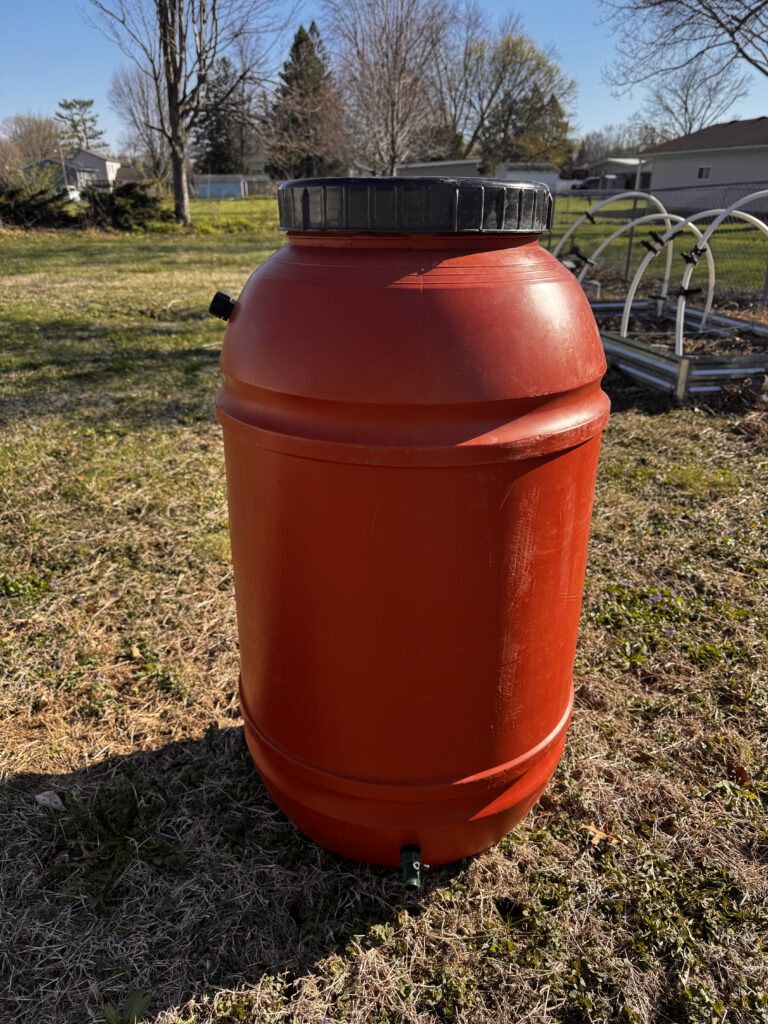
And then, as if the universe was nudging me into setting one up, I found someone selling empty barrels (with a spigot already attached) on Facebook Marketplace for $50. I’ve seen some online and at hardware stores that are a little cheaper, but driving 10 minutes across town to pick up the barrel feels more eco-friendly than having it delivered from a warehouse from all the way across the state, so off I went to get my barrel.
Thankfully the process of setting up a barrel was super easy, and I found this great guide by The Conservation Foundation which helped get me started. Also, shout out to my brother-in-law S for the advice, as he gave me a lot of great pointers before I got started.
Here is how I installed my rain barrel.
Equipment and Tools Used
- Rain Barrel with pre-attached spigot
- x2 rectangle garden pavers
- handsaw* that cuts metal
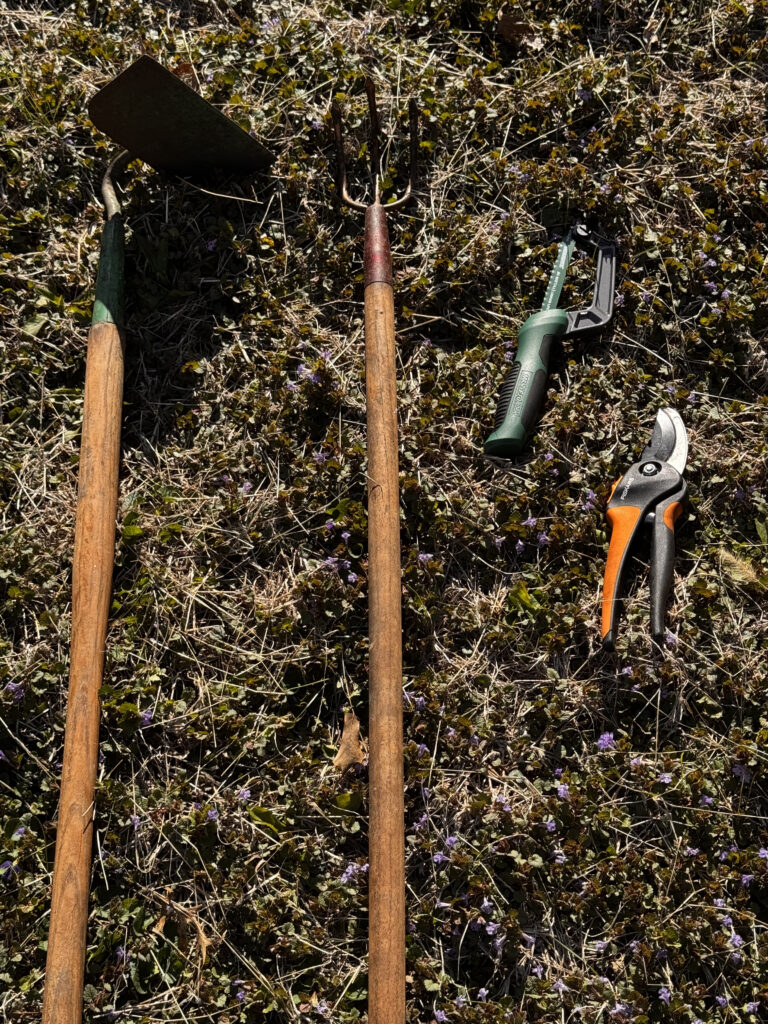
- Garden tools that helped me clear and flatten ground (I used a hoe, cultivating tool, and small clippers because that’s what I had at hand)
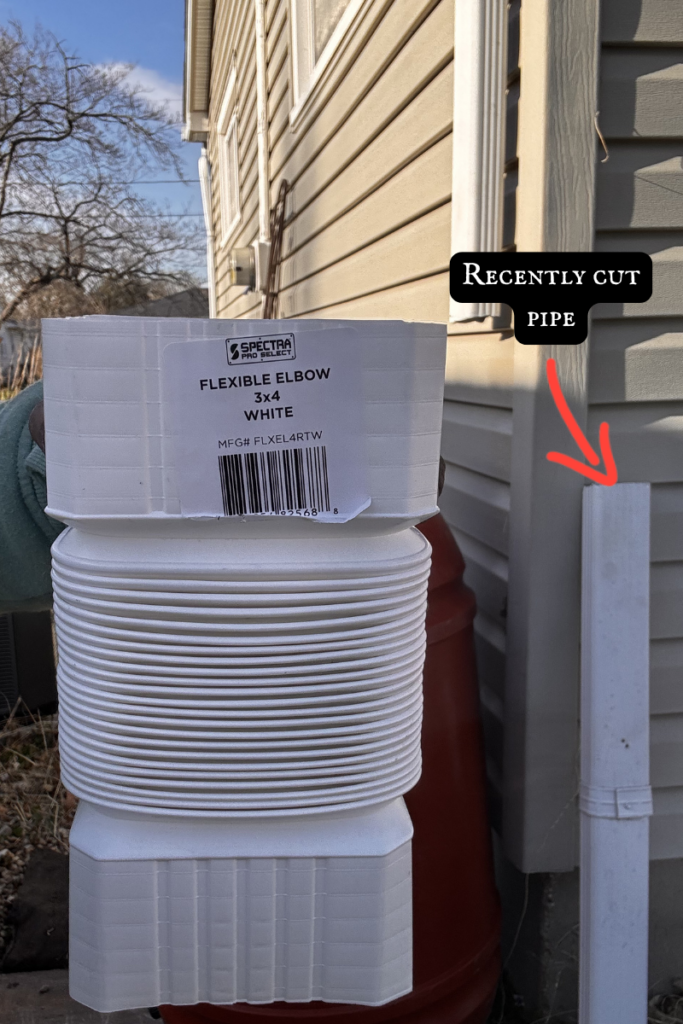
- Flexible elbow for downspout
- Weatherproof Gorilla Tape
*In hindsight, as I was sawing metal, I probably should have used goggles too
Steps
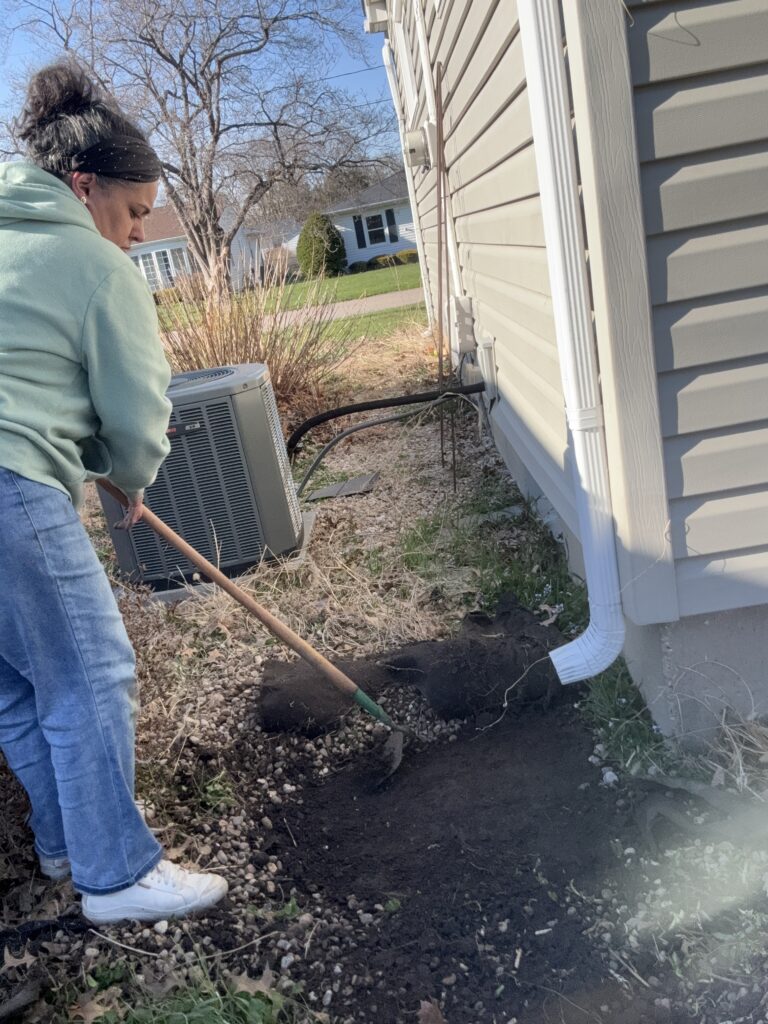
Flatten the ground where your rain barrel is going to sit. This required me removing weeds, ripping up some weed barrier fabric, and creatively using some garden tools.
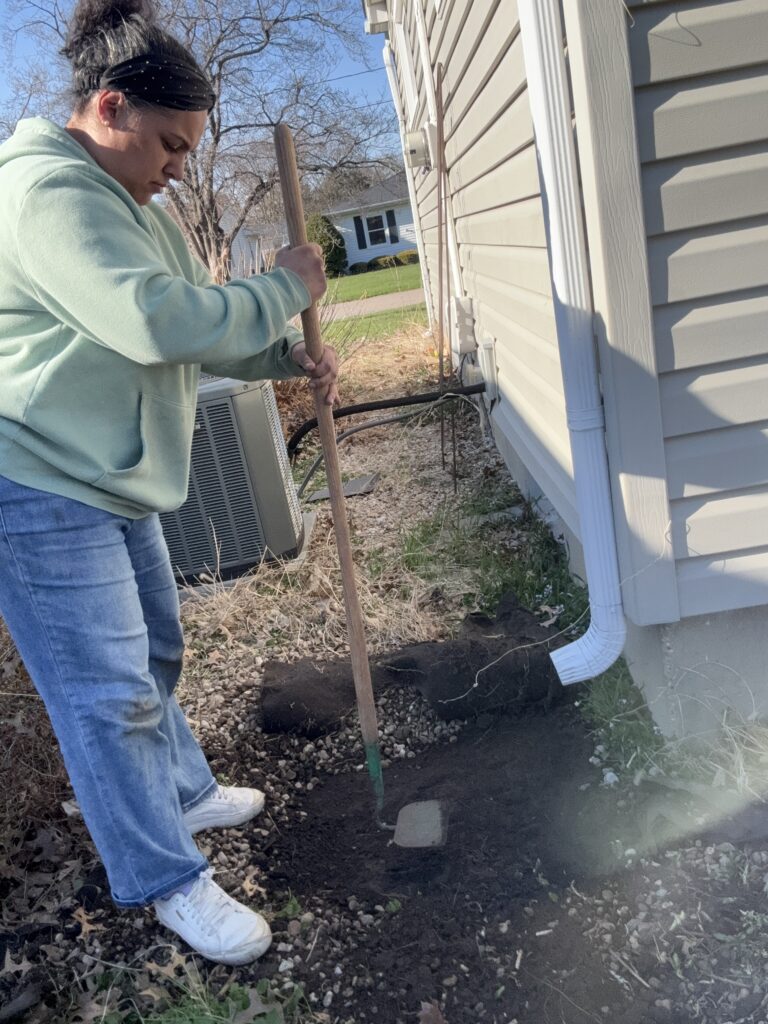
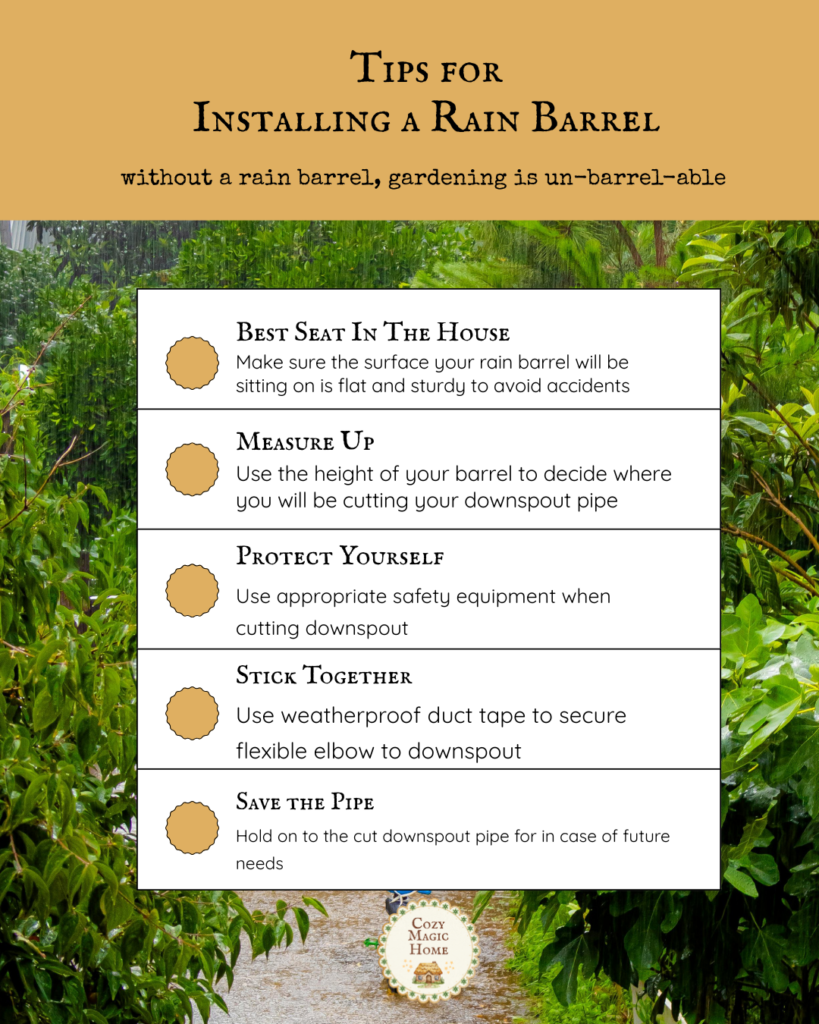
Once the ground is flat (ish), put down pavers to provide a flat, steady surface.
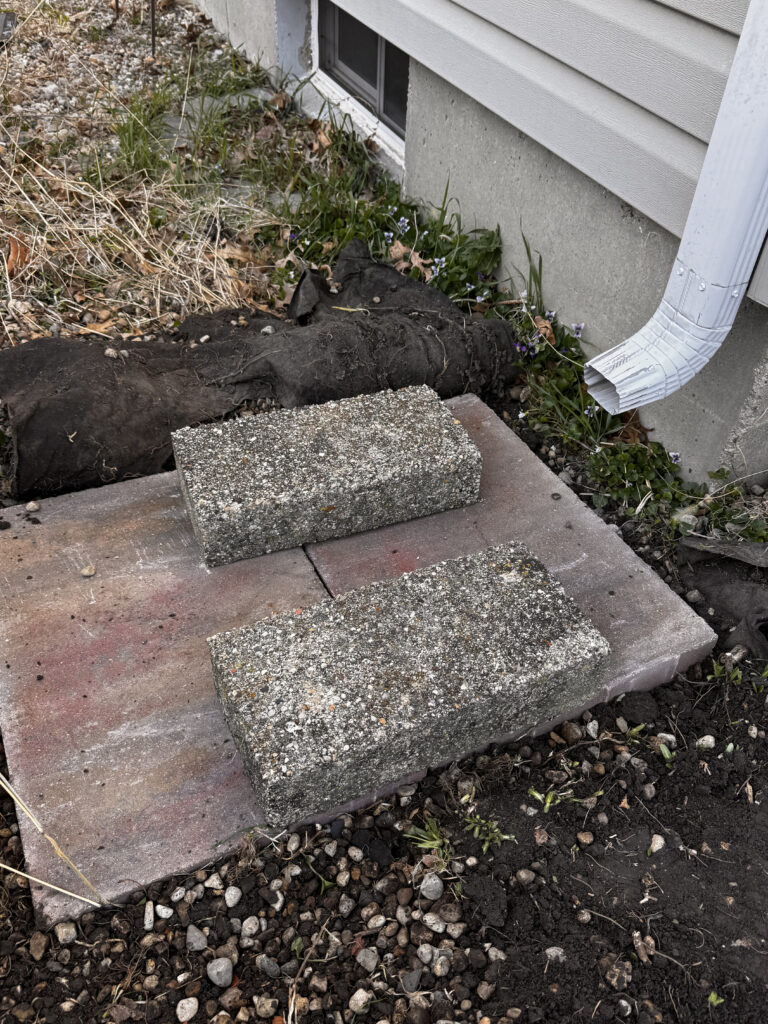
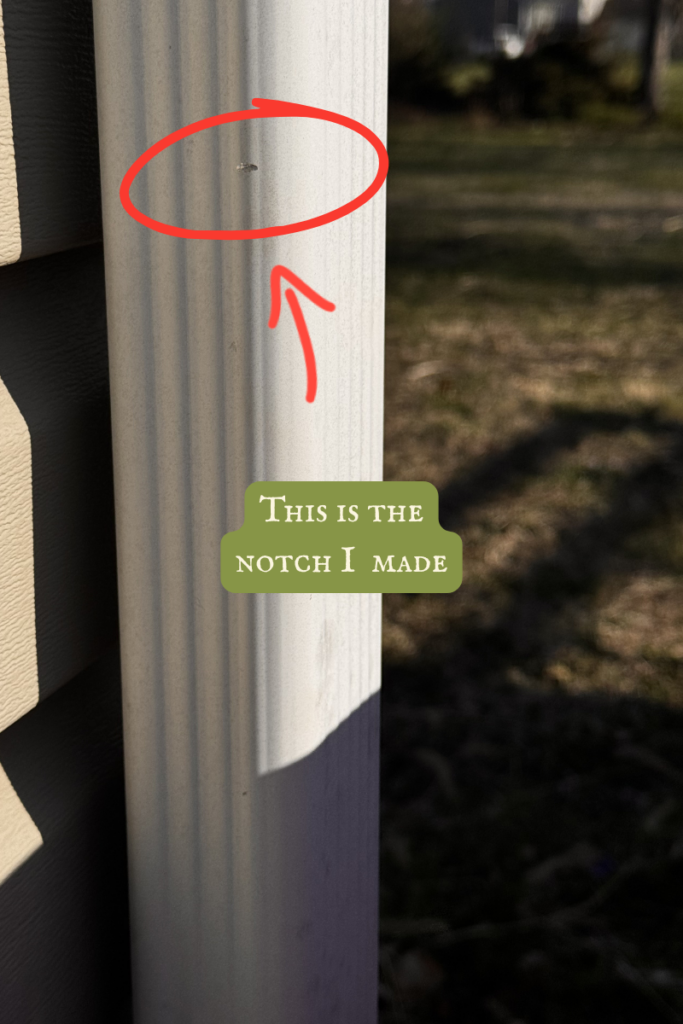
Place the barrel on the newly flattened surface, and make a mark on the downspout where you will be cutting/attaching the flexible elbow. I didn’t have a marker handy, so I just made a notch with the handsaw.
Cut the downspout! If you use a handsaw, this will be loud and annoying (well, I found it that way). Also, consider wearing eye protection.
I didn’t get a picture of myself cutting the downspout, but if you pop over to my Facebook, Instagram, or TikTok accounts, you’ll see a Reel of the whole process there, including the cutting.
Once cut, save that cut pipe! You’ll probably be putting it back on in the winter (as an Illinoisan, I will be!).
Put the elbow on the spout. Realize it’s a touch too large. Secure it down with Gorilla tape, because you are not about to pop out to the hardware store again.
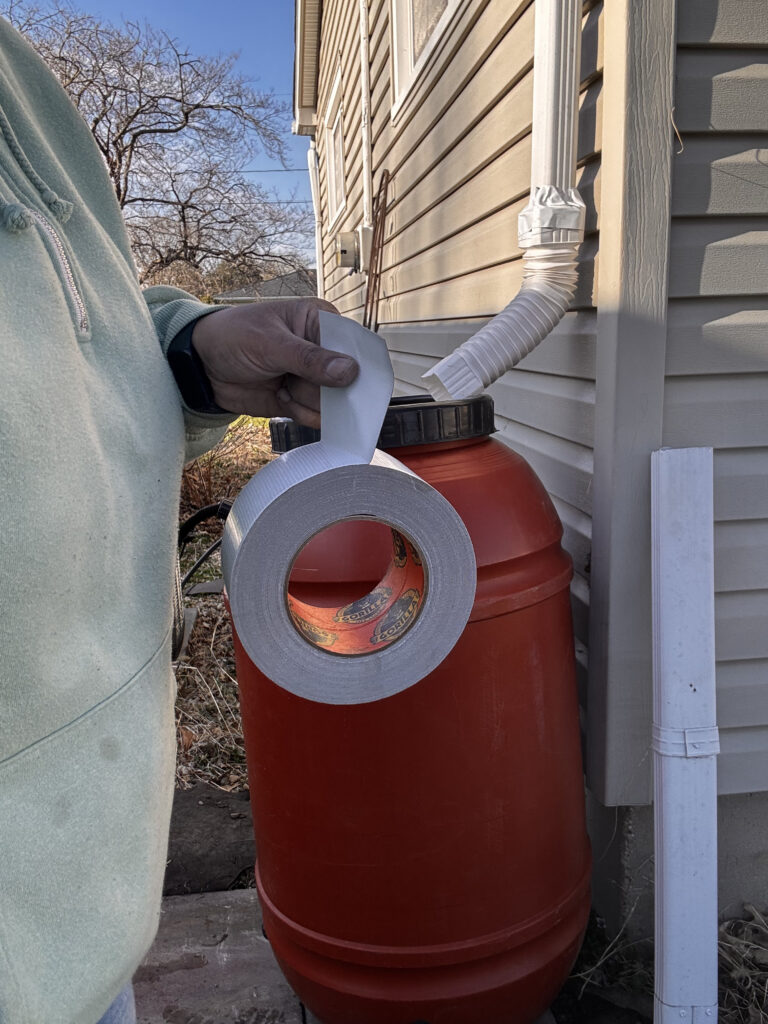
Put the rain barrel back in place.
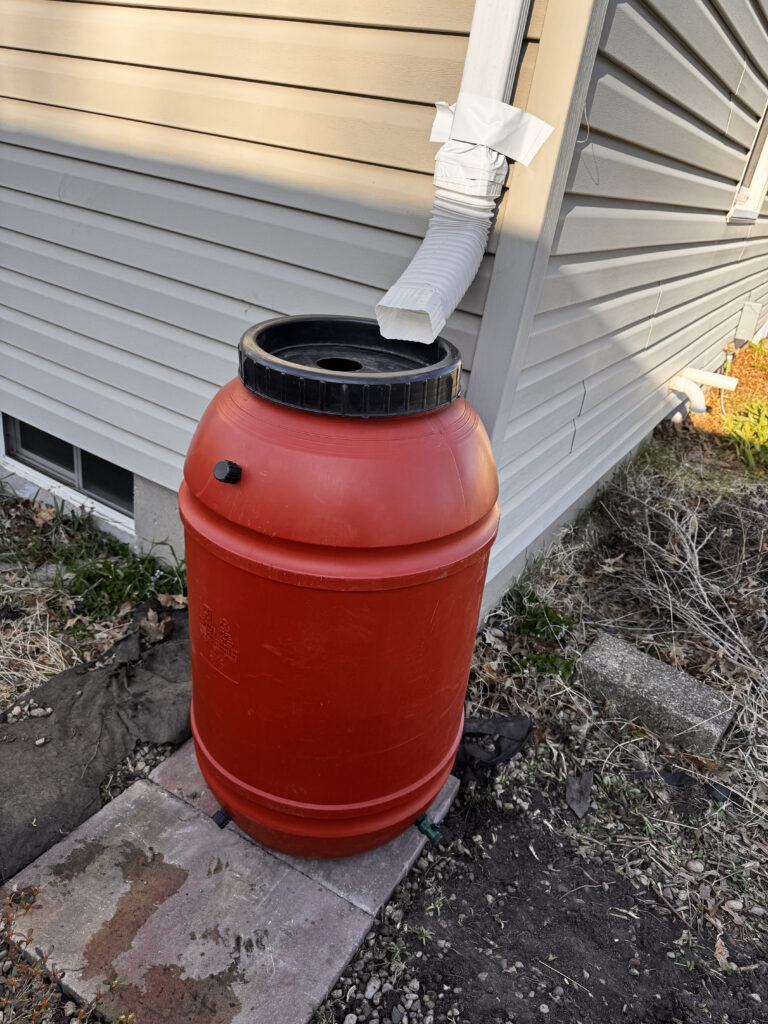
You’ve just fitted a rain barrel!
At a Glance
Things Still Left To Do
I still need to add some sort of mesh or filter to the top. I recently saw someone on TikTok add a mesh filter to theirs (will update with link when I find it again), and then add some pebbles on top which looked really nice. I also need to get at least a short hose to make it so I can actually fill a proper watering can.
I had also considered placing the barrel on some sort of raised surface, like a bench, but I’m not confident in my woodworking skills, and I don’t know anyone who is. Won’t even attempt it until after the barrel is empty though.
For now, we are using it to fill up the kids’ watering can. I’m still using the hose attached to my house for a majority of the watering when it hasn’t rained a lot, but this barrel should help cut down on costs when the Illinois summers get bonkers. The kids also like it because they get to fill and water with the watering can.
Talking about entertaining the kids, I’ve got to think of ways of entertaining this summer. Summer break is like a week away. Pray for me.
What nature/gardening based activities do you use to entertain your kids?
Until the next magical mess,
Amrita