
Are you new to sewing and don’t know where to start?
Let me help you!
Today, I’ve got some printables for you to practice your sewing with.
I originally made these up for my sister who is trying to learn how to sew, and I wish I had some of these sewing practice sheets when I first started to learn!
Something I struggled with when I first started sewing was sewing in a straight line, and maneuvering my fabric to get an accurate stitch line.
While I eventually got much better at it, I kind of wished I had practiced before ruining a bunch of pretty fabric.
So to save you from that same fate, I have created these free sewing templates. They will help you practice sewing and help you become familiar with your machine.
While I would love for you to use my printables, I know not everyone has access to a printer.
Not to worry!
Feel free to draw these shapes on a paper, and practice sewing with those!
Who is the project for?
This project is geared for beginners, or those returning to machine sewing after a break and feel the need to brush up on their skills.
What type of paper can I use?
Computer printing paper is ideal for this project. Do not use anything thinner.
What type of needle?
Ideally, use denim grade (90/14), but as this is a practice project, any one will do. Paper dulls needles very quickly, so be sure to keep a few around for this project.
Thread?
No need for thread for this project!
Our goal for this project is to neatly and accurately, setting you up for success for future sewing projects. When you feel comfortable doing this, feel free to try with thread.
Remember to remove the bobbin and top thread!
Sewing Machine Foot?
Standard/Zig Zag presser foot.
Stitch width and length and tension?
Don’t mess with the tension! My tension is set to 3.5/4, and I rarely have to change it.
I recommend starting with whatever your machine is preset to.
My machine is preset to the following:
Length: 2.5mm
Width: 0mm
Feel free to play around with these numbers until you are happy with the result you get.
All that is left to do is for you to give this a go!
While there will be mini tutorials available on YouTube, I will be going through each practice sheet below.
Tips on How to Use The Sewing Practice Sheets
Lift up your presser foot, and slip the paper under the needle.
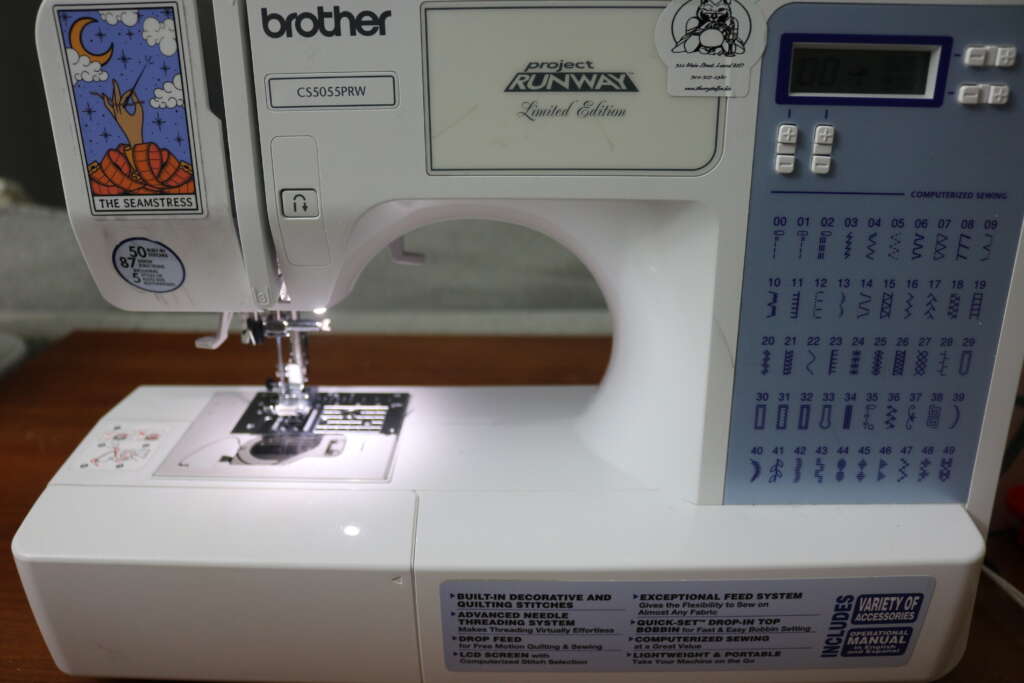
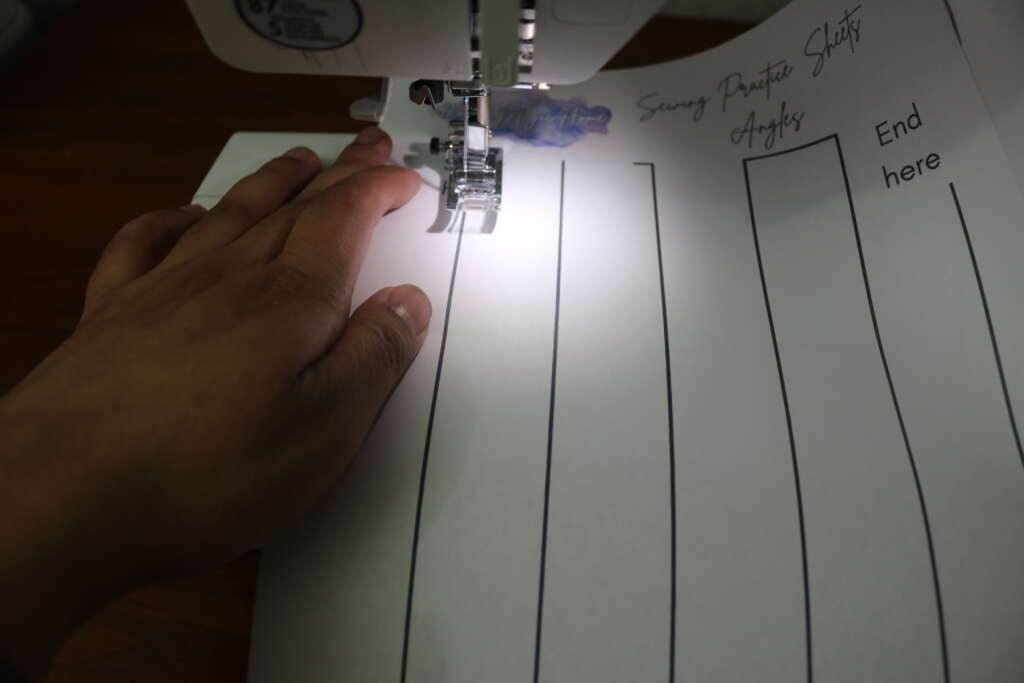
Push the presser foot down and turn your hand wheel towards you to lower the needle down into the paper
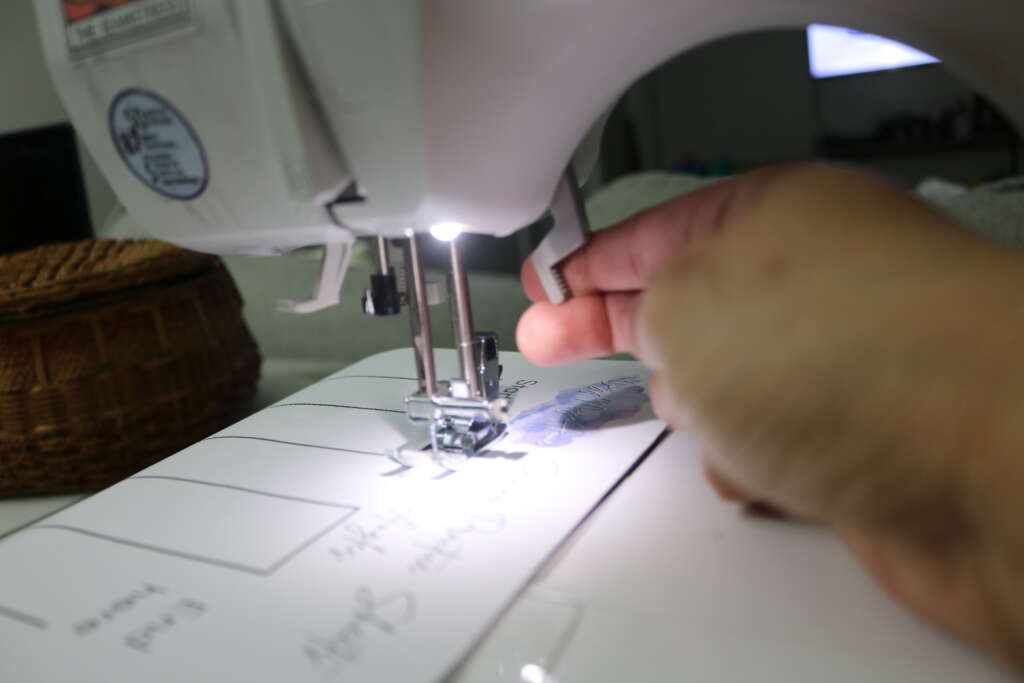
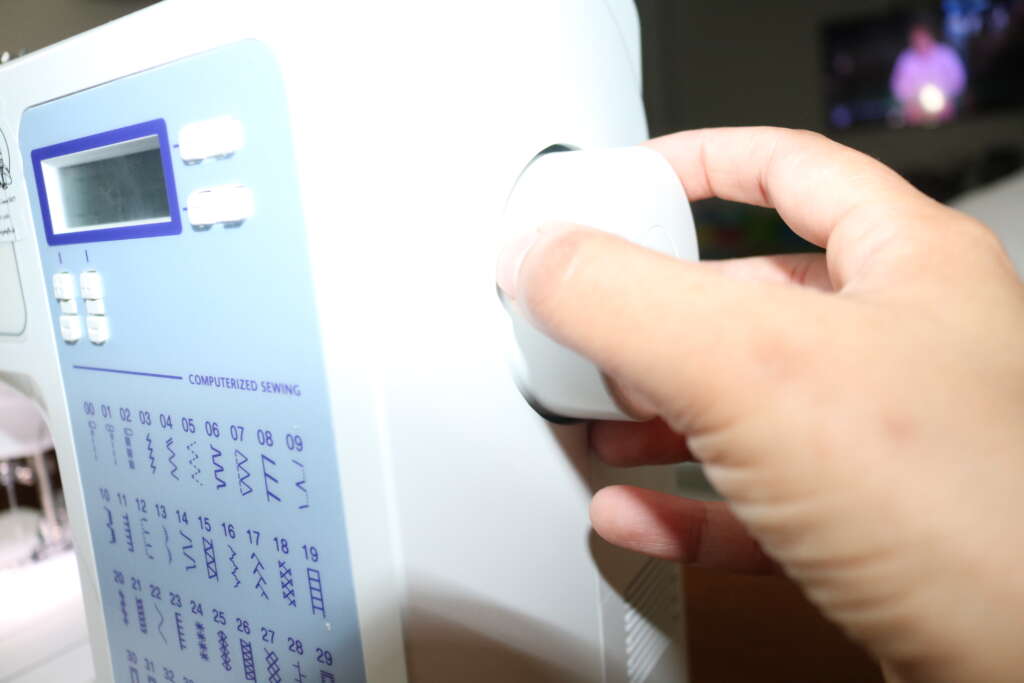
If you need to reposition the sheet, turn the hand wheel towards you until the needle has been lifted
Press the presser foot up and reposition as desired.
Follow the above steps to lower the needle into paper again.
Do not pull the paper through, but gently guide it while sewing.
Remember, go slow and steady! There is no need to press your foot down on the pedal. I would advise going slow until you are completely comfortable and can accurately follow the line you are practicing.
Stitching Sheets
The goal of this exercise is for you to sew accurately, and get comfortable maneuvering your fabric/sewing item.
For that reason, you will only need to use the straight stitch for this exercise. It is the most common stitch type you will use in your sewing projects.
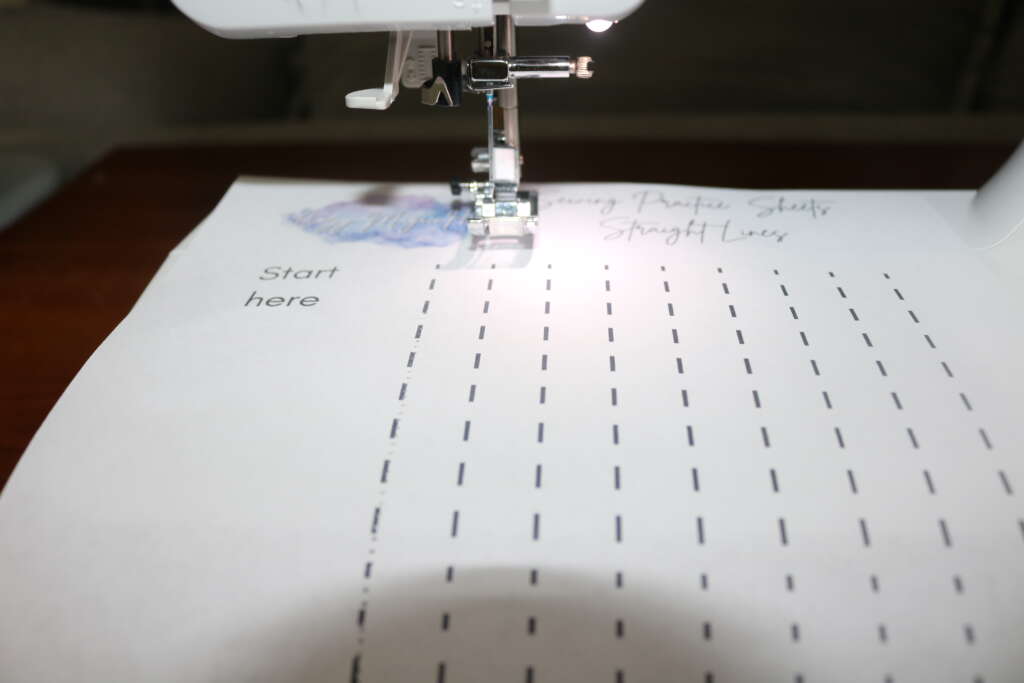
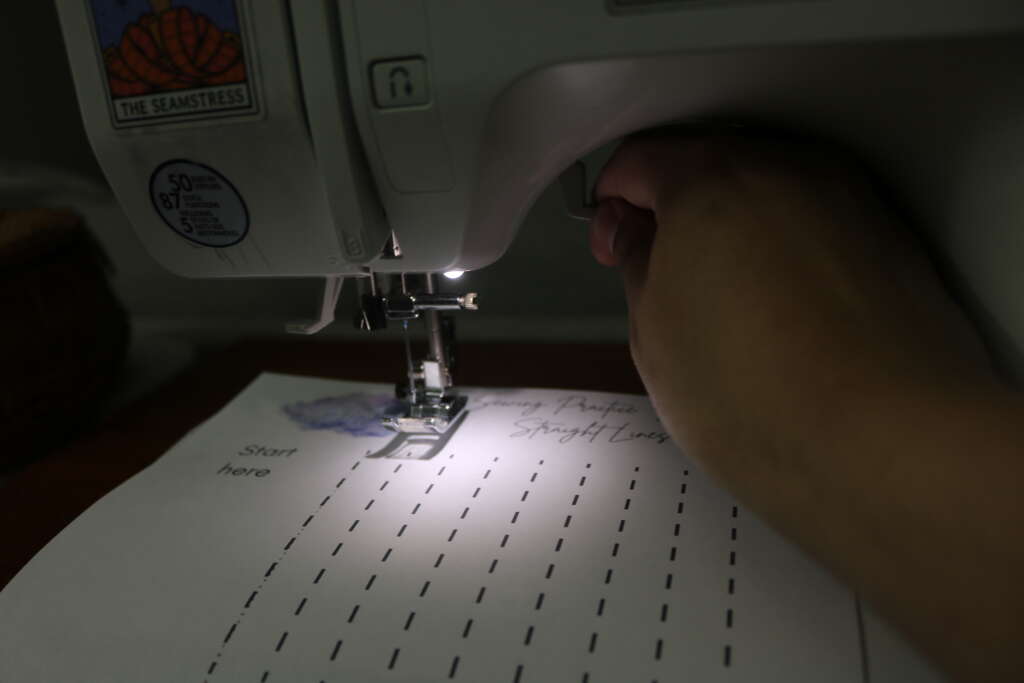
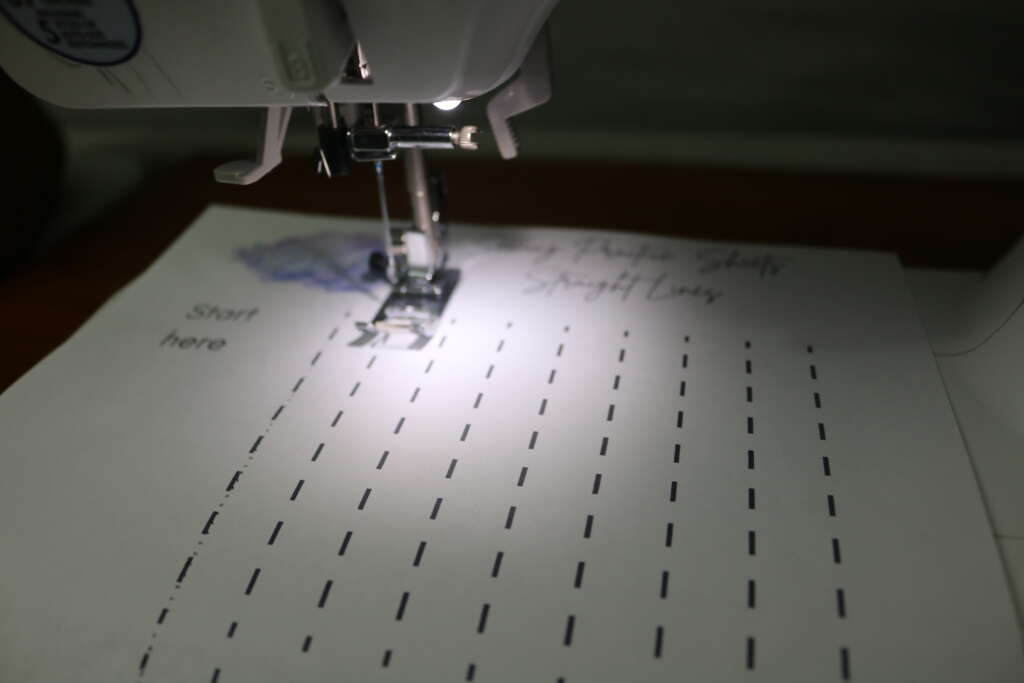
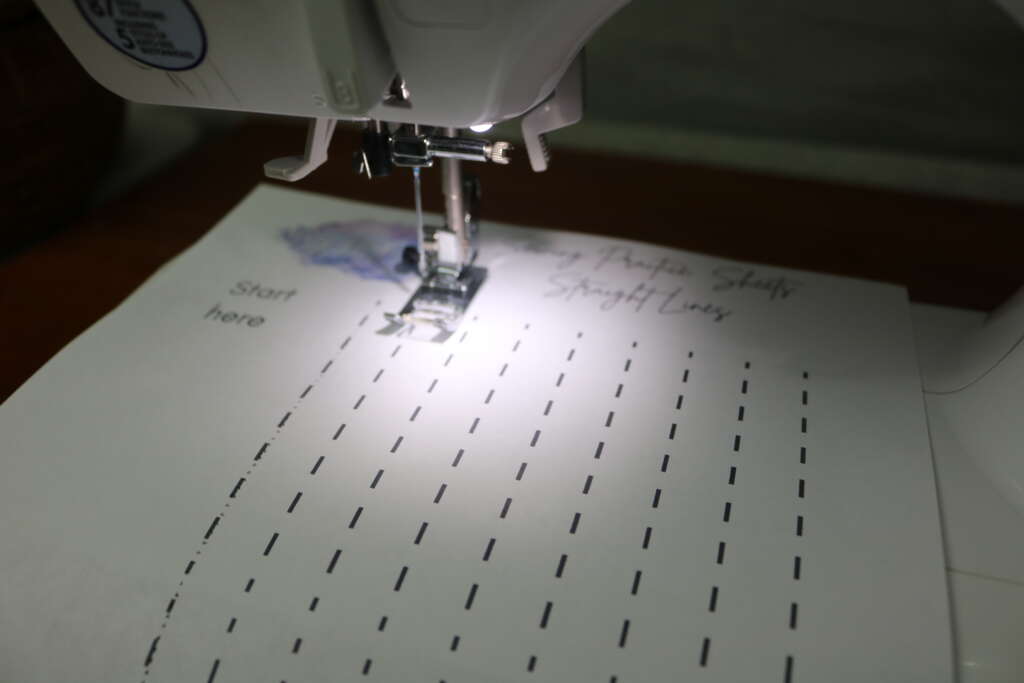
Page 1 – Straight Lines
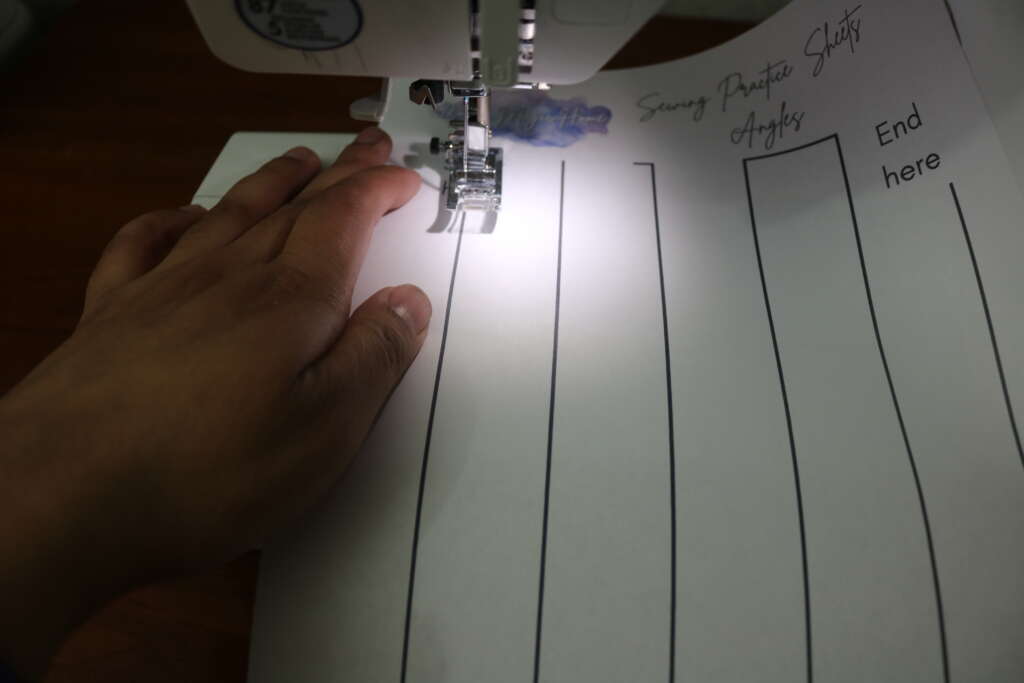
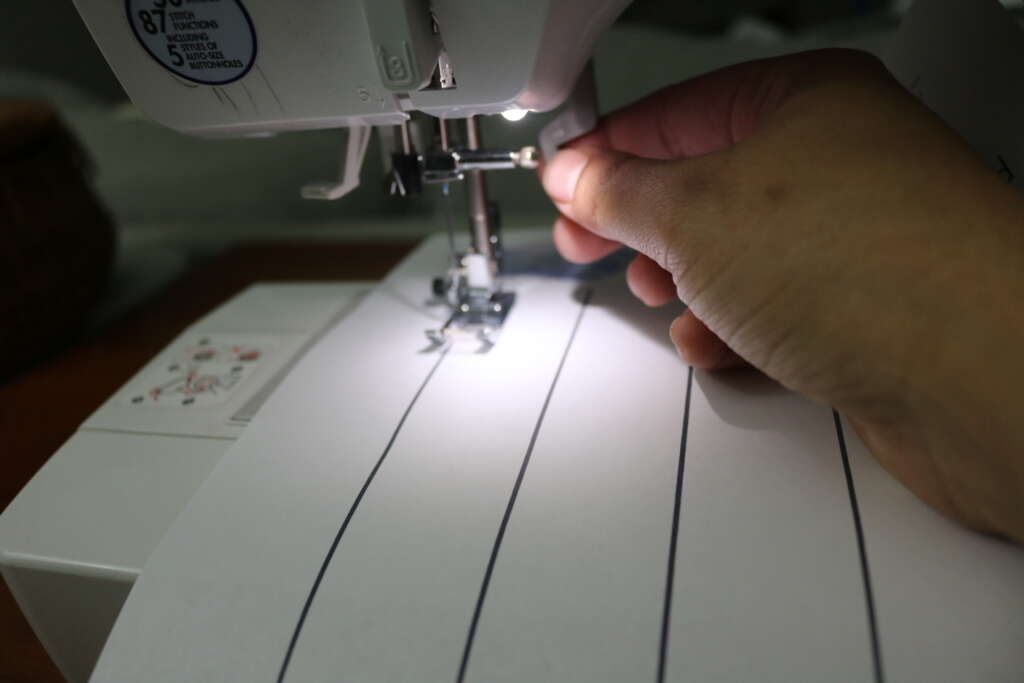
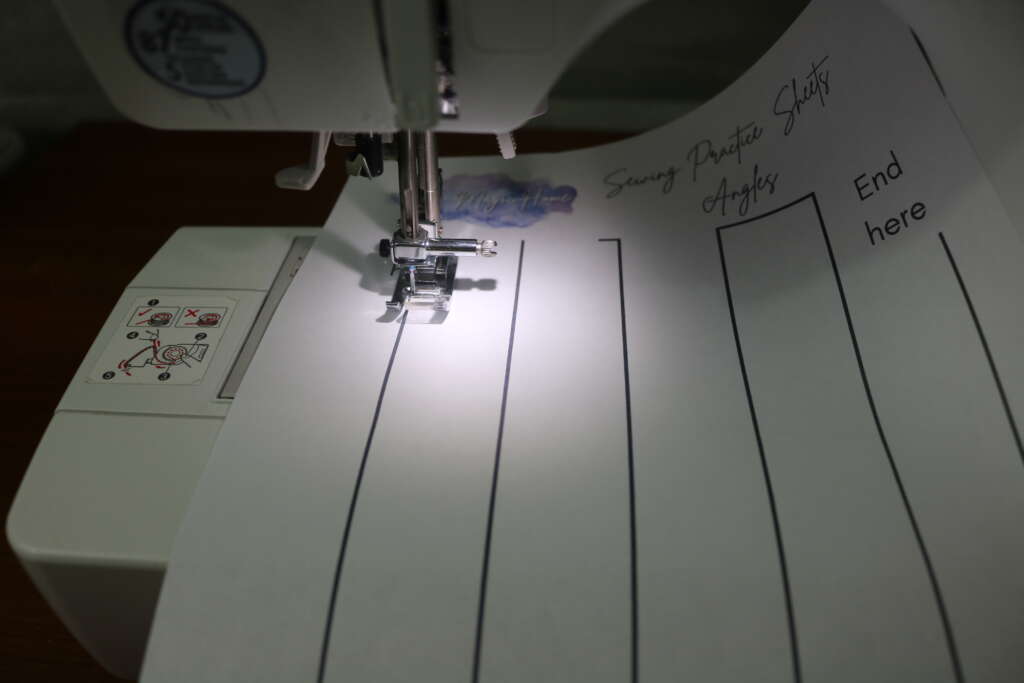
The goal of this practice page is to sew a straight line.
Seems simple, but when I first started sewing, I found this difficult!
Simply start at the beginning and stop at the end.
As mentioned earlier, feel free to play with the stitch length and width!
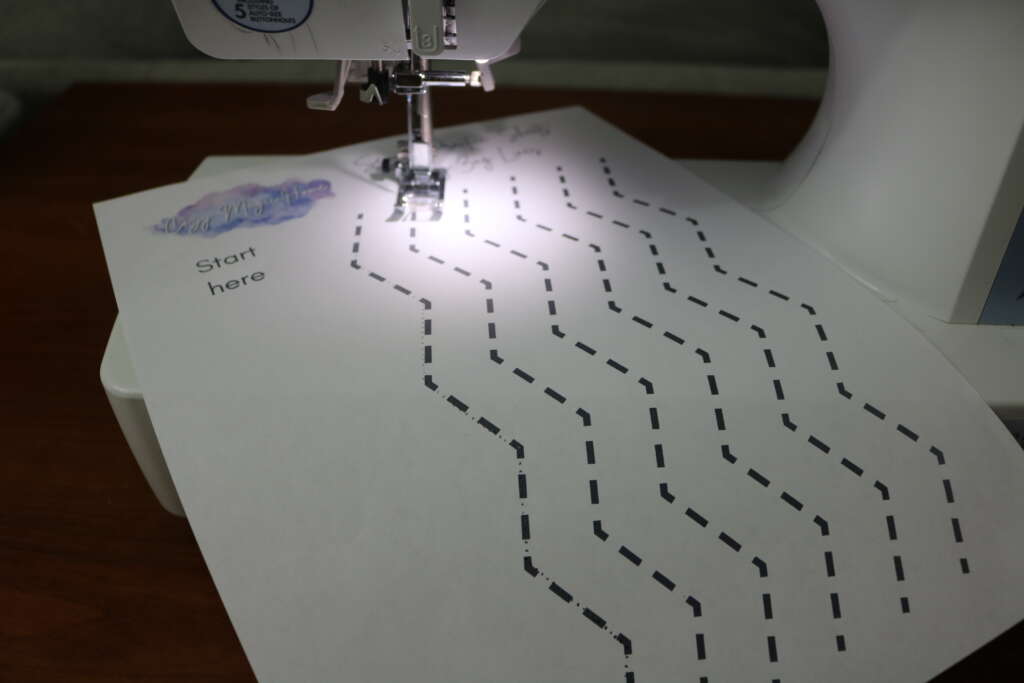
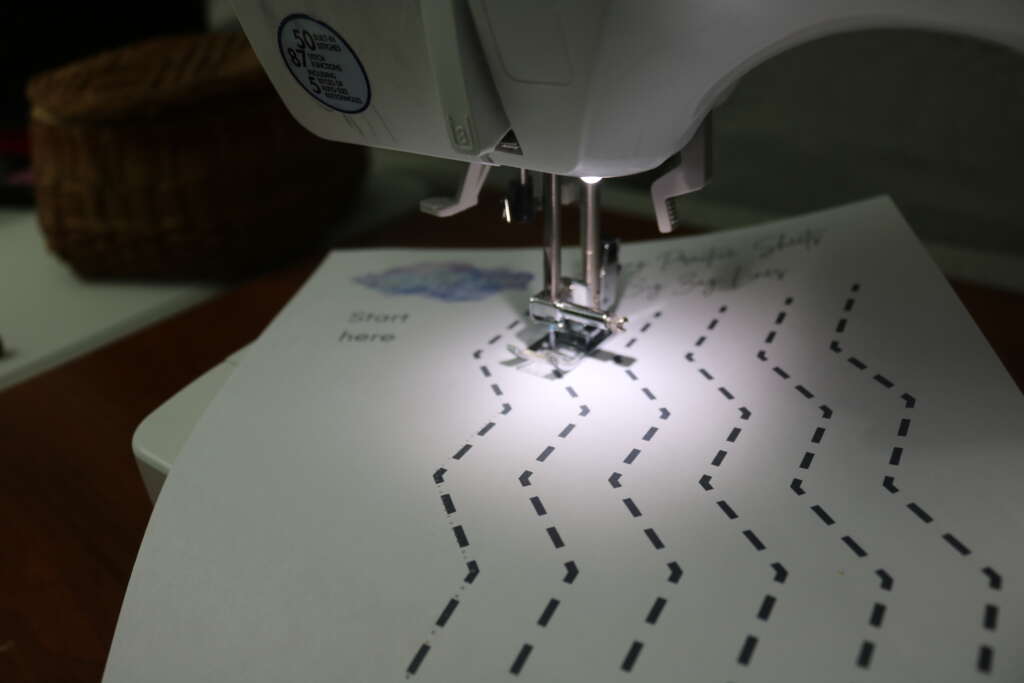
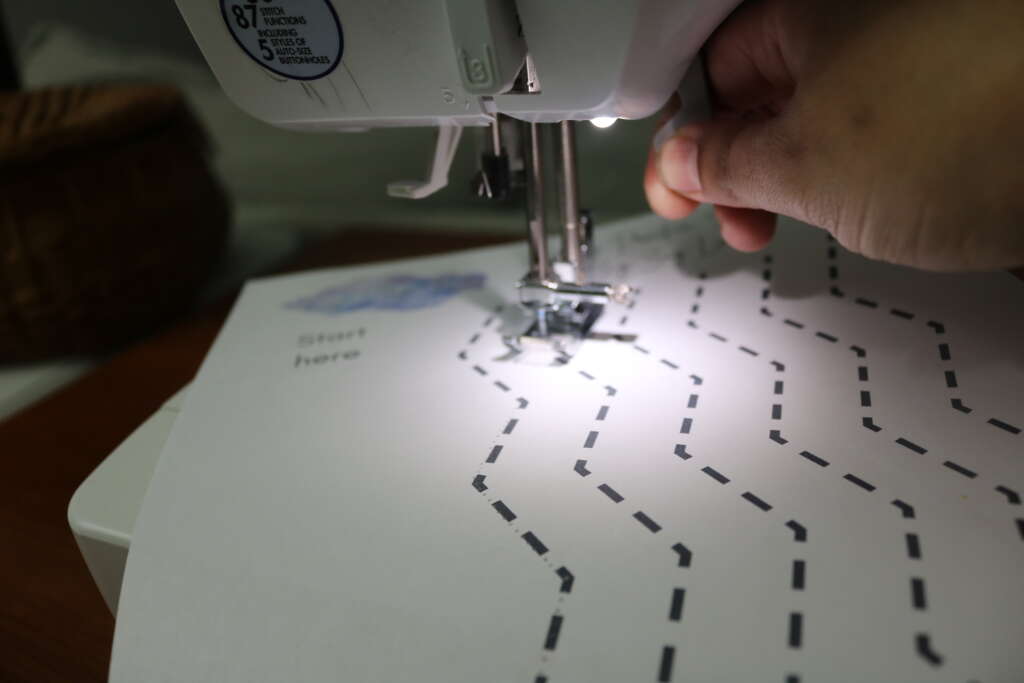
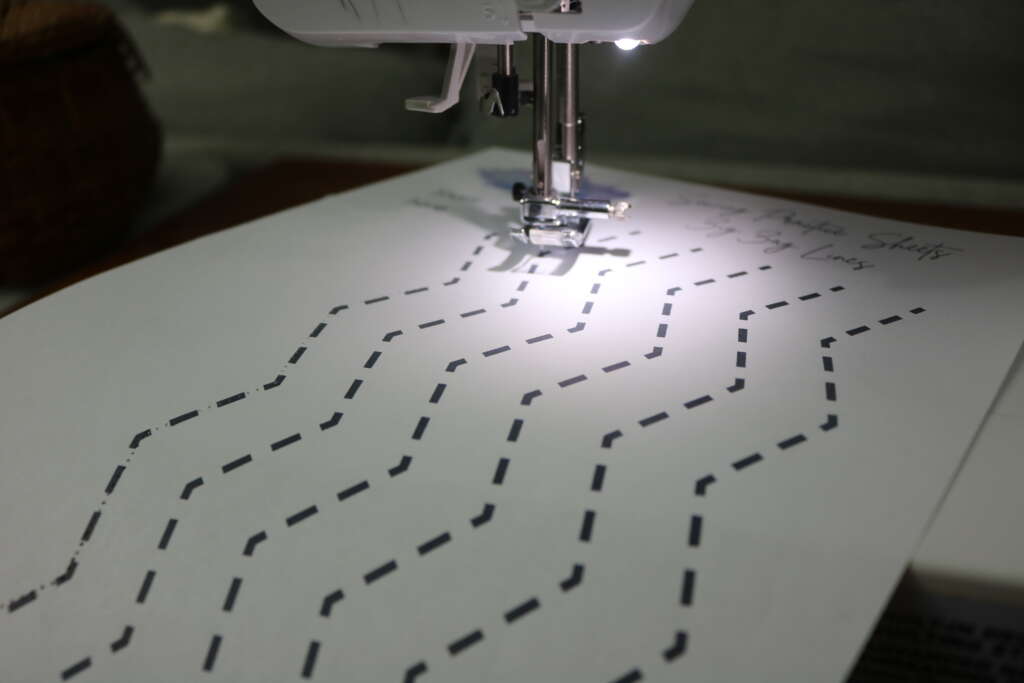
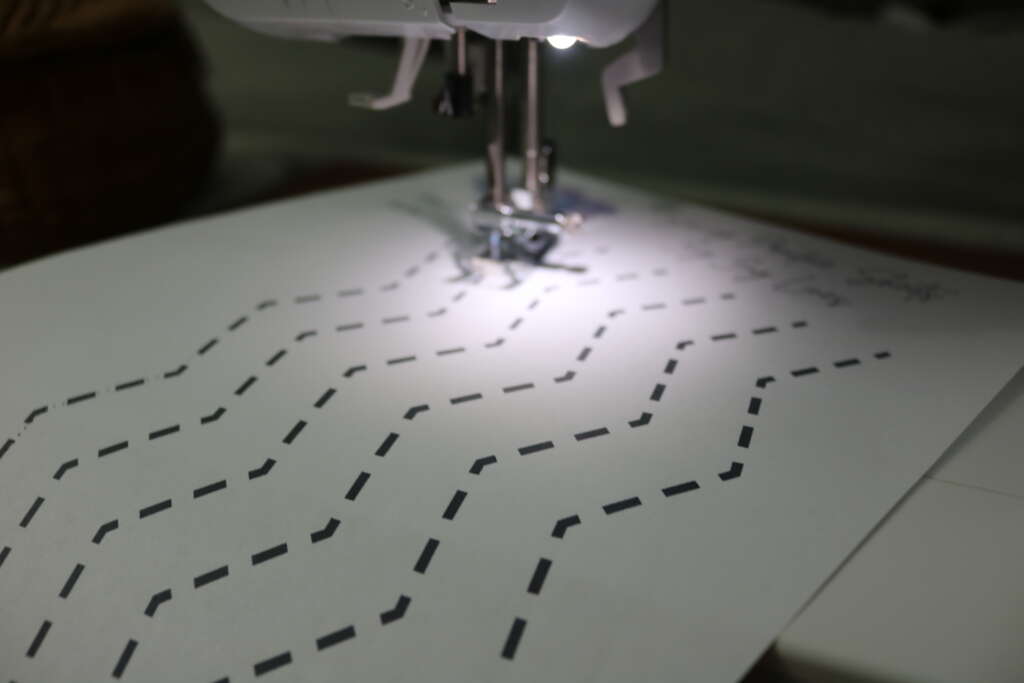
Page 2 and 3 – Zig Zag Lines and Straight Line Path
Sew to the first point/corner.
Stop, and lift the presser foot.
Lower presser foot, and sew to the next point.
Repeat until you have completed the exercise.
Zig Zag Lines
Straight Path
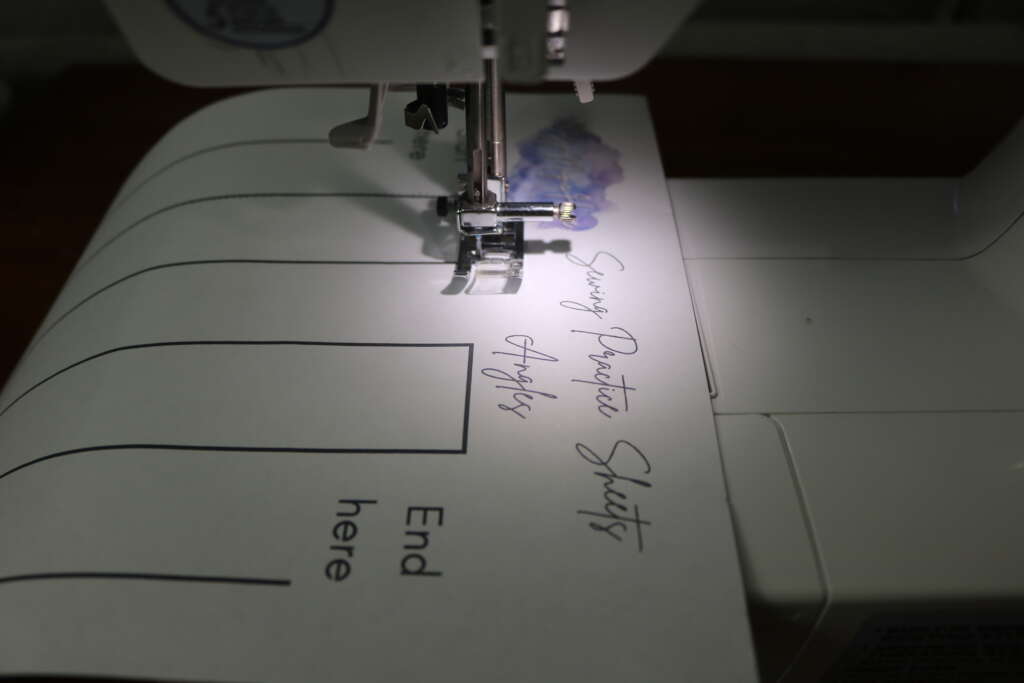
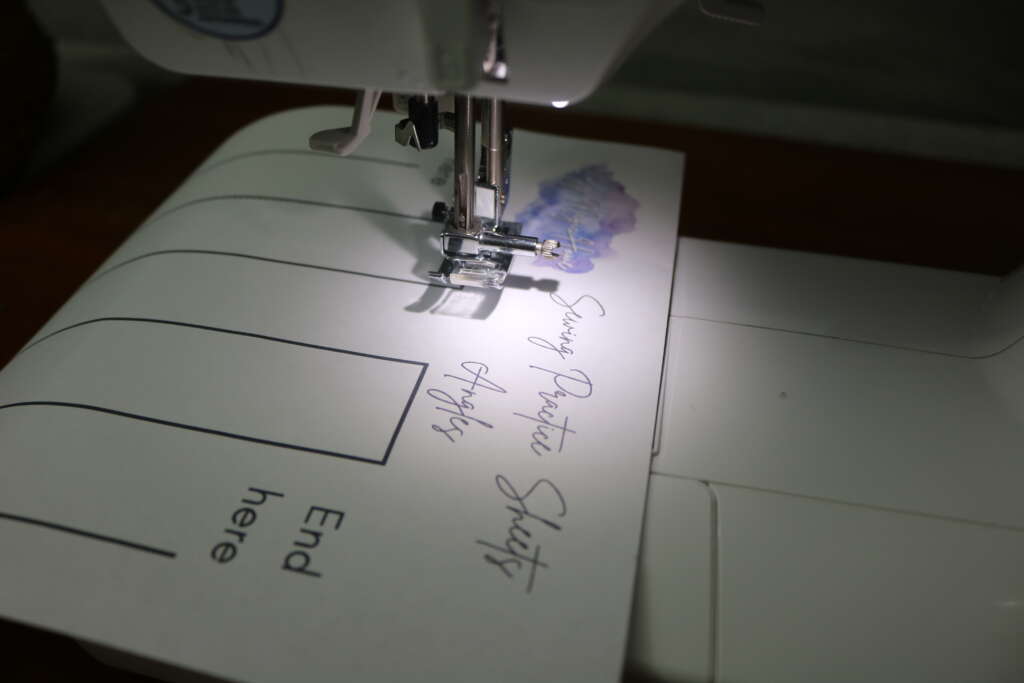
Page 4 – Wavy Lines and Spiral
Sew slowly!
The goal of practicing stitching on this pattern is to help you control your speed, as well as getting used to maneuvering your paper (which will eventually be your fabric) appropriately.
As you approach a curve, slowly start to move your sheet of paper clockwise, so that the black line is always under the needle.
I also found that with my spiral page, I had to roll the paper under the throat of the machine to make sure it didn’t get too crumpled.
Though it is possible to use one hand, I found sewing slowly and using both hands gave me the best control.
Feel free to stop sewing and adjust your paper by lifting the presser like you did for pages 2-3 if needed. I know I had to do that a lot.
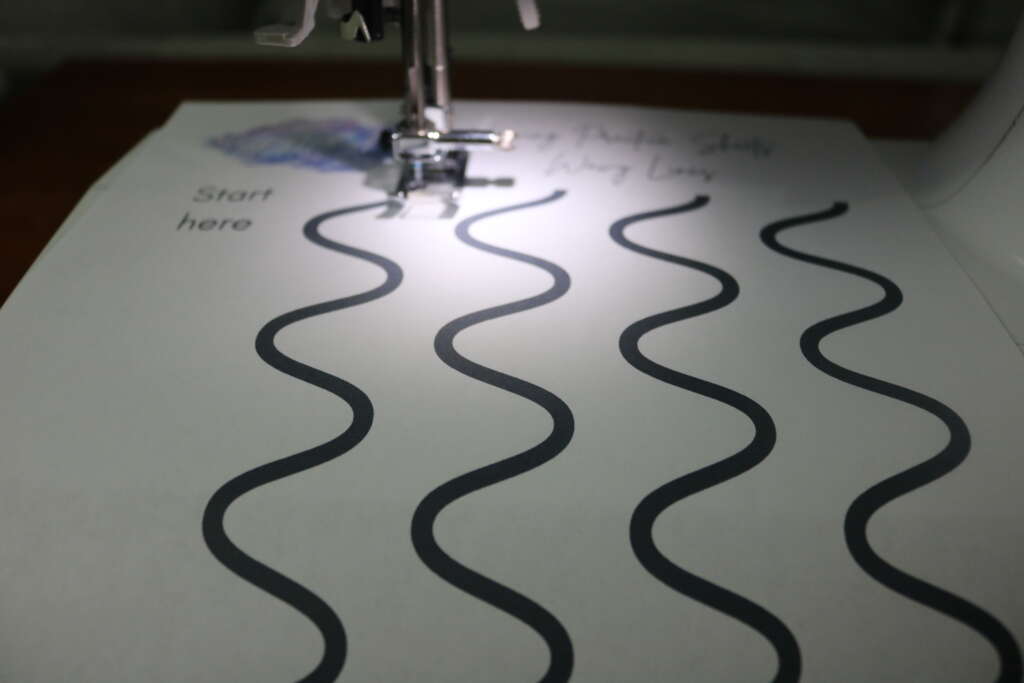
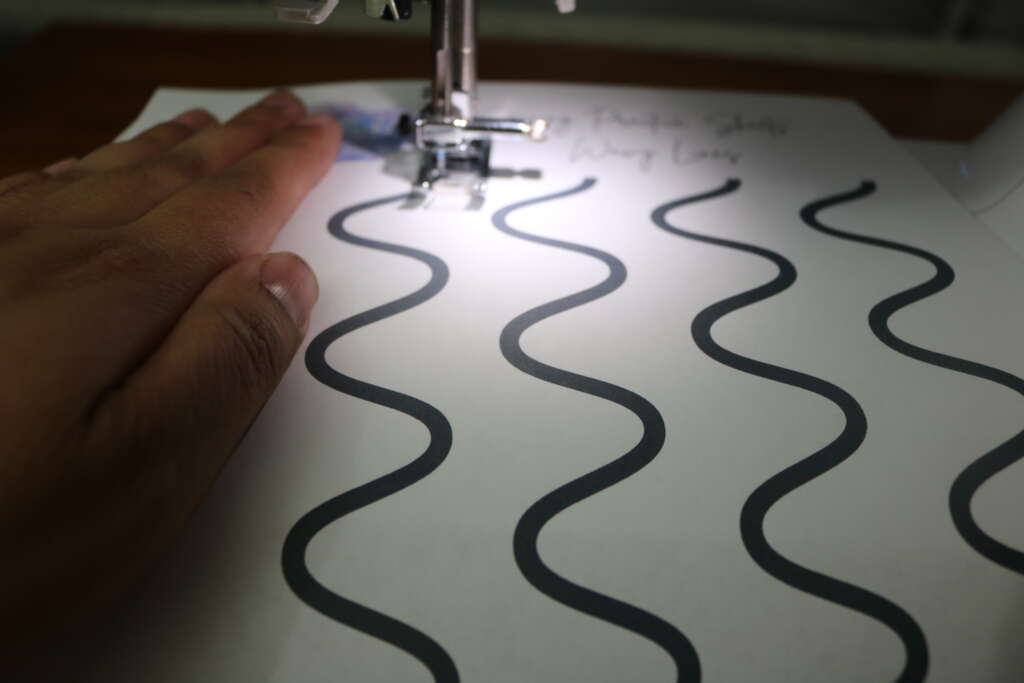
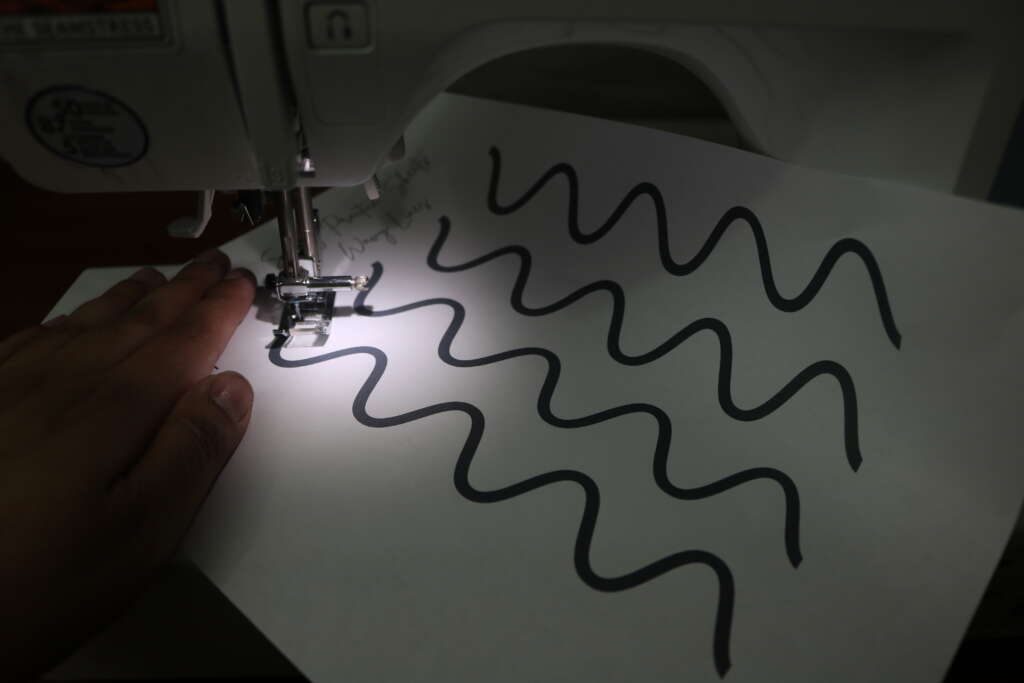
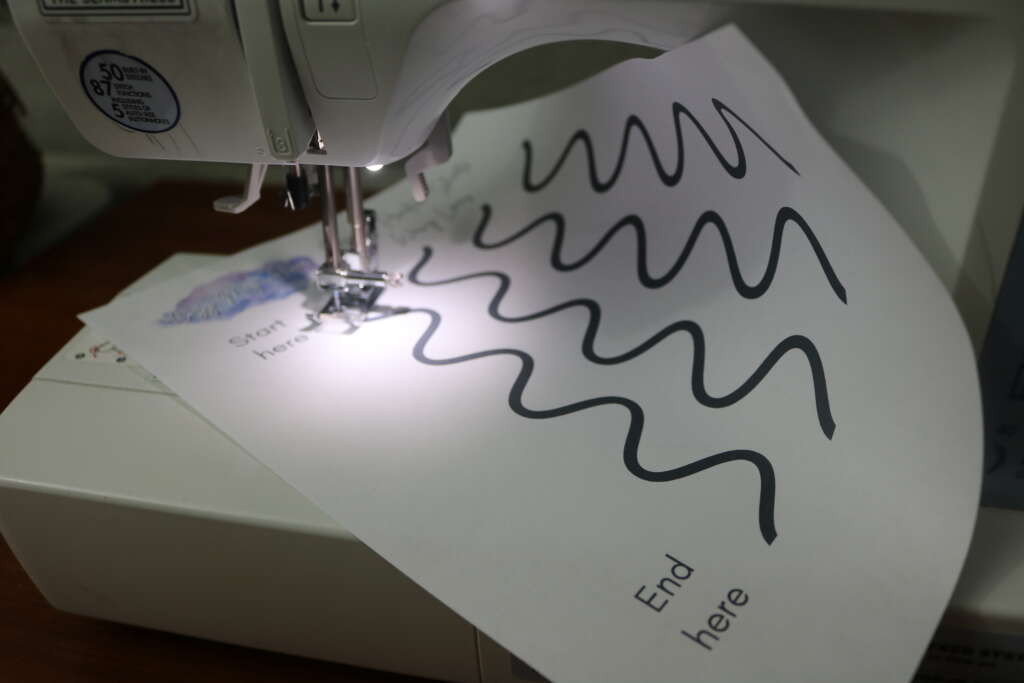
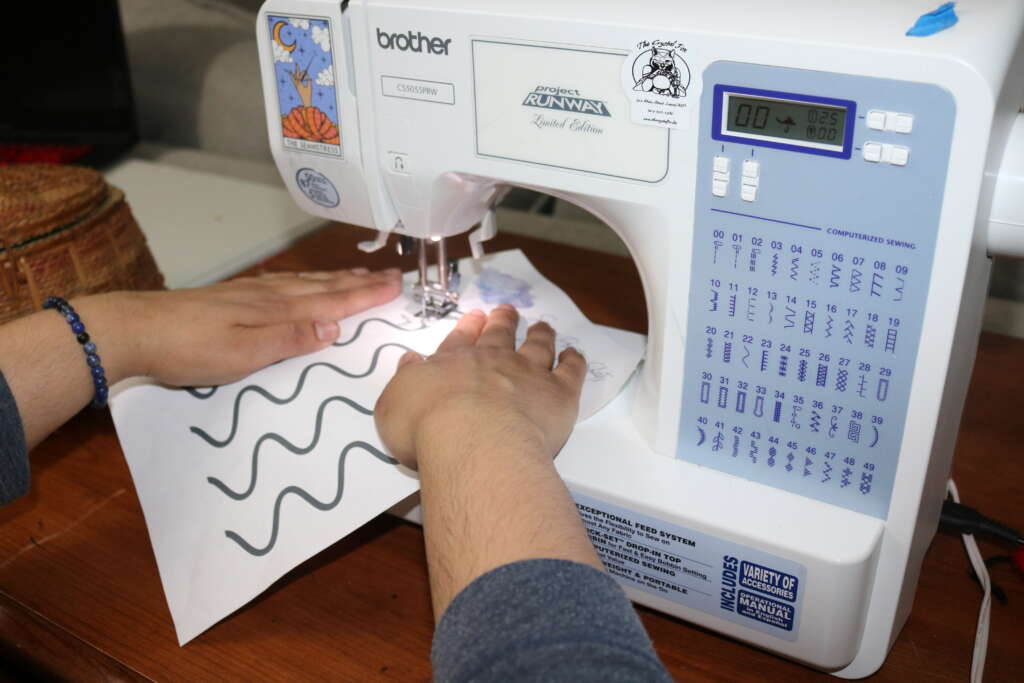
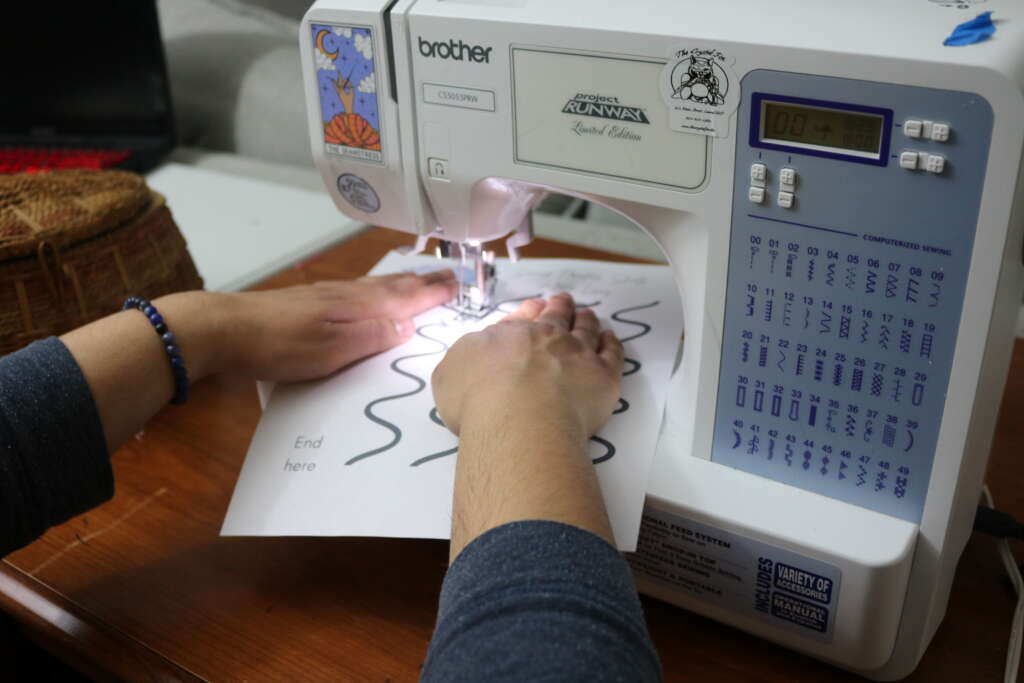
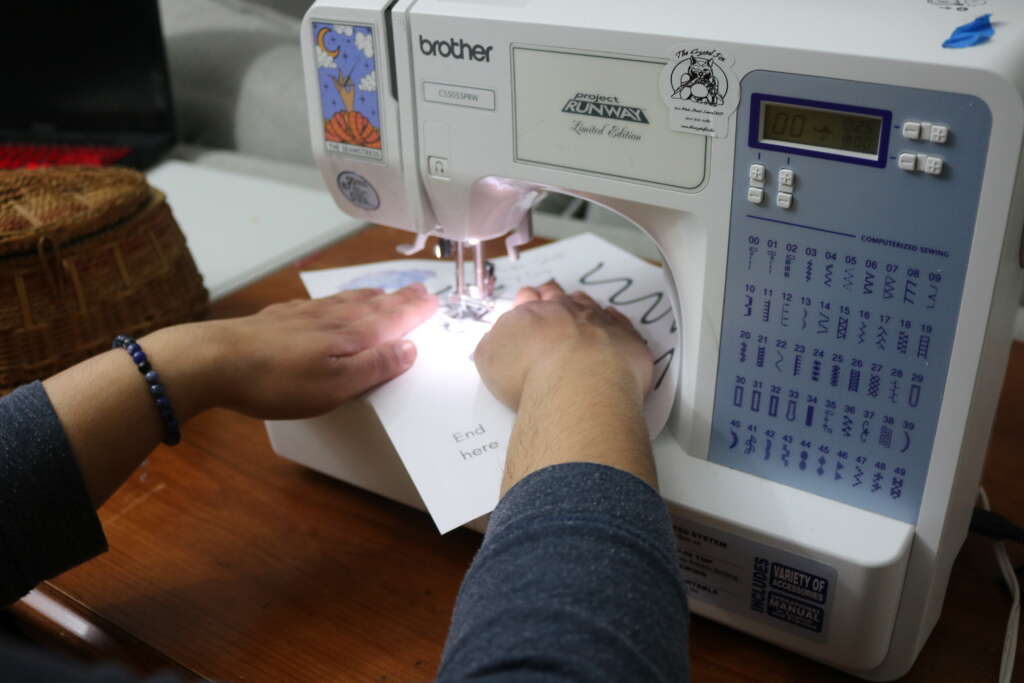
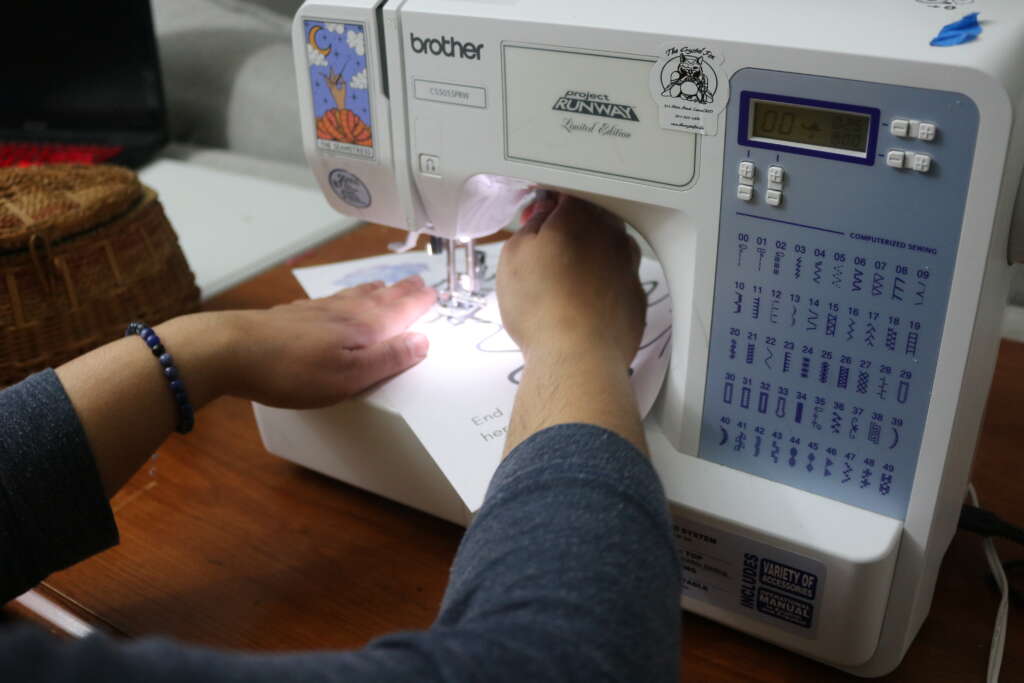
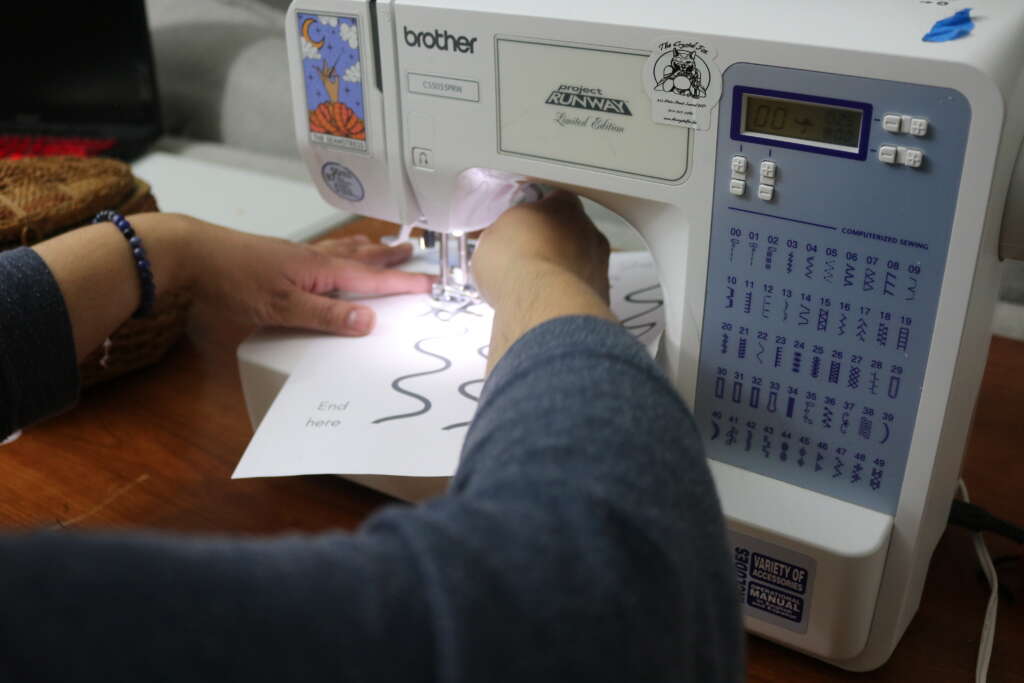
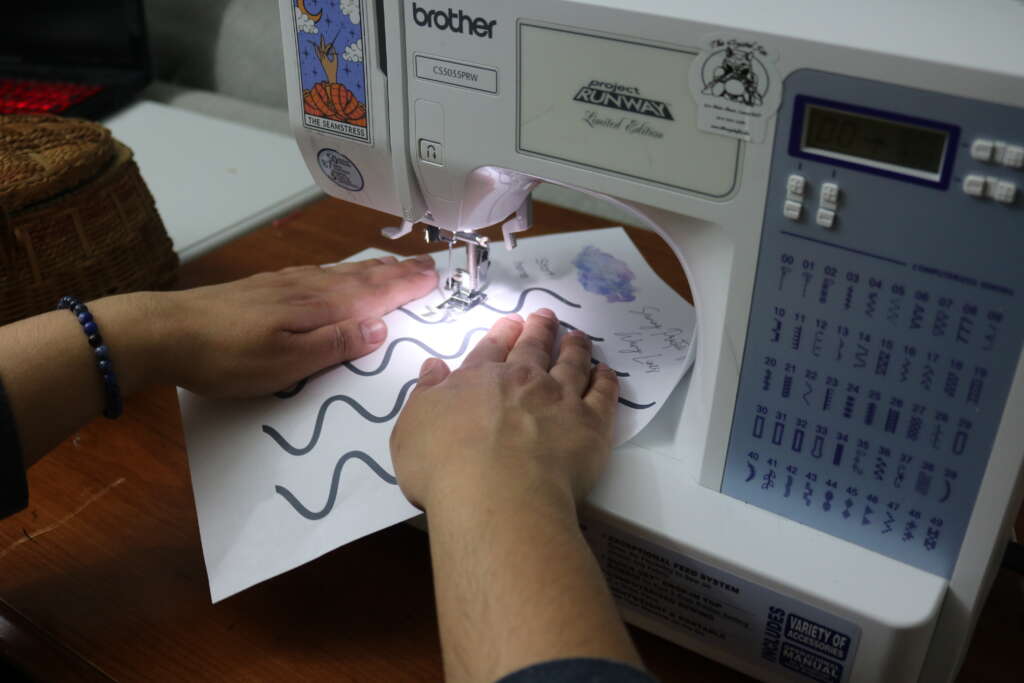
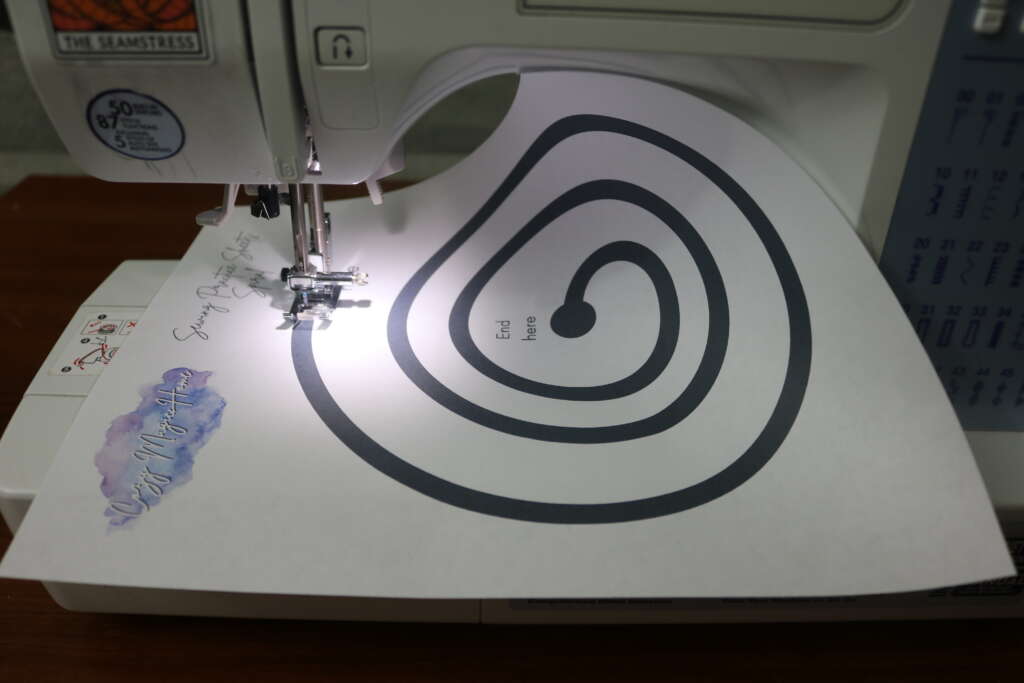

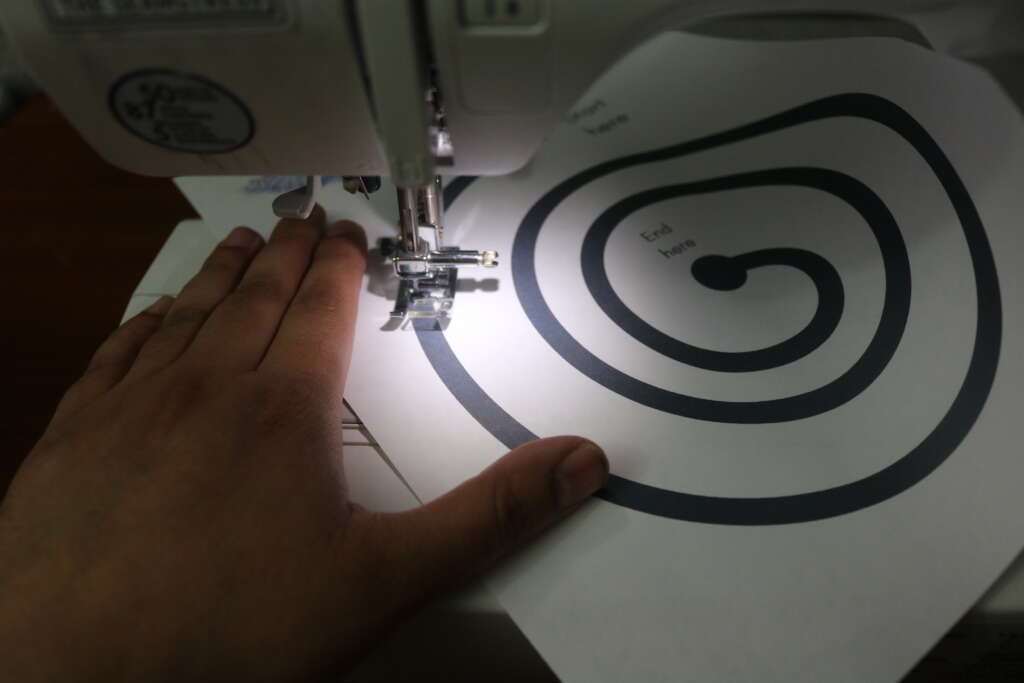
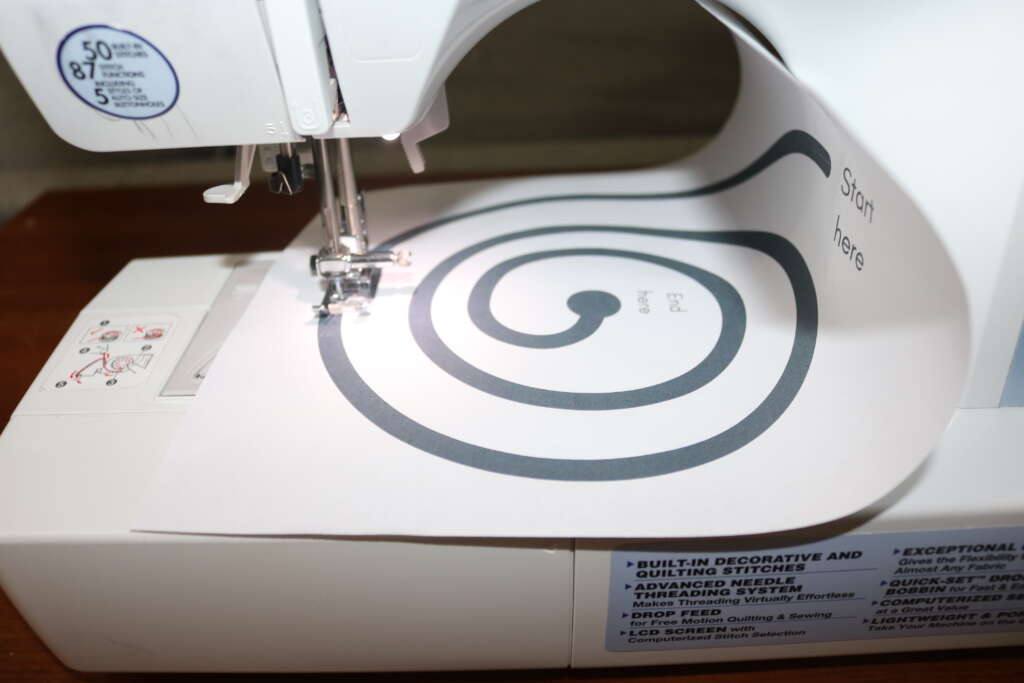
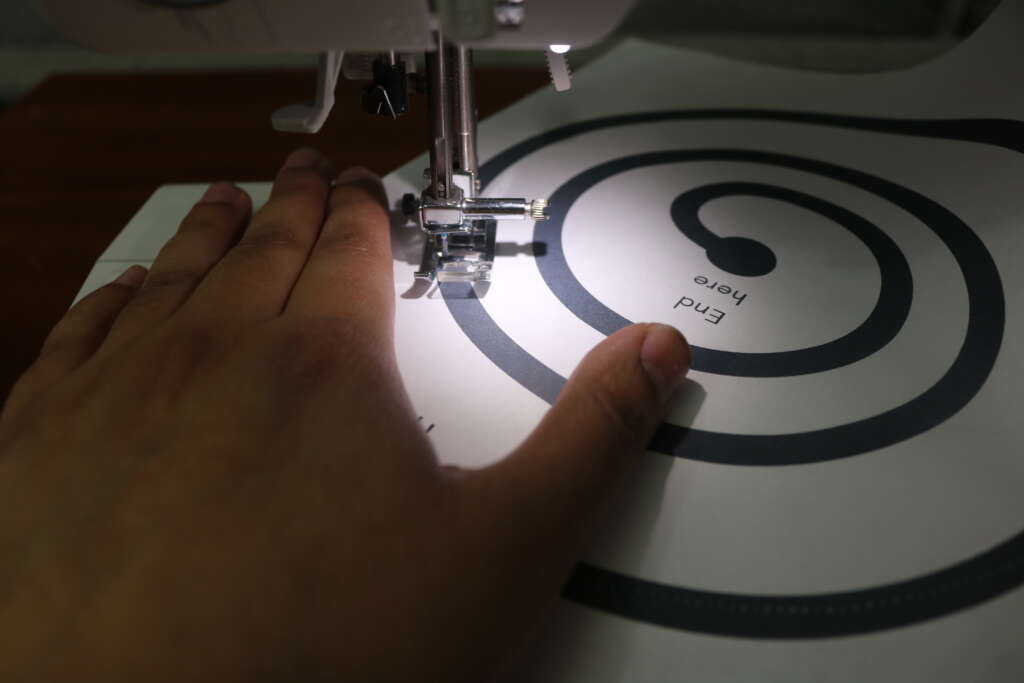
A way of checking how well you did is turning the paper over. Holding it up to the light shows how well you stayed in the lines!
If you would prefer to watch a video, I’ve made some mini videos that are available Facebook, Instagram and TikTok
I’d love to see how it turned out for you. Feel free to tag me on the above social media sites using my handle @cozymagichome . If you have any other questions, please feel free to drop a comment below. I would love to help!
As ever, may your home full of cozy magic.
Blessed Be,
Amrita