
My kiddo is a big reader, so I thought it would be fun to make her a reading cushion!
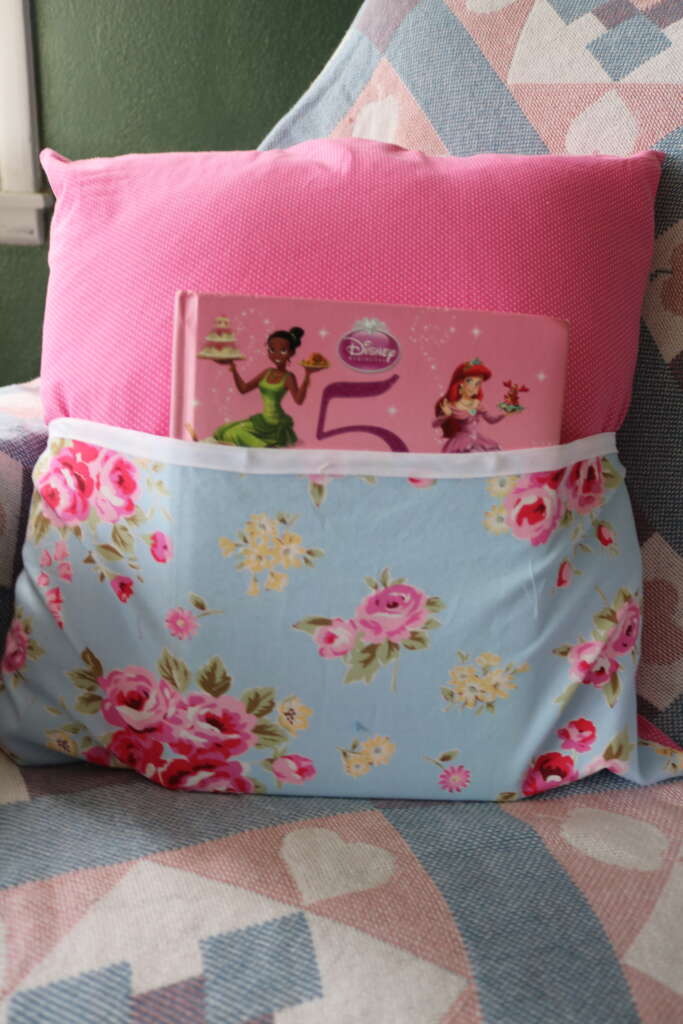
I almost made this project so that I would stuff it with toy stuffing (I have a fair amount of it!), but I decided to expand my horizons by adding a zipper.
Five years ago, my mother-in-law bought me my sewing machine and gave me some basic sewing lessons, including how to attach a zipper. I have tried adding zippers on various things since then, and it has always gone horribly.
I’m not sure why I thought this would be a great project to try adding a zipper to, based on that one lesson from my MIL all those year ago, but here we are!
Fabric
The main body of the pillow is quilting cotton, and the pocket is made of duck canvas.
In hindsight, I think I should have added something to the cotton and maybe doubled up on the canvas to make the cushion feel more robust. Having said that, this reading cushion is functional. It just feels a little thin.
As long as the fabric you use has not a stretch, I think it would work for this project.
Sizing
My pillow insert is 20in x 20in, and I intentionally cut out my fabric slightly larger initially.
I trimmed my fabric as I went, and including the seam allowance, my cushion ended up being 18in by 18in.
As the cushion insert slightly is bigger than the cushion cover, it fills it out really well. This maybe something to consider when making your own.
Items I Used
x2 pieces of 20 by 20 in fabric square
x1 20in by10in fabric rectangle
x1 20in long double folded bias tape in a color of your choice
16in Invisible Zipper
Appropriately sized pillow insert
Seam Ripper
Coordinating thread
Sewing Machine
Pencil/chopstick.
Instructions
Sew bias tape over the top long raw edge of the rectangle. Sew with a 0.25in seam allowance.
Put the just sewn rectangle on top of one of the squares, with the bottom raw edges lined up. Pin and sew in place with a 0.25in seam allowance. (note: I just sewed the bottom, but you can sew around all three sides of the rectangle if you want).
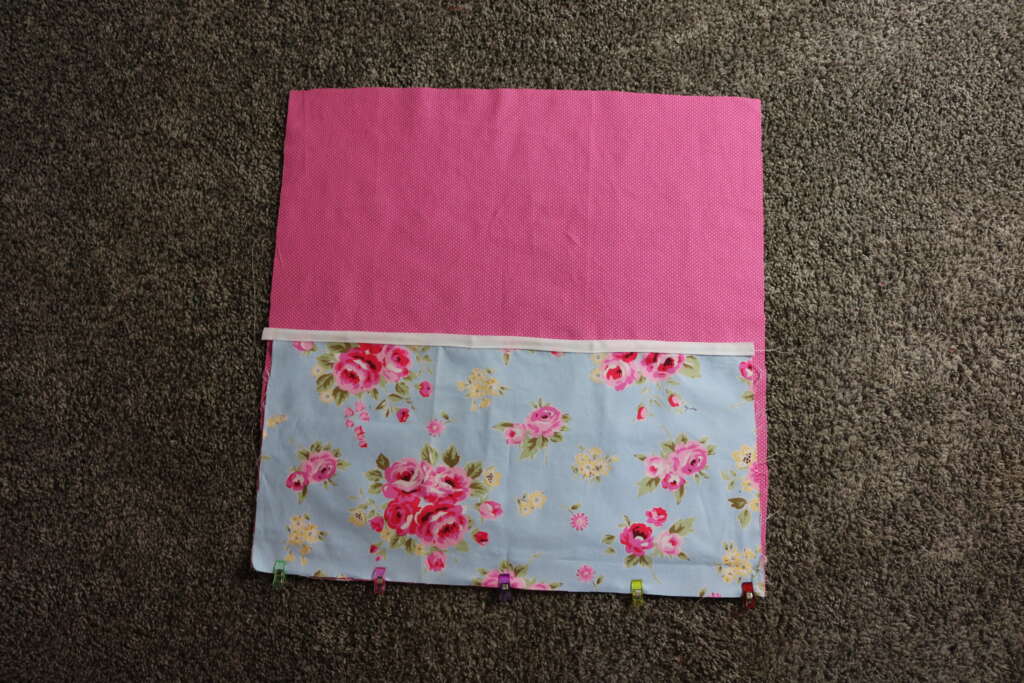
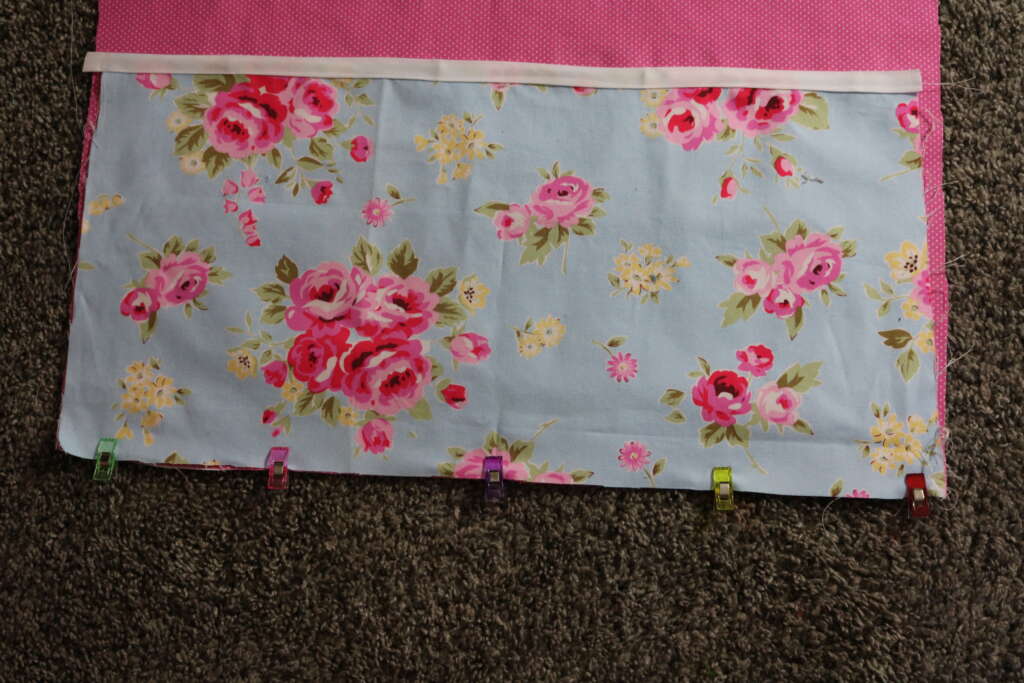
Place the two squares right sides together (so the ‘wrong’ side is facing up), making sure all raw edges are aligned.
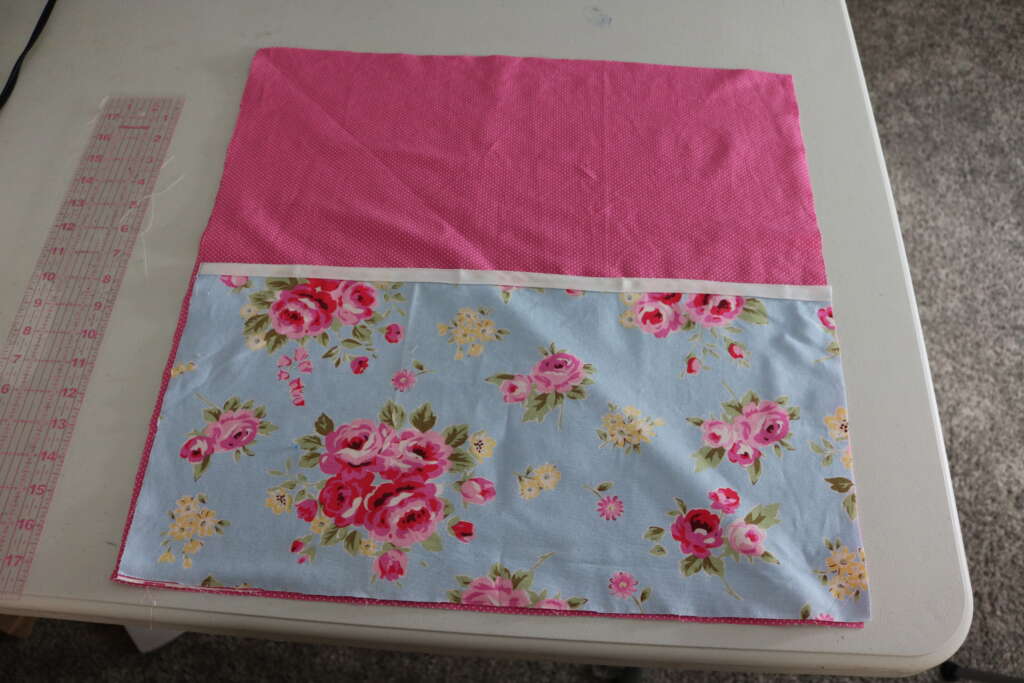

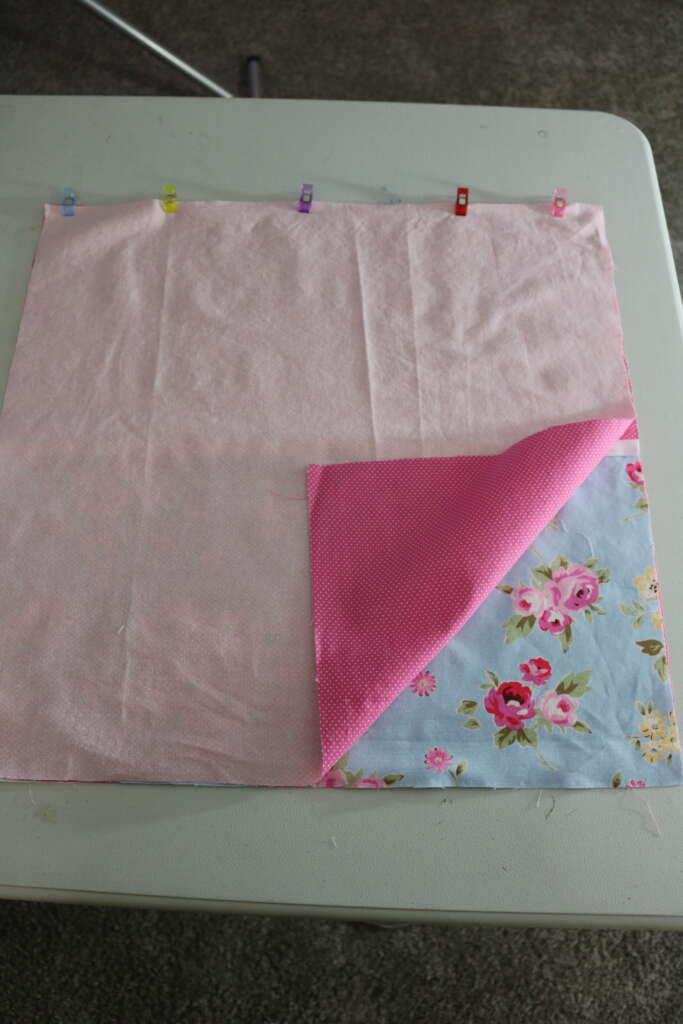
Pin and baste stitch with a 0.5in seam allowance.
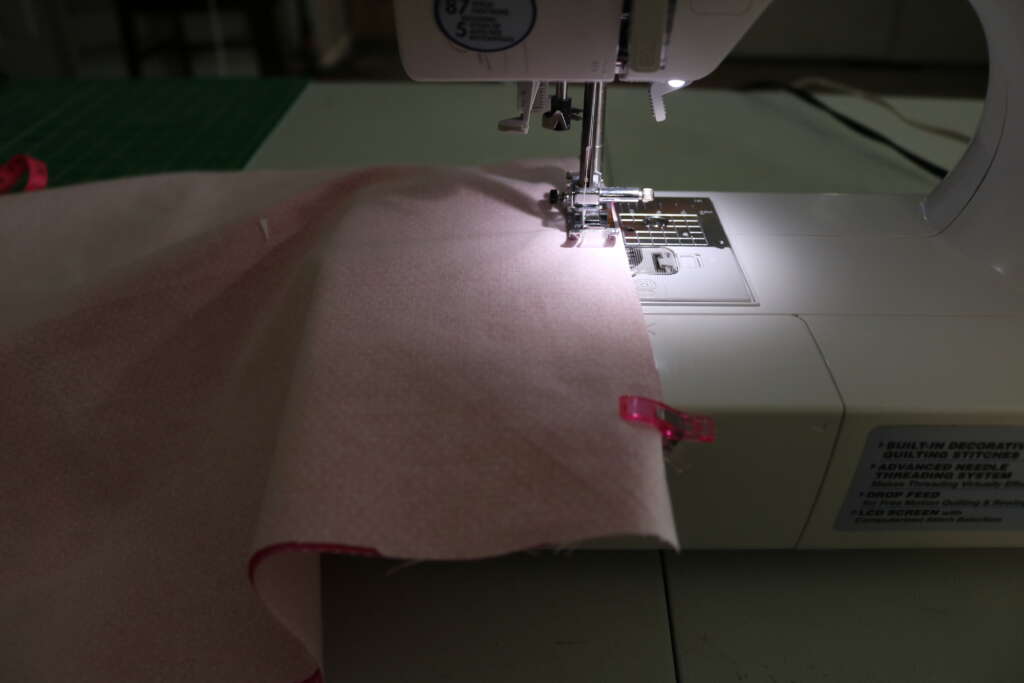
Press out the seam.
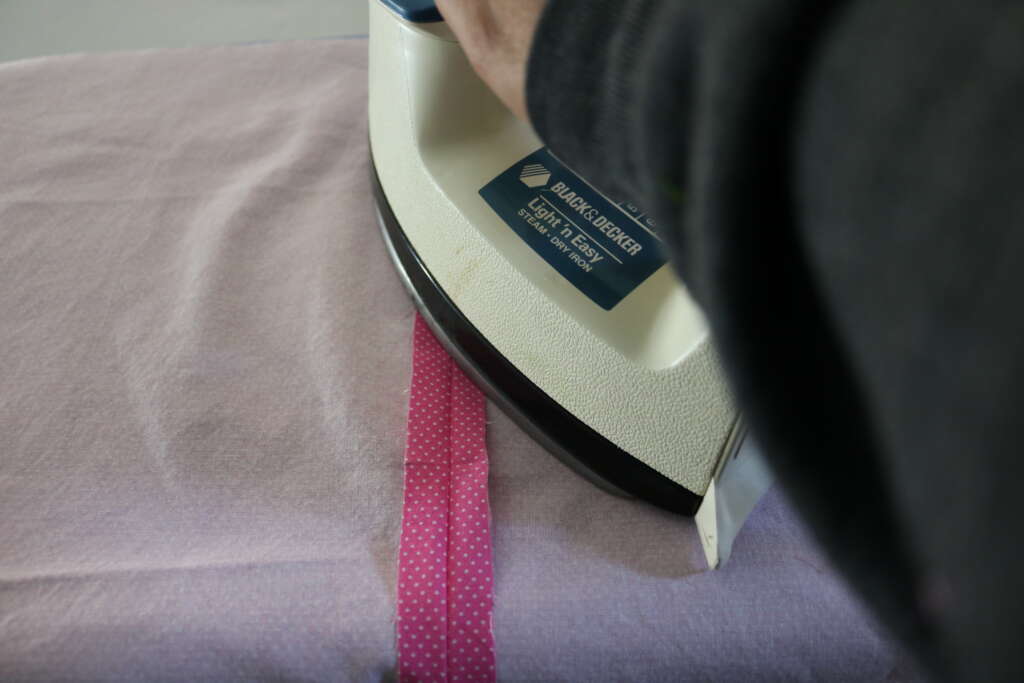
Fold cushion in half and press to mark the half way mark.
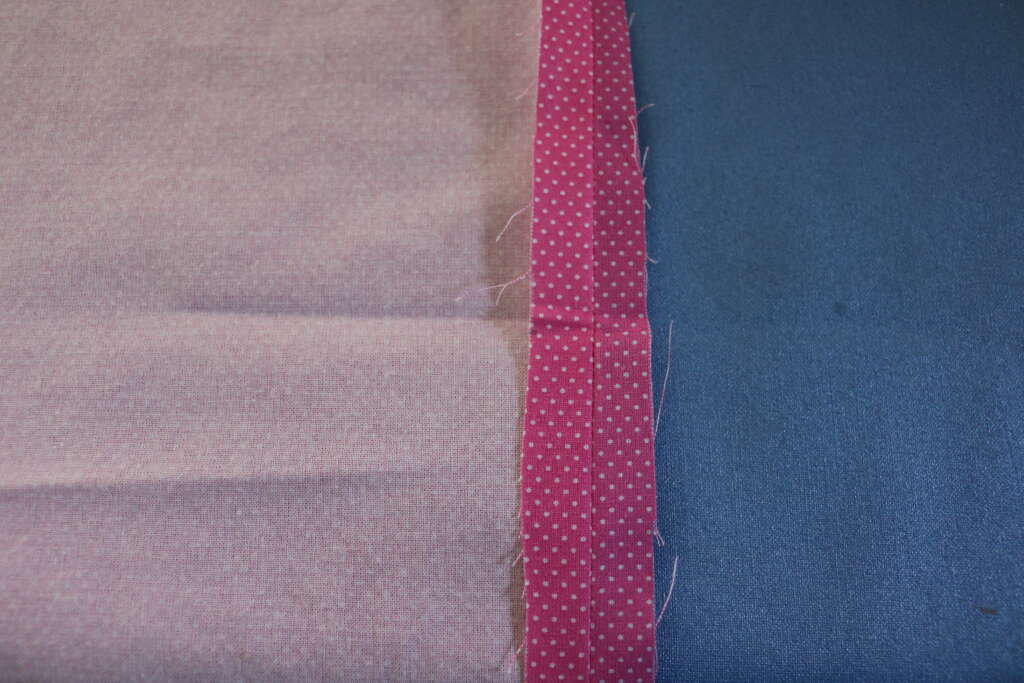
Ensuring the main body of the fabric is under one edge, pin one side of the zipper on the seam with no fabric under it. Make sure the edges are aligned, and the middle of the zipper and fabric are also aligned.
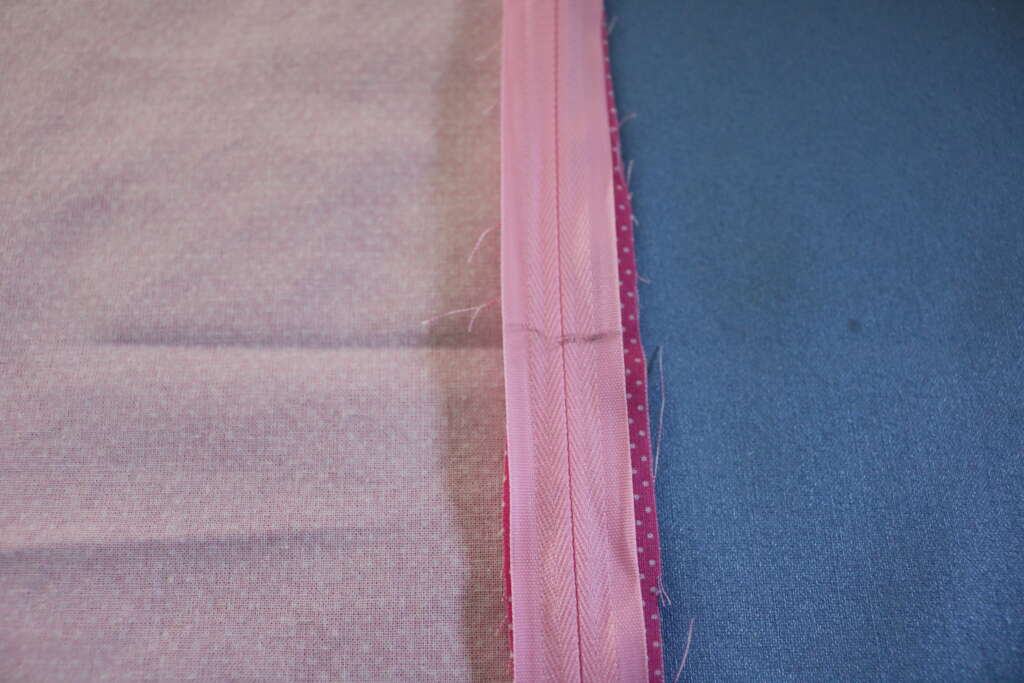
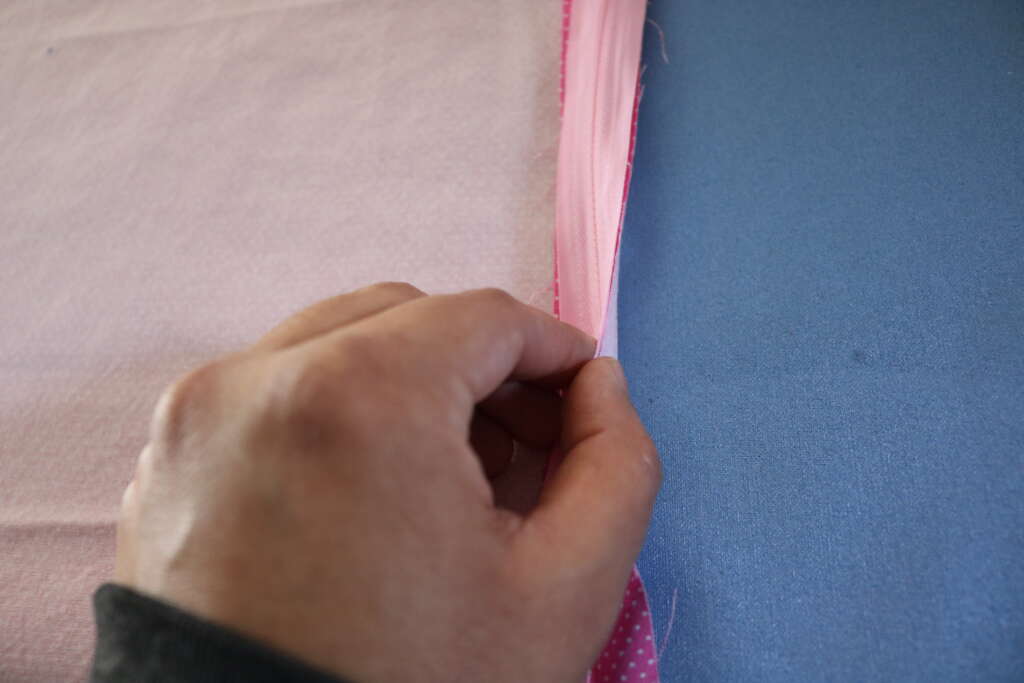
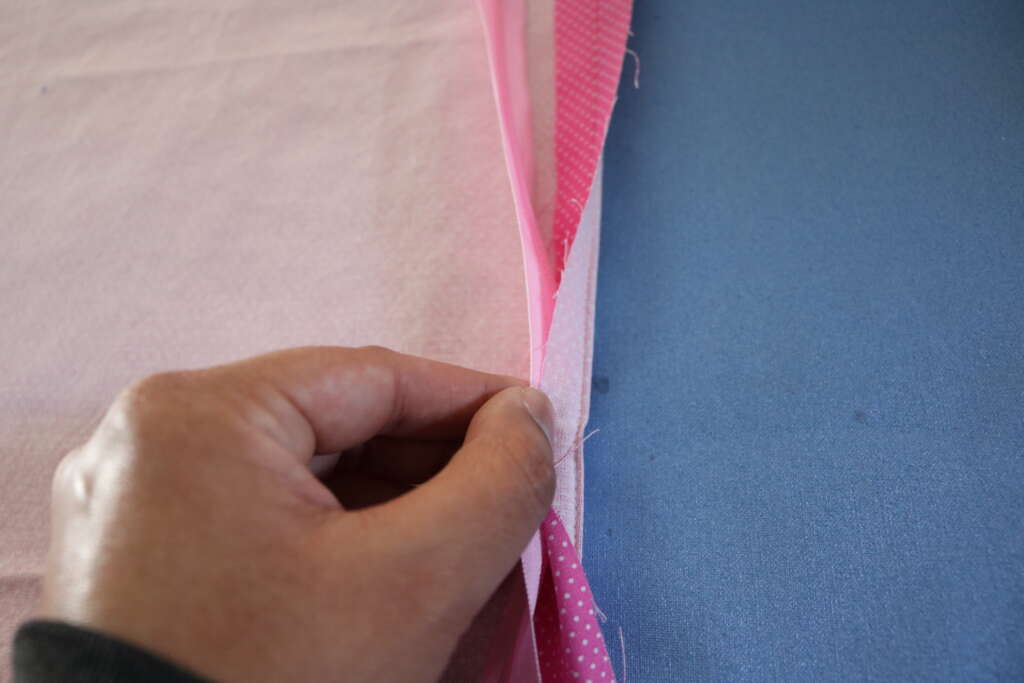
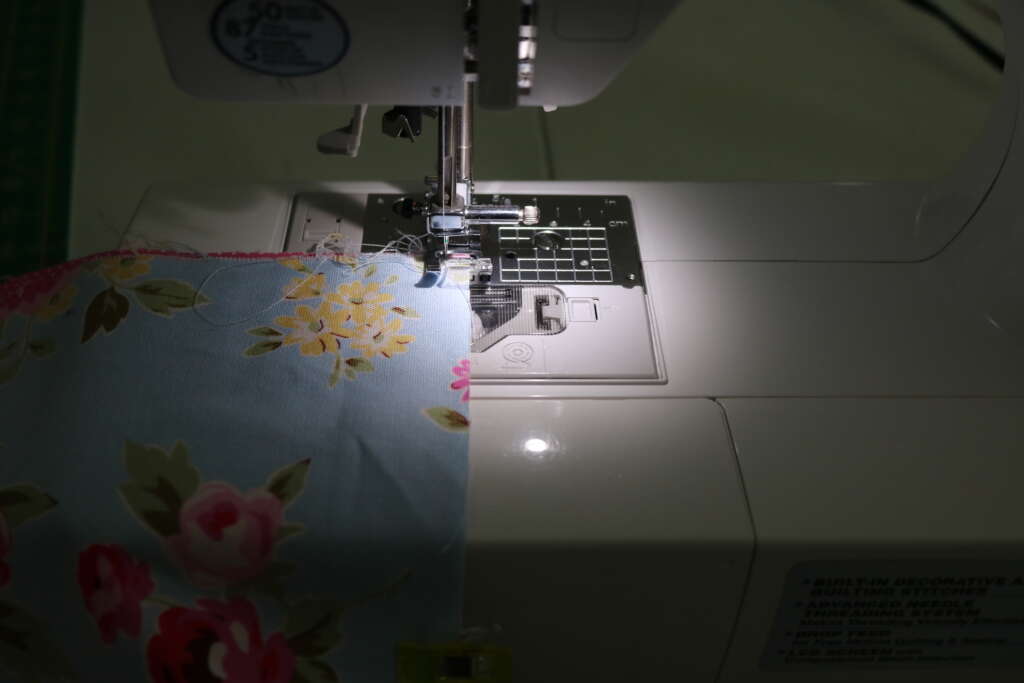
Using a zipper foot, sew in place with a 0.25in seam allowance.

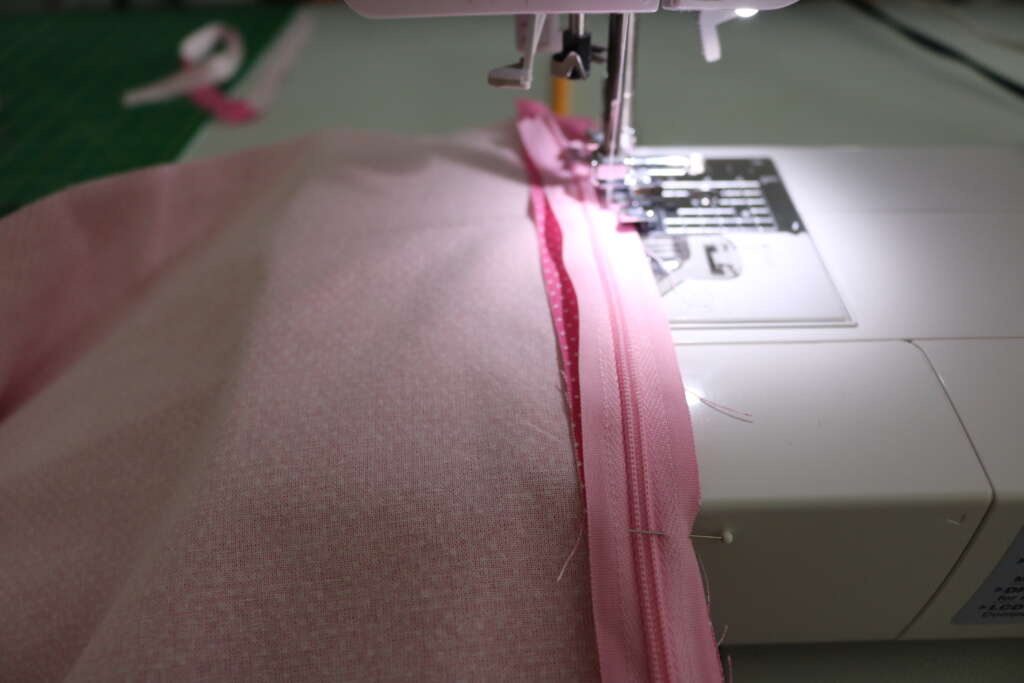
Flip the main body of the fabric under the zipper side just sewn, and pin the unsewn side of zipper in place. Sew in place. I also ensured to sew the shorter ends by moving the presser foot when needed.
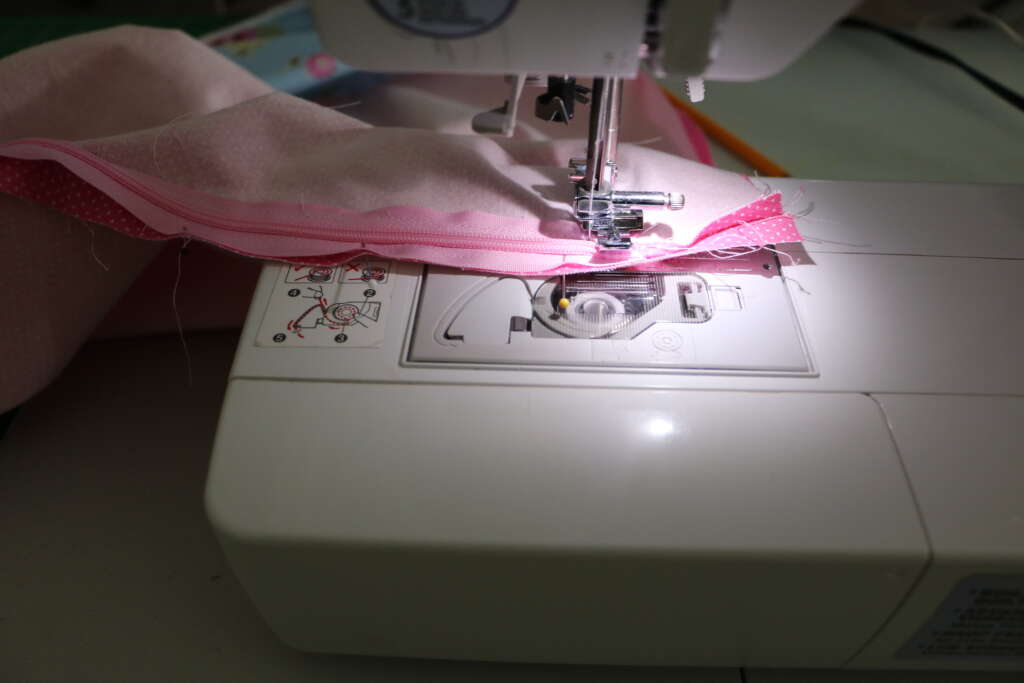
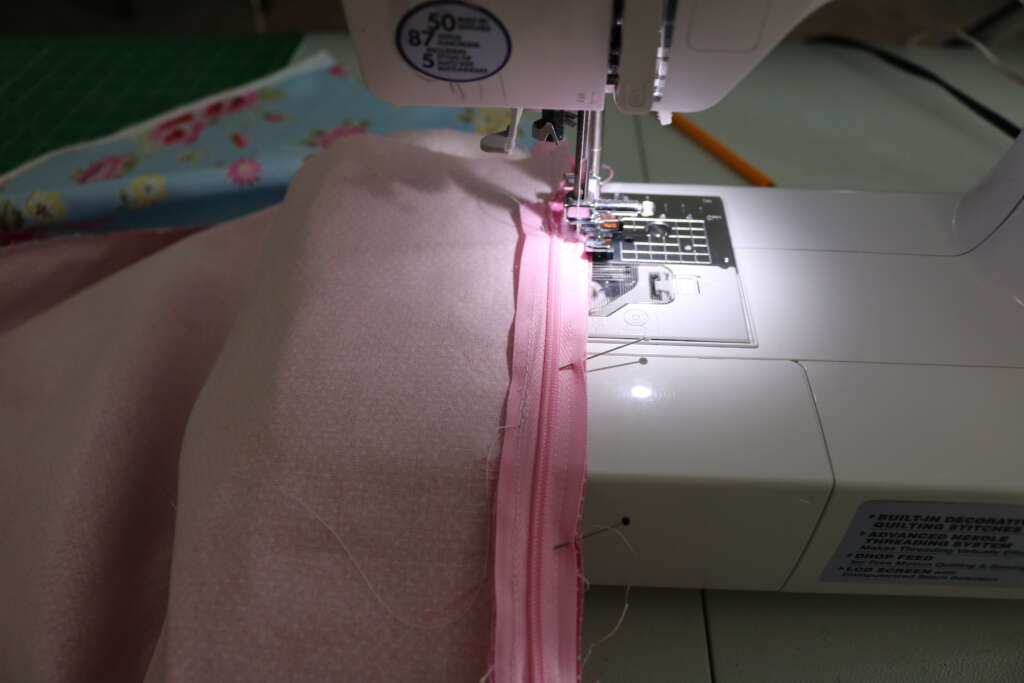
Turn the fabric over, and top stitch 0.25in from center seam, pivoting around corners as required.
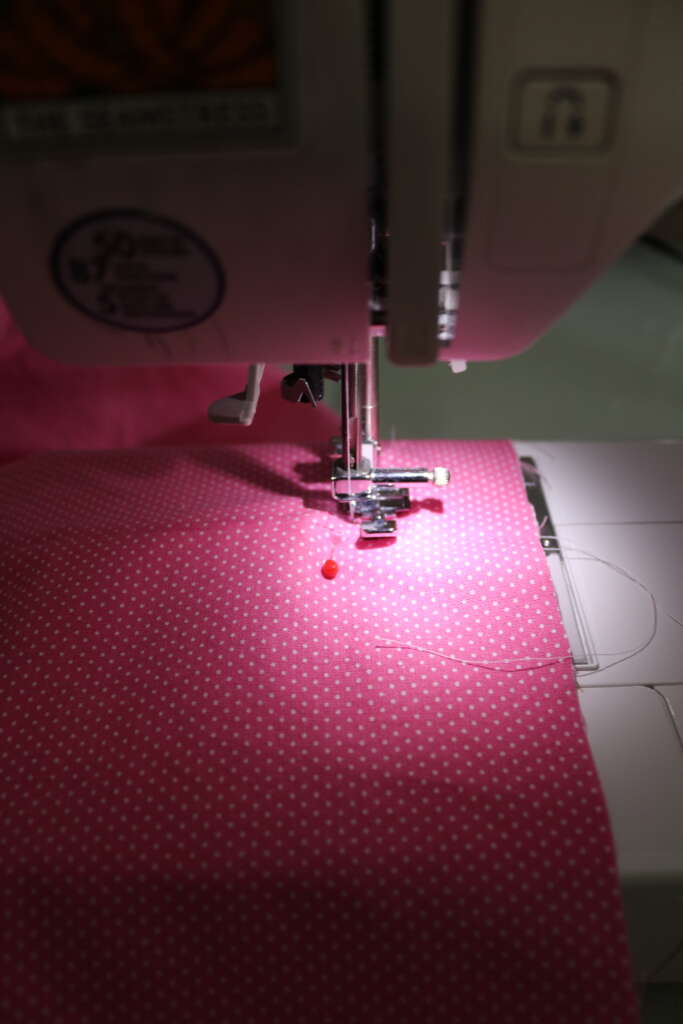

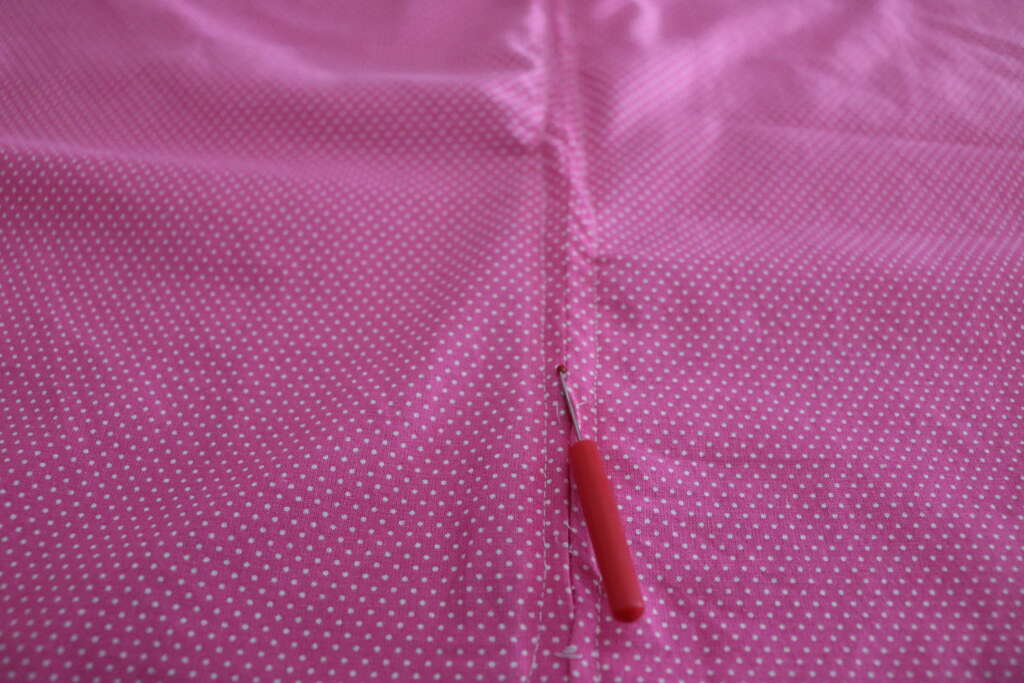
Note: I did this, and while one side worked beautifully, the other side did not. In the end to get the zipper to work, I had to unpick one side. So I know how it should work, but I didn’t quite execute it the way I think it should have gone. The zipper is still sturdy, so I’m not too unhappy!
Place a pin at the top and bottom of zipper placement.

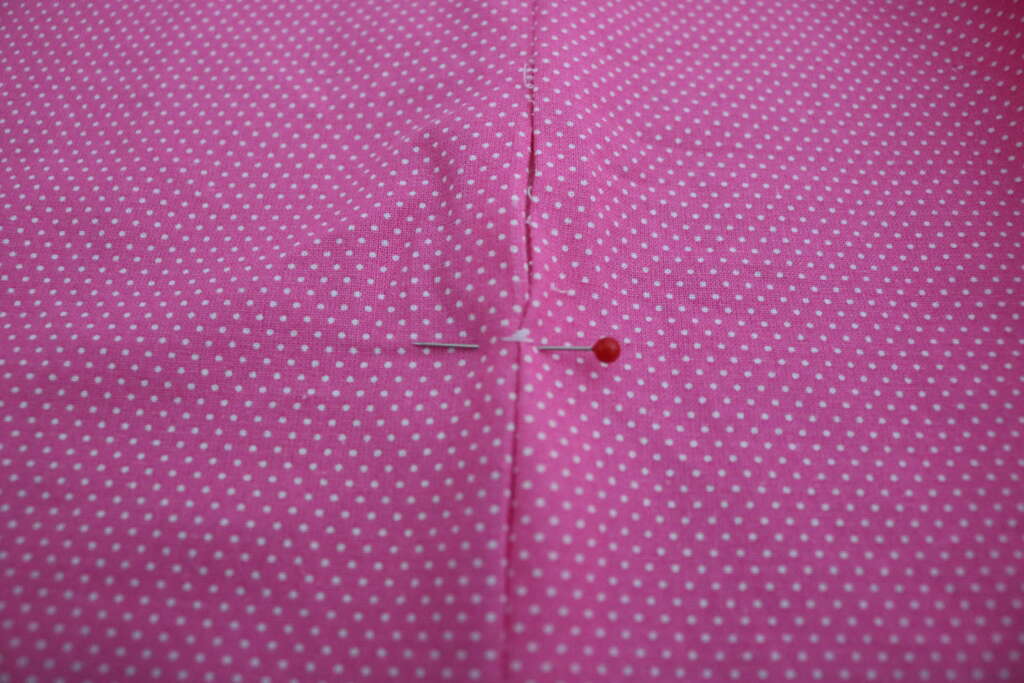
Unpick with seam ripper.
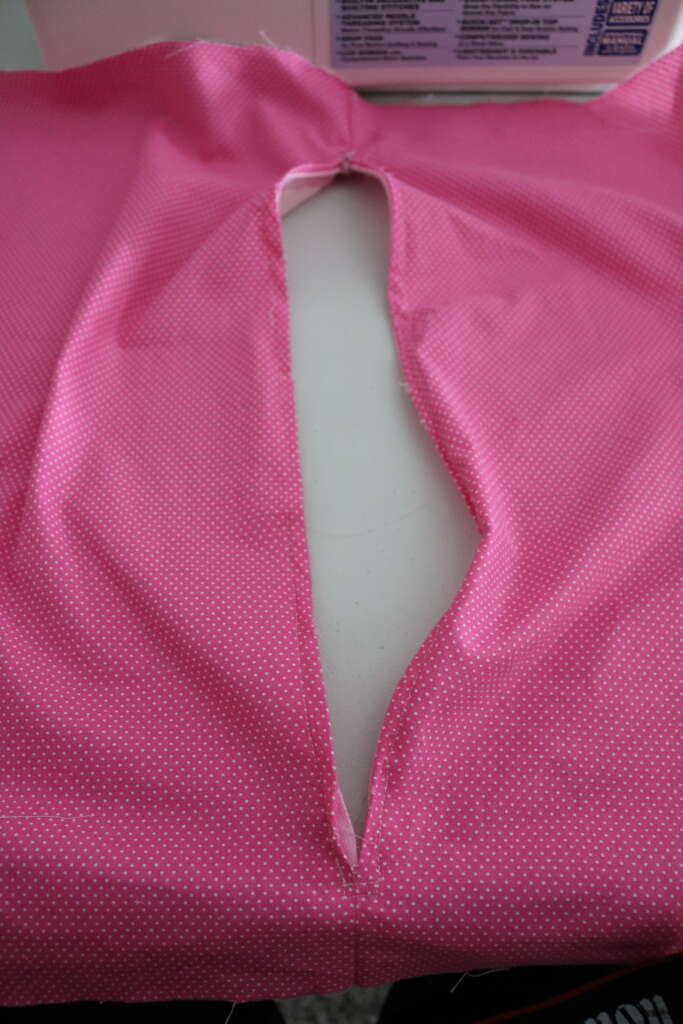
Unzip zipper.
Place cushion covers right side together and pin in place.
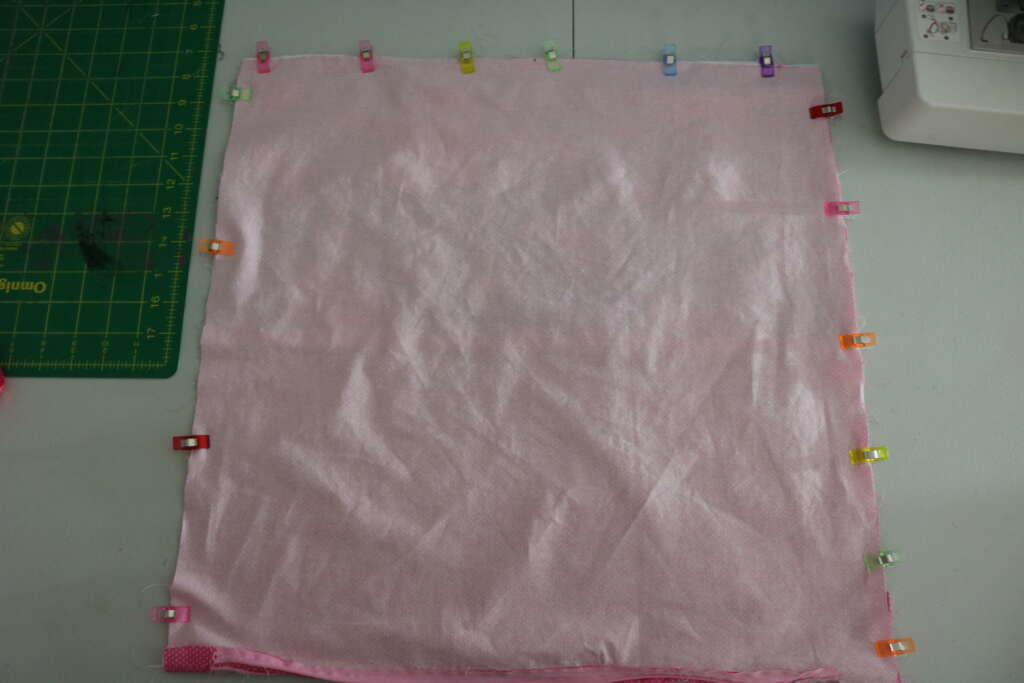
Sew with a 0.5in seam allowance.
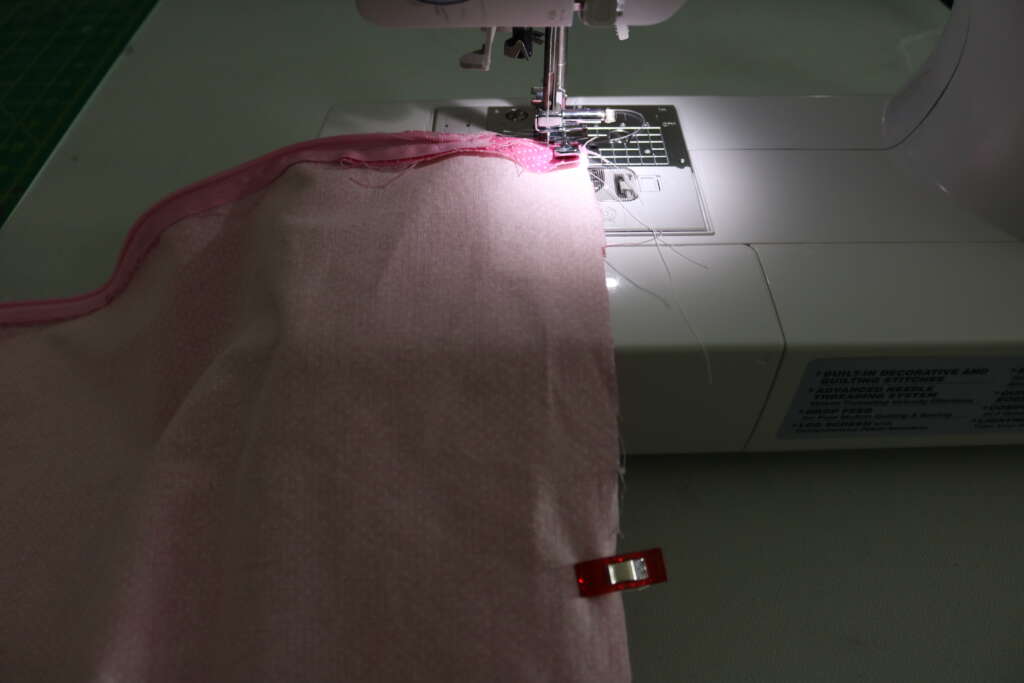
Clip corners and cut of any excess fabric (I used pinking shears, but this is optional).
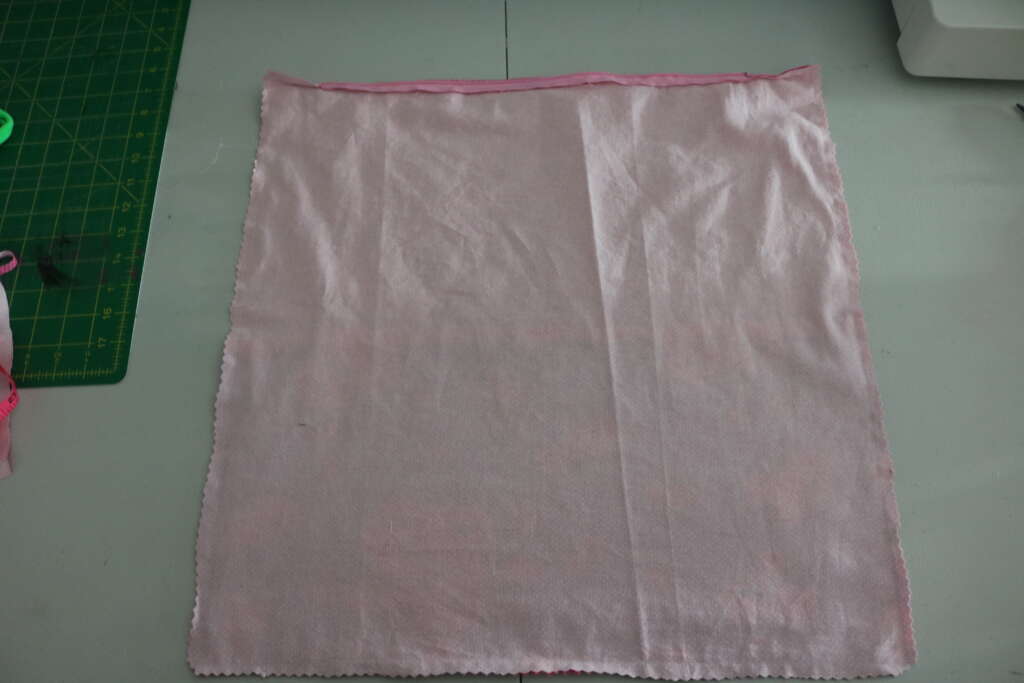
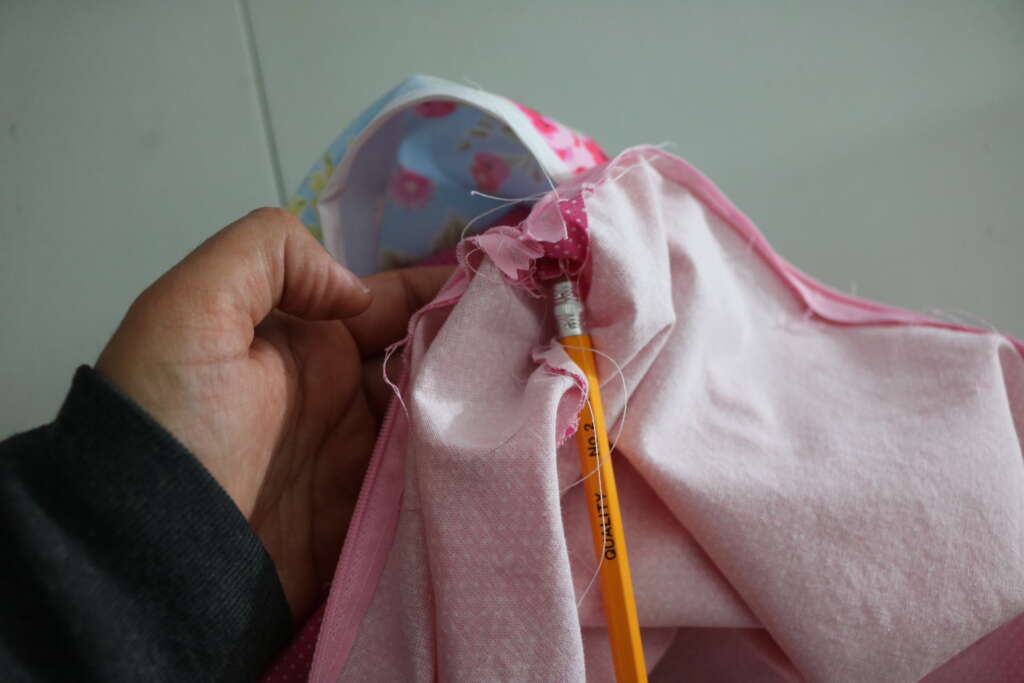
Turn cushion right way round. Push out corners with the end of a pencil/chopstick.
Put in cushion insert and zip closed.
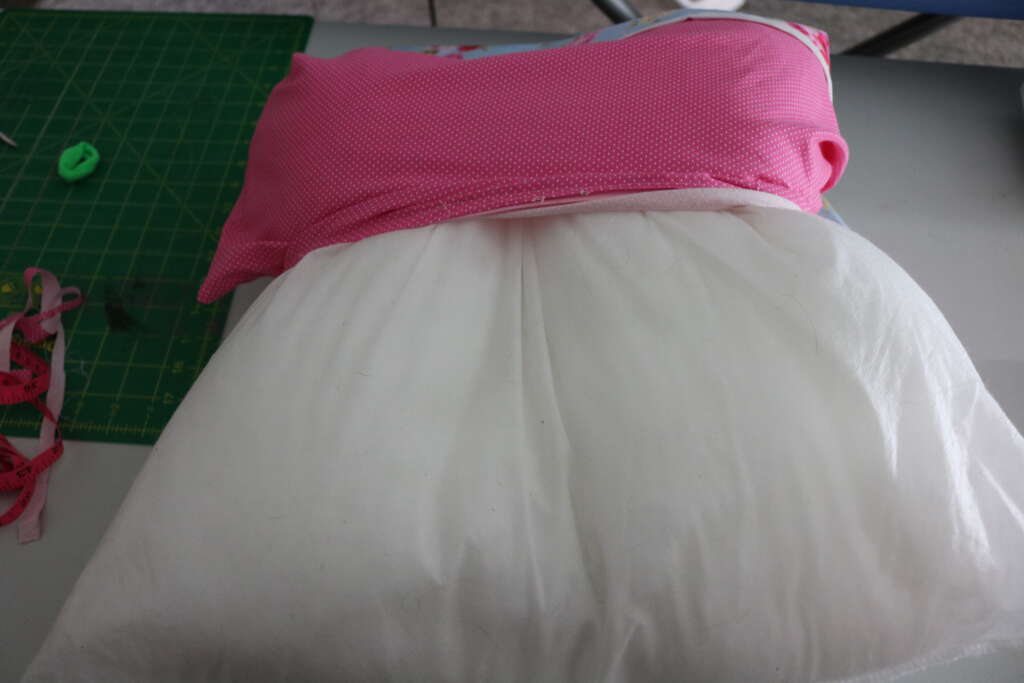
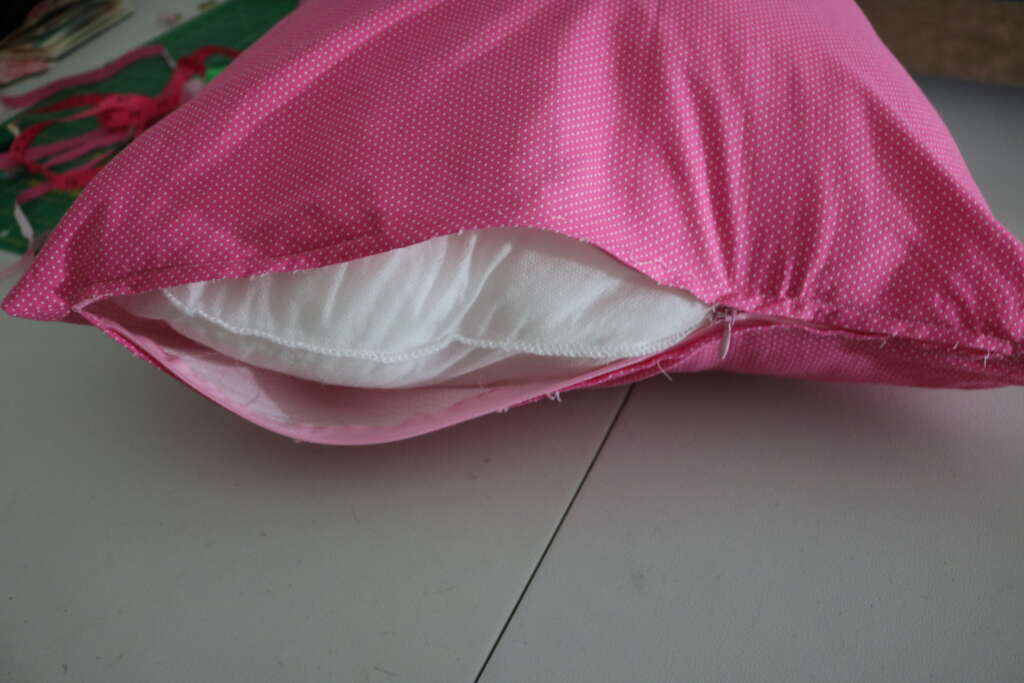
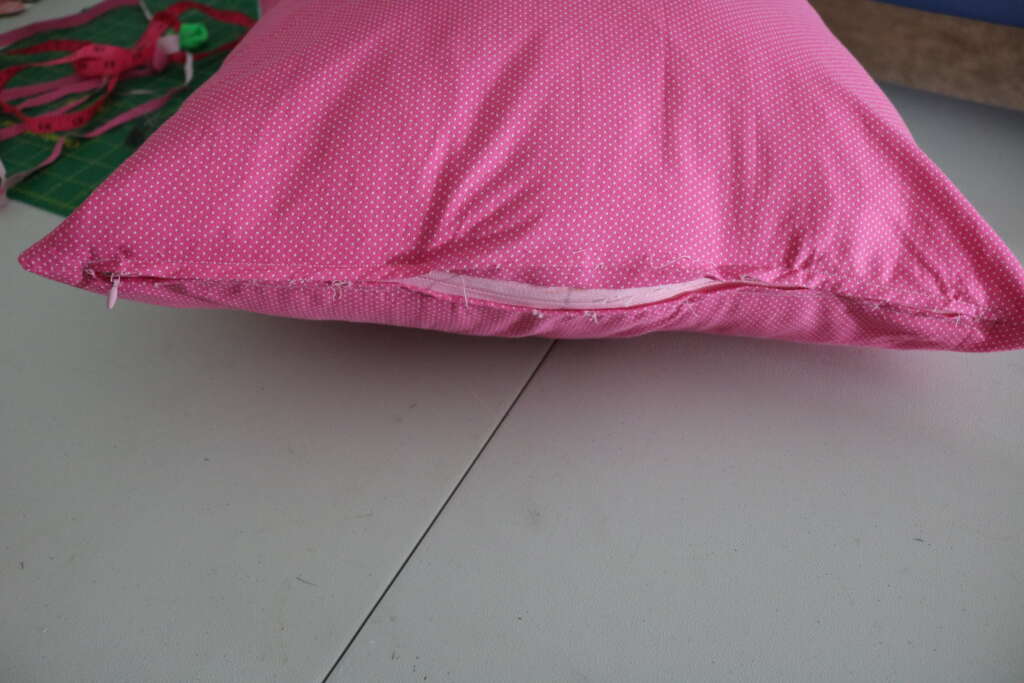
Congratulations! You just made a simple reading cushion!
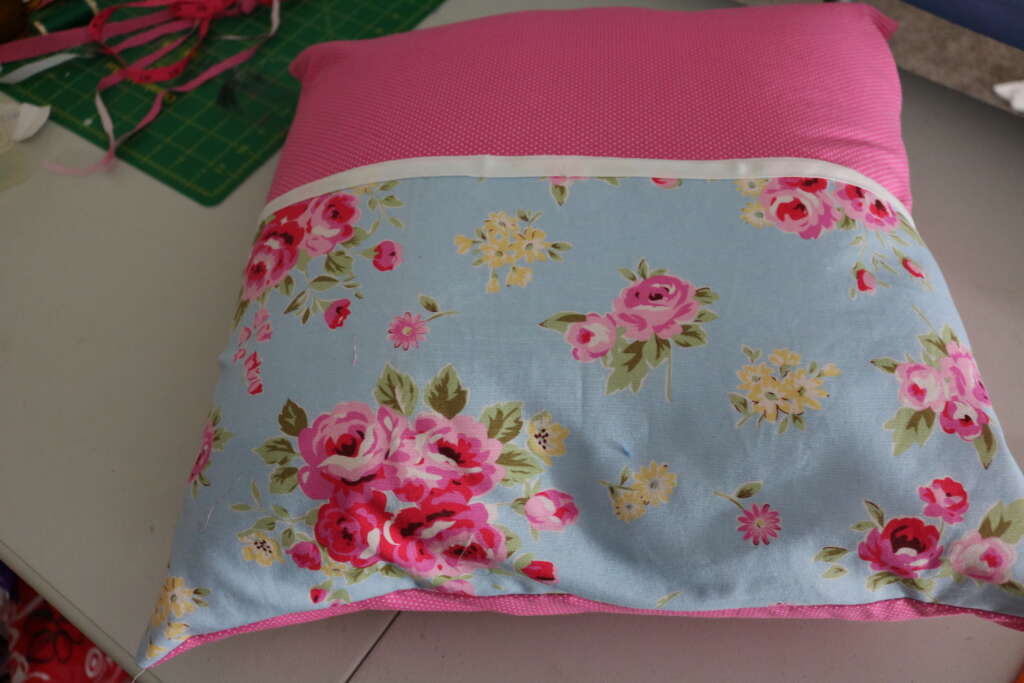
I wish the zipper had gone a little smoother, and looked a little neater. I think considering this is the first time I have done it from memory, the overall look isn’t too bad!
The most important this is my daughter loves it! Her smile is always worth the extra effort!
And now that I have some extra fabric left, I think I am going to make her a matching bookmark too!
If you try this project, please please please share it with me! You could email me at amrita@cozymagichome.com, or contact me via social media. As always, feel free to leave a comment below!
Wishing you all the cozy magic!
Blessed be,
Amrita