How to Make a Gratitude Tree
After taking down all the Halloween decorations, my house seems bare…
So I am very grateful that it is Thanksgiving season here in the USA!
I’ve also had my behind kicked by whatever cold is going around at the moment, so while I love elaborate decor, I wanted to do a simple craft that would add some Thanksgiving cheer to our home.
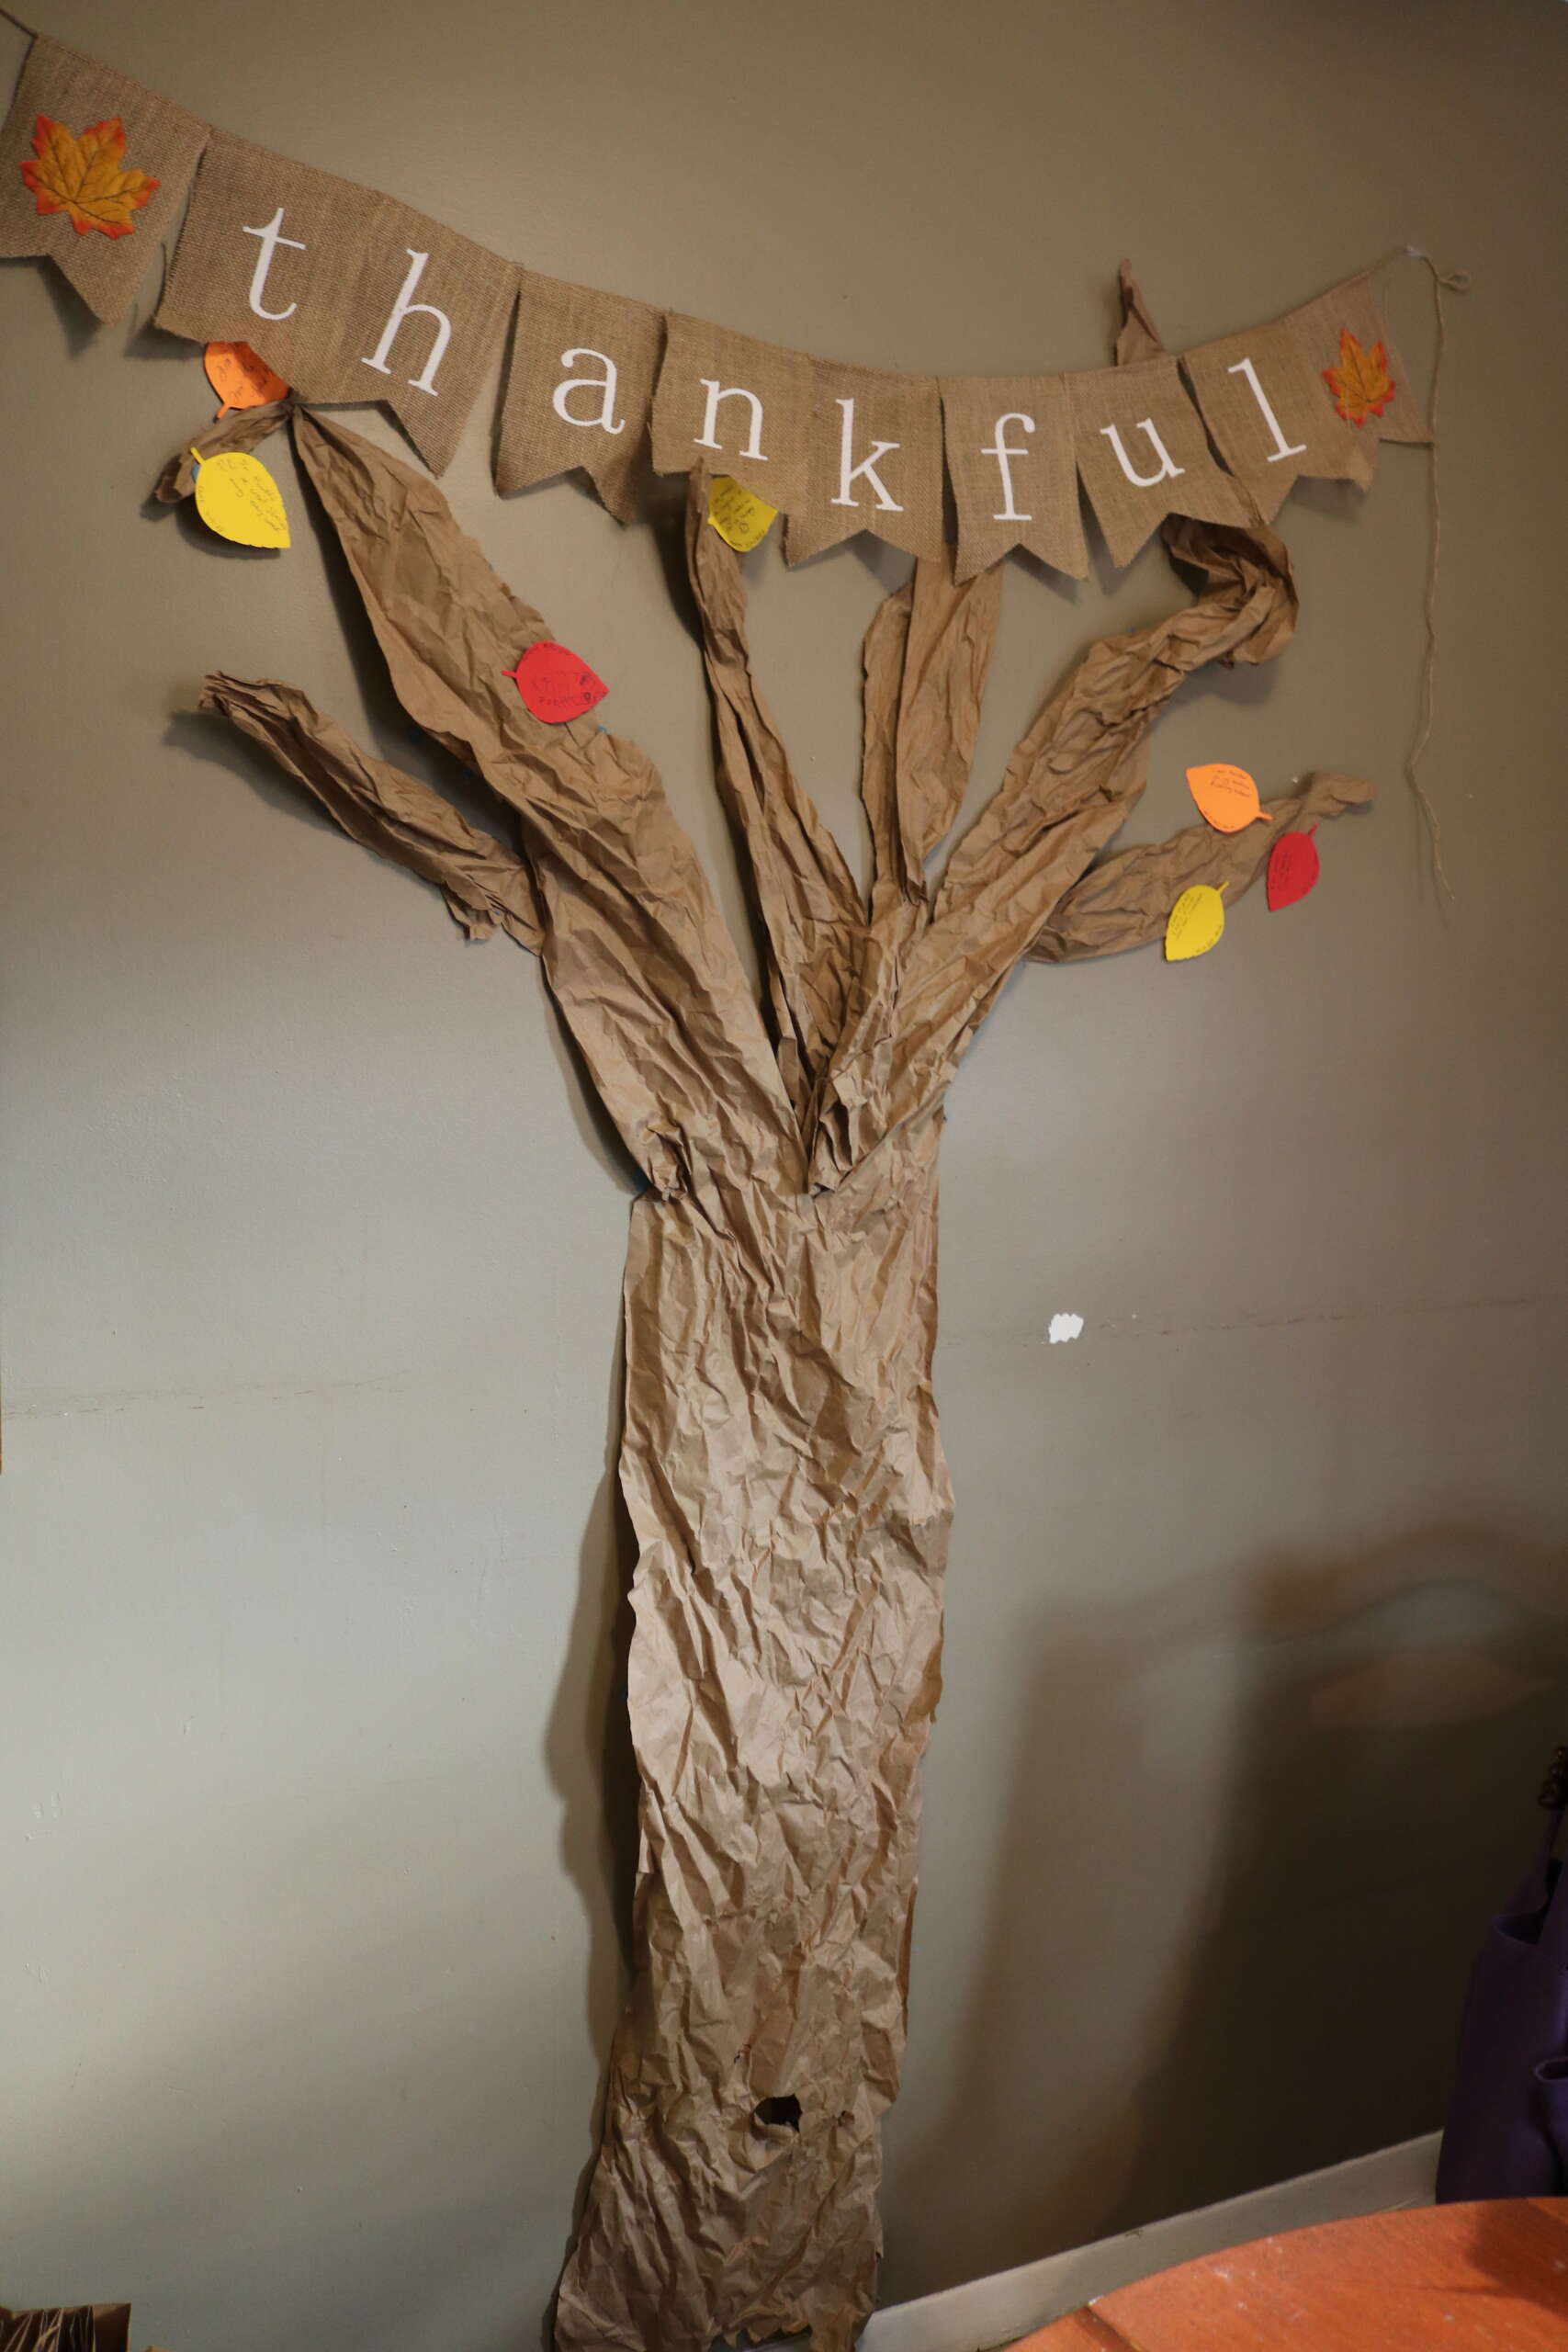
So I decided to make a Gratitude Tree!

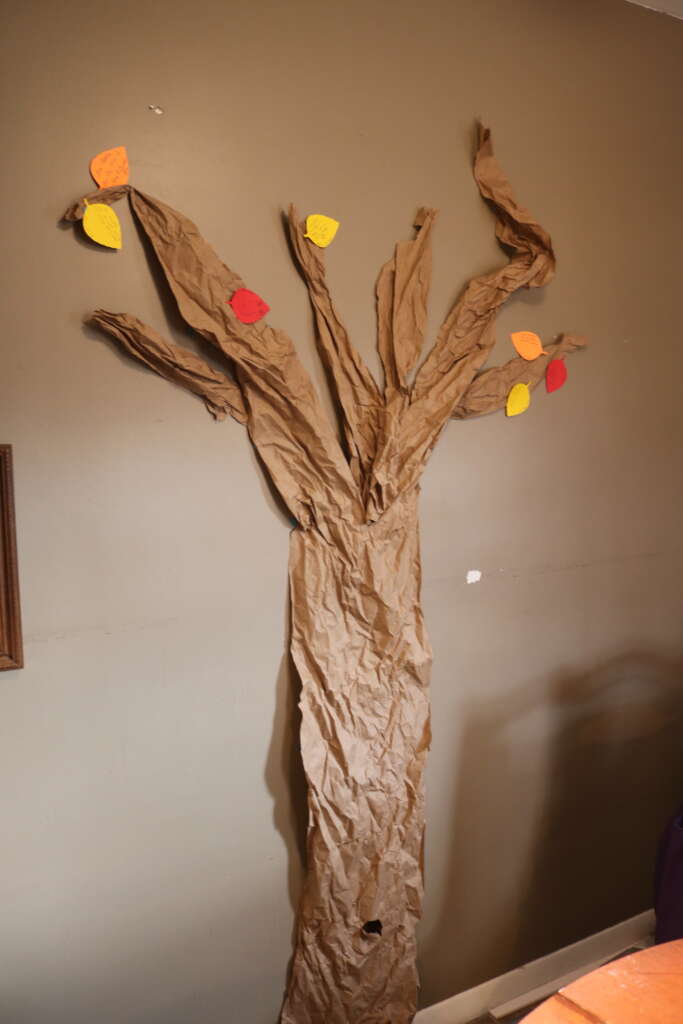
I almost put up my Christmas tree early to do this project, but we have a lot of this brown packing paper laying around from the move. We also have a cat, and still haven’t figured out a strategy for cat-proofing our tree. So I decided to get creative with the paper instead.
I love how it looks, but right now our tree looks bare! We add at least one thing to the tree everyday, and encourage any guests to add something too.
I know it is only a matter of time before our tree is blooming with all the things we have to be grateful for.
Items Used
– Brown Packing Paper
– Red, Orange and Yellow Cardstock
– Mounting Putty
– Pencils, Pens, and/or Markers
Directions
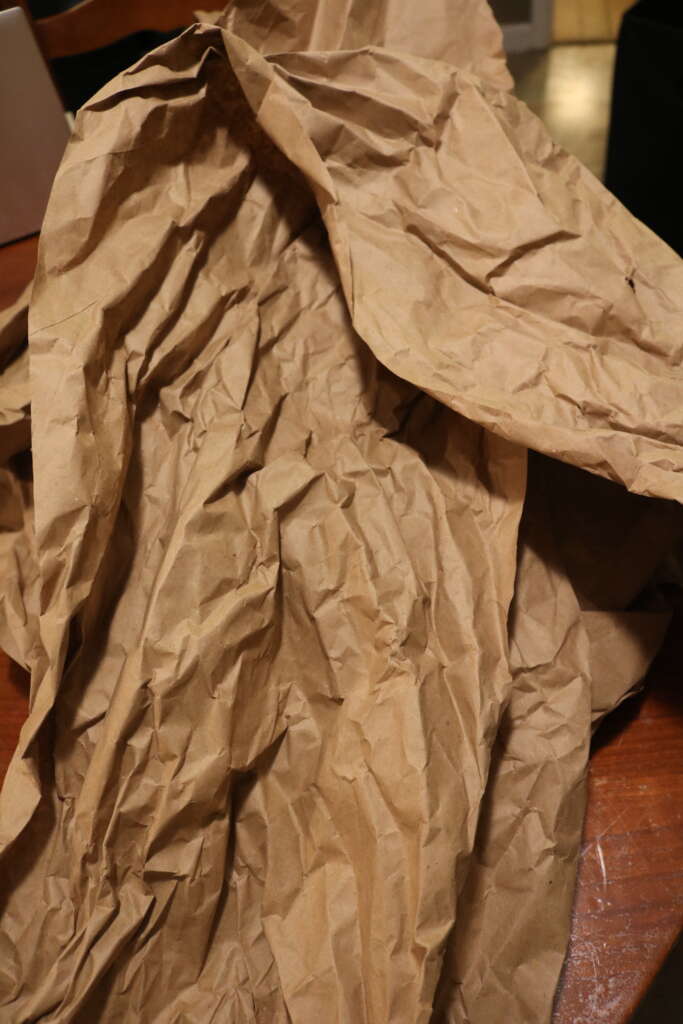
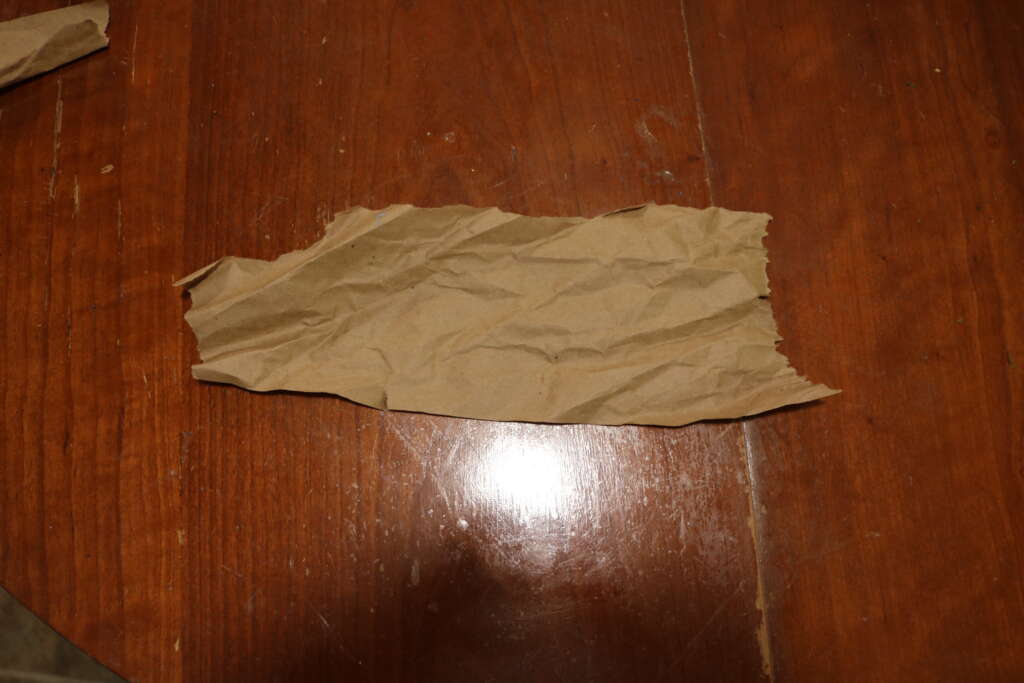
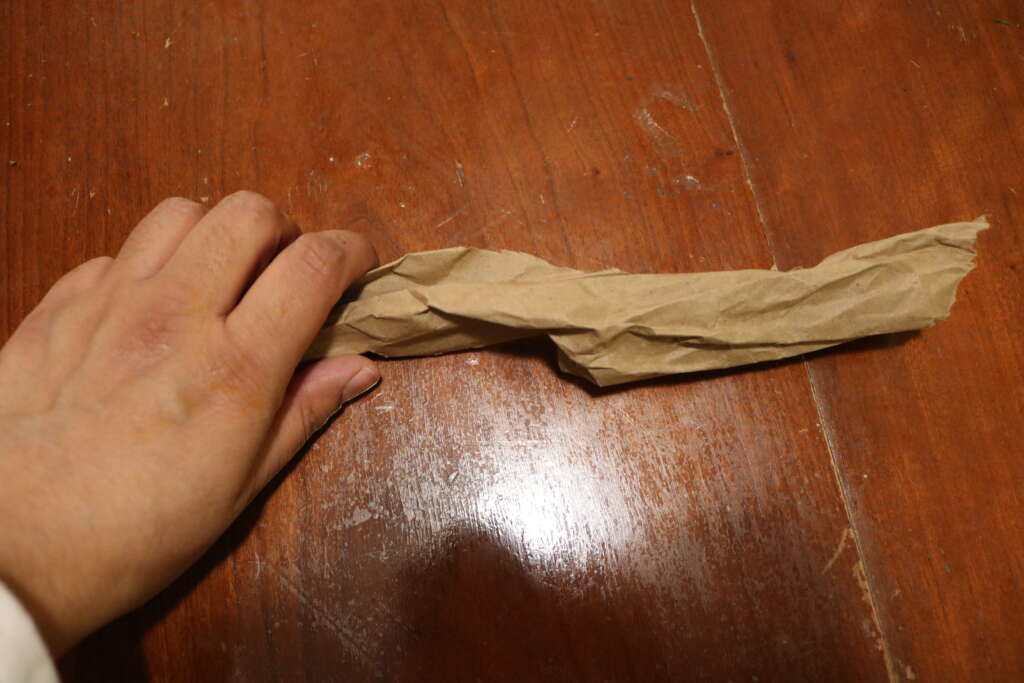
- Scrunch up your brown paper to make a bark like effect.
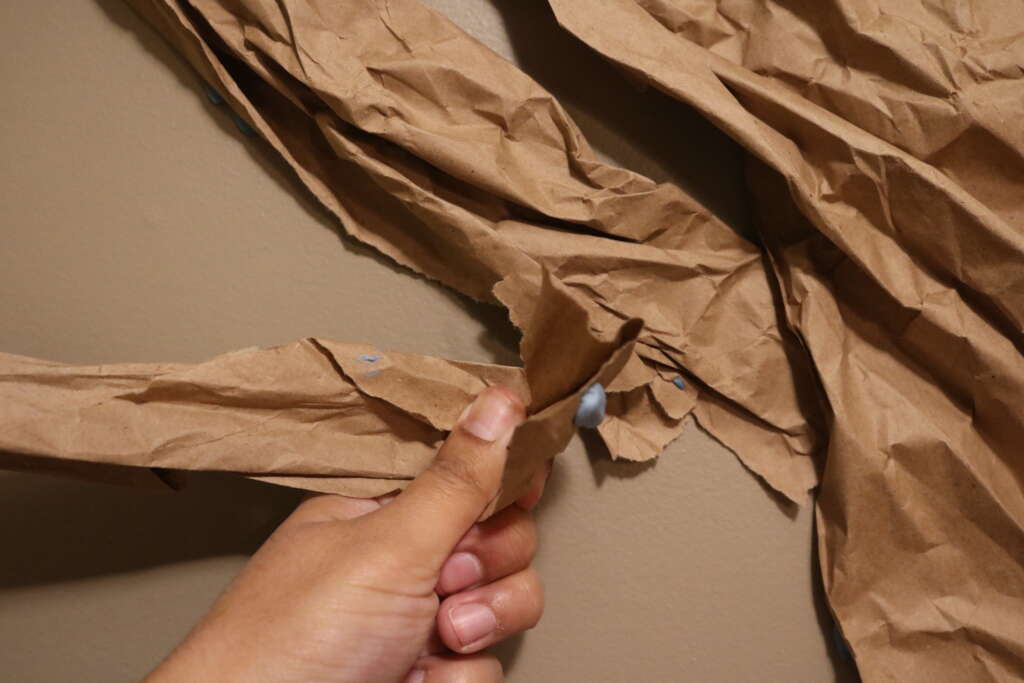
- Using the mounting putty, stick on your wall to make a tree trunk. I didn’t use a set pattern, I just kept playing around with it until it looked ‘right’ to me.
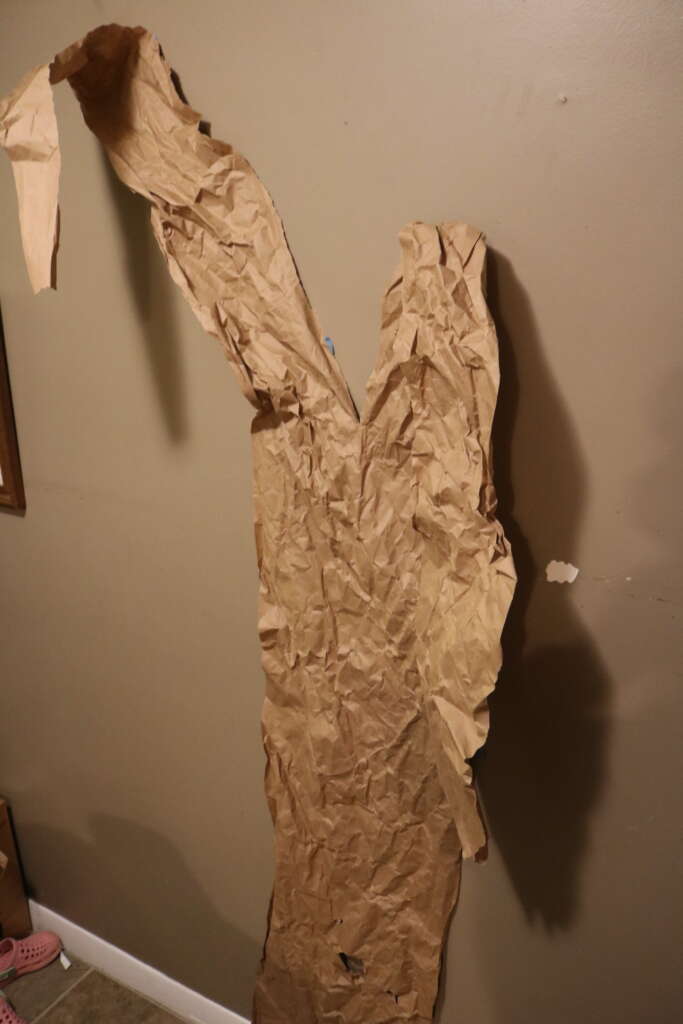
- Do the same with smaller pieces of brown paper to make the trunk.

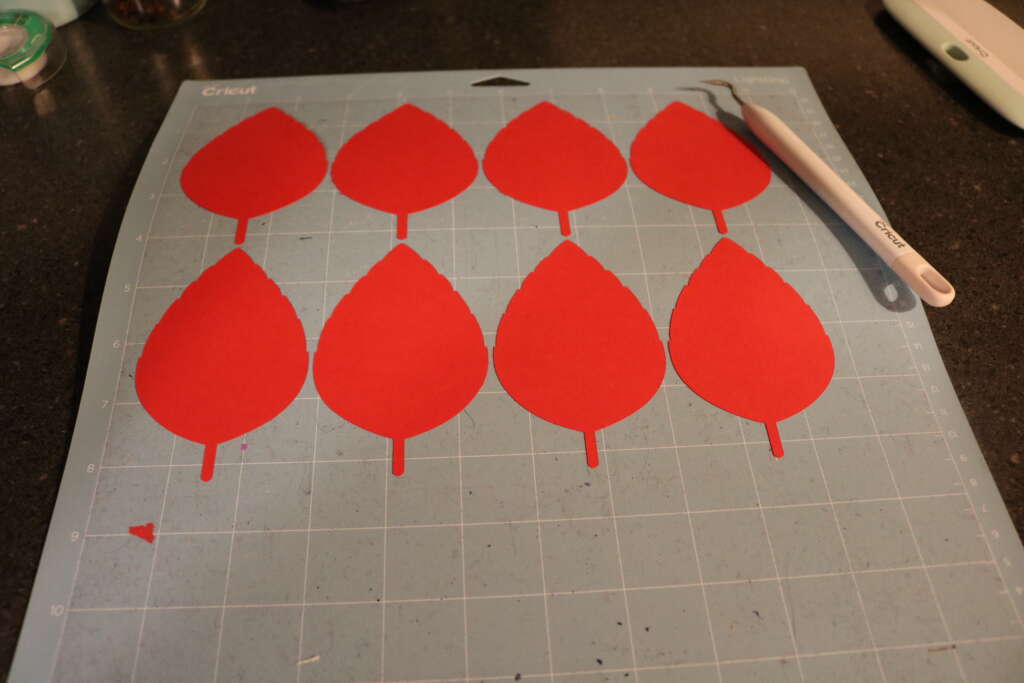
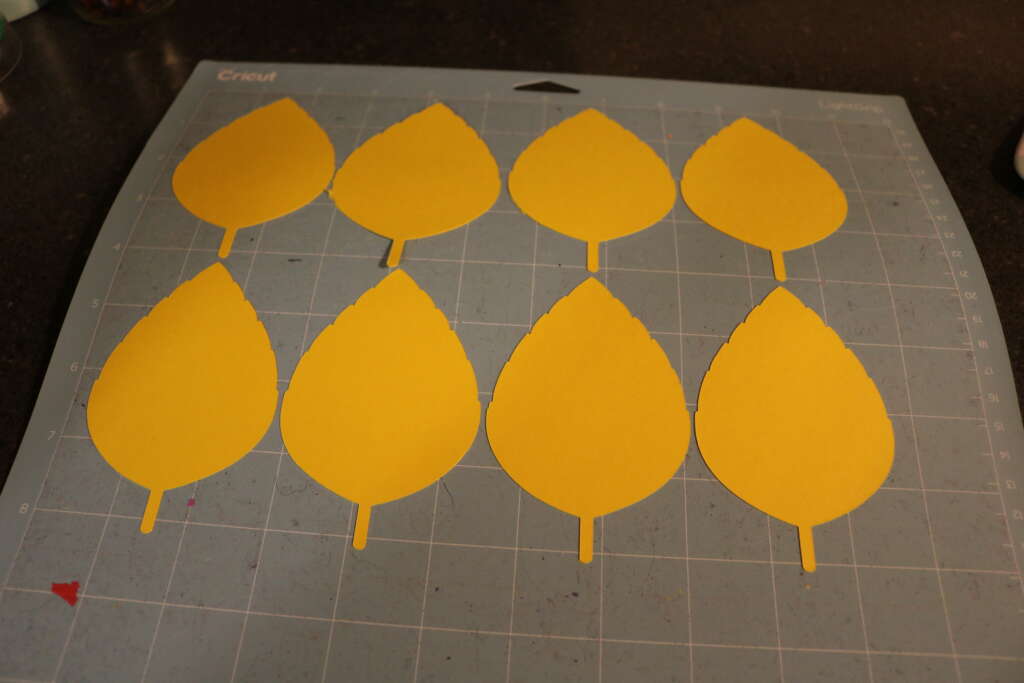
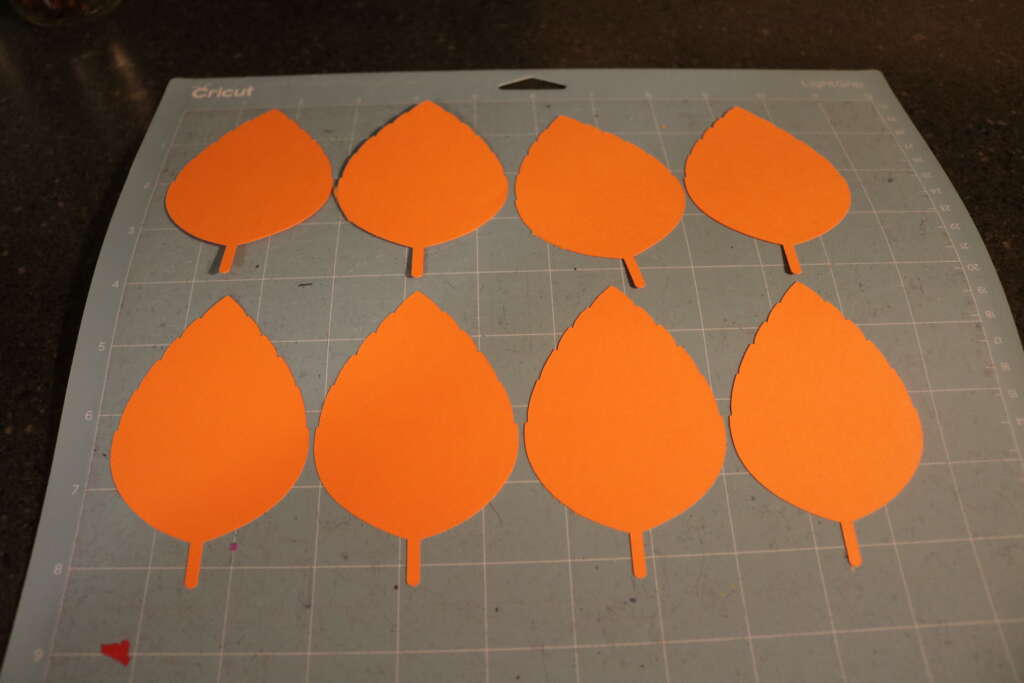
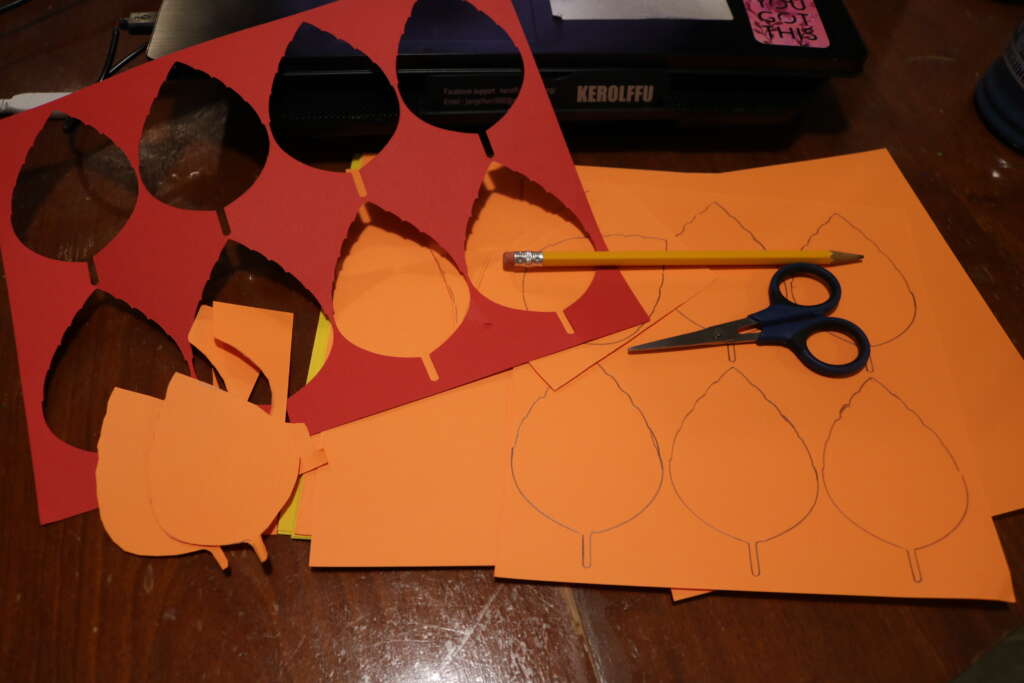
- Cut out your leaves (either free hand, print or use a Cricut machine. My Cricut stopped working halfway through this project!). I cut my leaves to be approximately 2in by 4in.
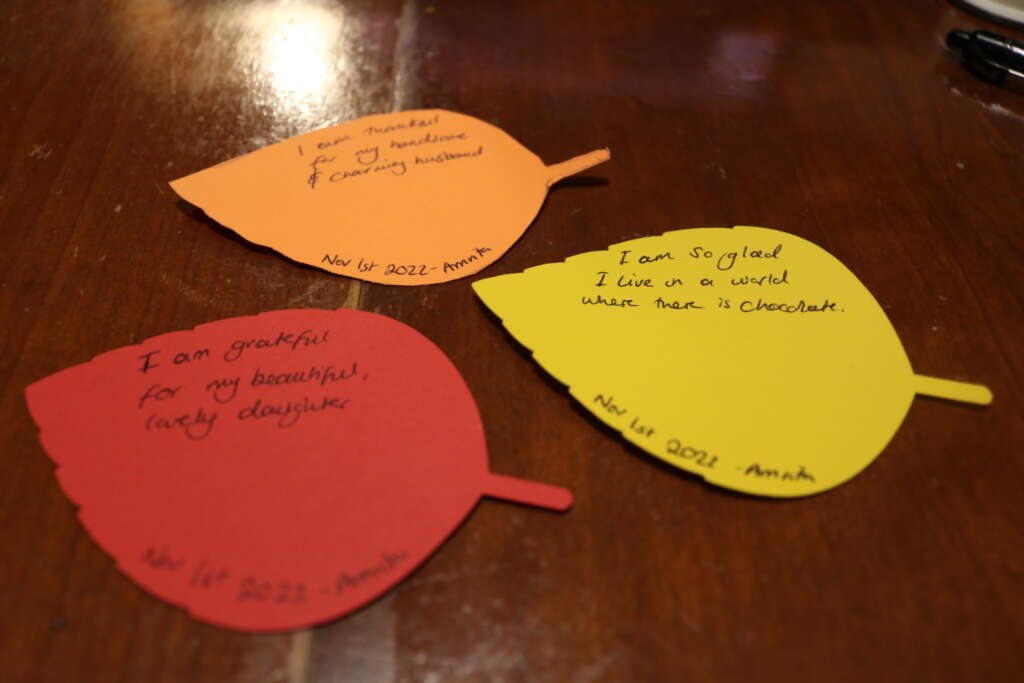
- Write things you are grateful for, attach to tree using mounting putty or tape (I ran out of mounting putty).
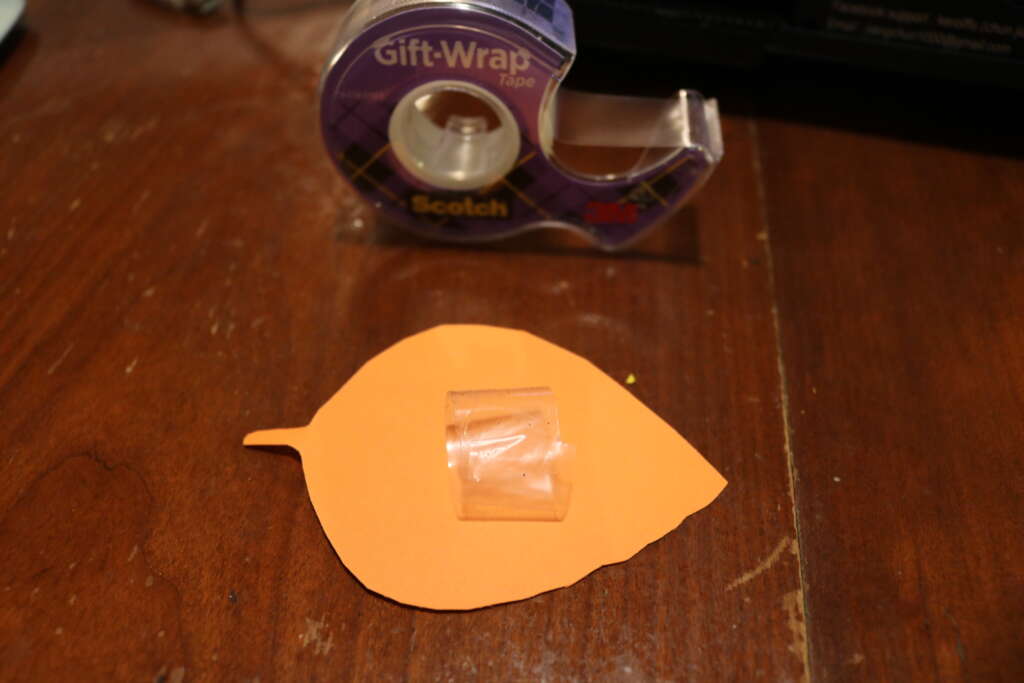
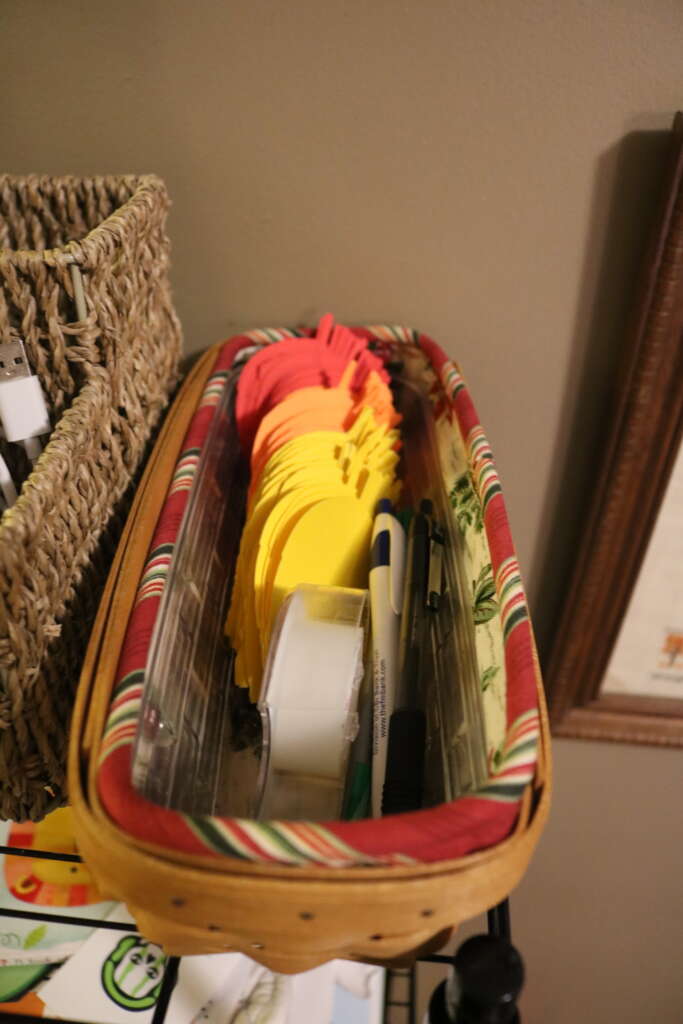
- Keep your blank leaves, pens and tape/mounting putty near by!
And that’s it! You are done!
If you would like to watch a video of this project, follow at the following places:
Incidentally, you can also share your version of this project with me on there! Just use my tag @cozymagichome and use the tag #cozymagichome.
What would you add to your tree? Let me know in the comments below!
I can’t wait to see your version of this project!
Until next time!
Blessed Be!
Amrita
#cricut project