
how to make a daily tarot card holder – mod podge project
How to make a Daily Tarot Card Holder (Mod Podge Project)
An important part of my daily routine is drawing a daily tarot card. While I journal about them, I like the idea of being able to see the daily card in a place I spend a lot of time (my office). So, I decided to make a daily tarot card holder.
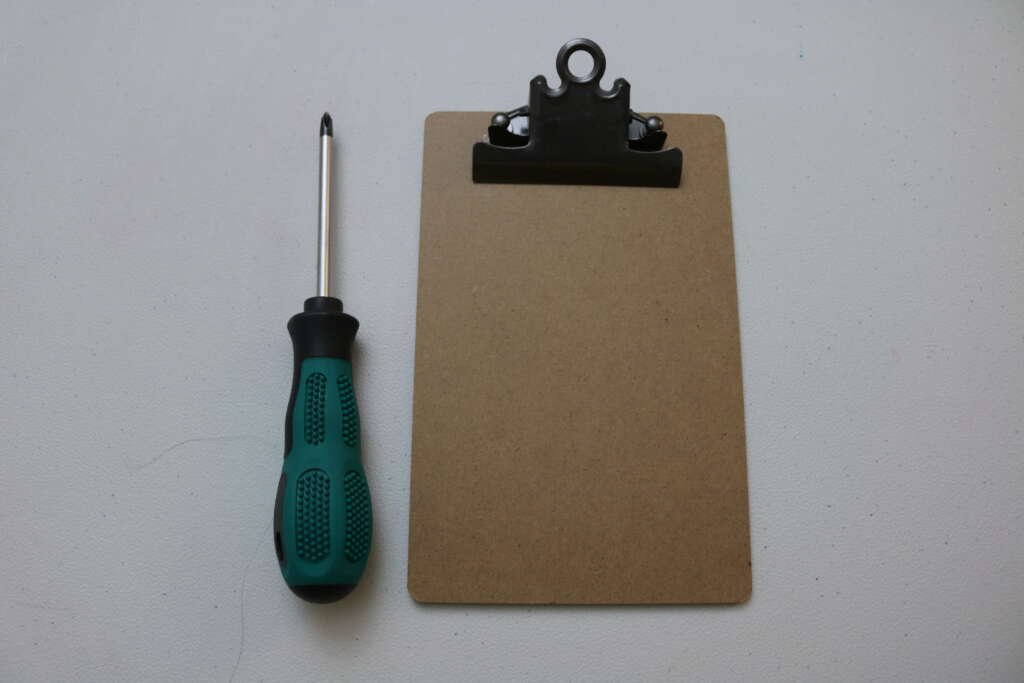
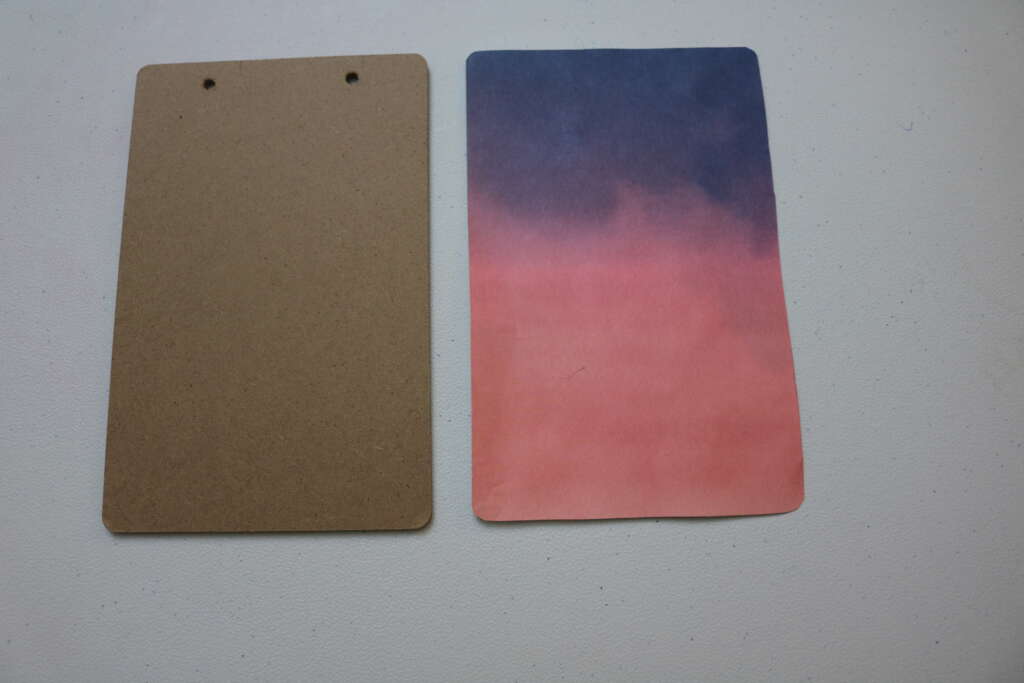
It took a while for me to find something I liked, even though I have seen so many beautiful options on Etsy. It was only when I went to Joann’s and saw this Tim Holtz mini clipboard that I realized I wanted that didn’t sit on my desk (it usually ends up scattered in papers as I work). I already display my planners on larger clipboards, so I thought this mini clipboard would be the perfect addition.
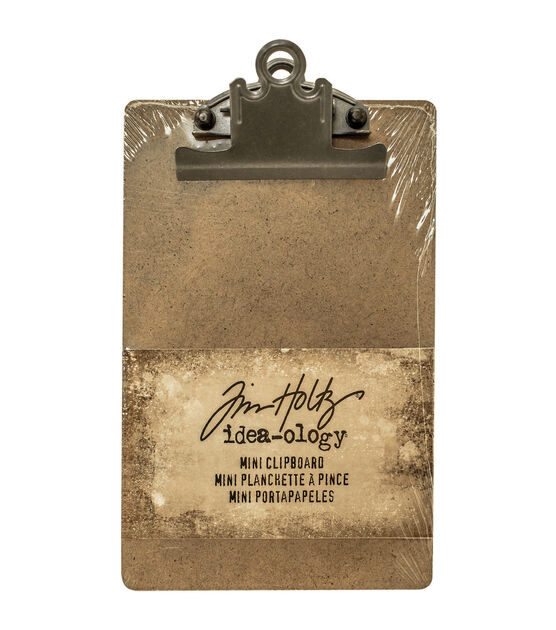
The Tim Holtz mini clipboard is designed for a mixed media project, and I have had a jar of Mod Podge laying around for a while, so I decided to decoupage my clipboard.
The clipboard itself is small but the perfect size to hold the card. Because I want the main focus of the clipboard to be the card itself, I knew I would not be making it too fancy. But I did want it to be pretty!
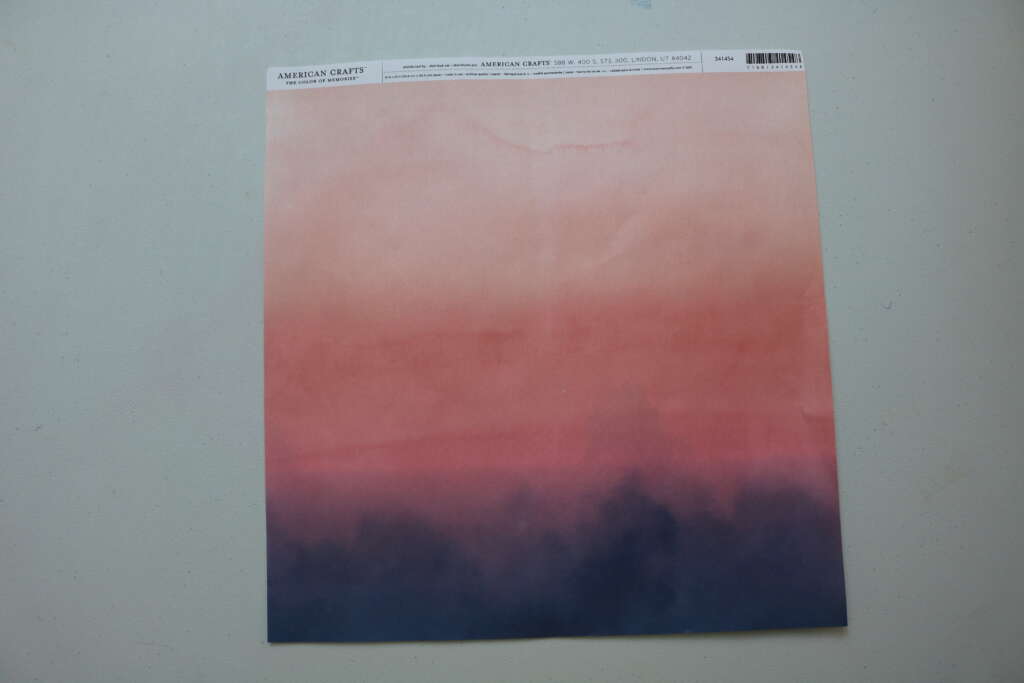
I ended up getting this paper from Joann’s for 79 cents, which actually reminds me a lot of the colors I use on this website, and my office is painted purple, so I thought it was a nice match!
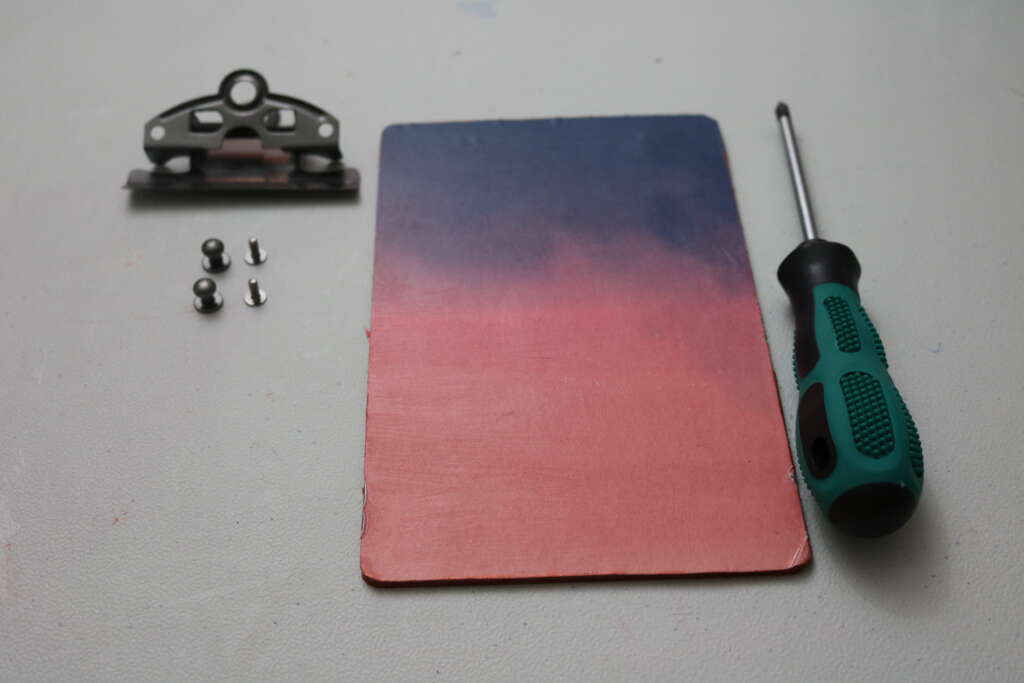
And with that, I had all my supplies! Here is how I made my daily tarot card holder.
Notes:
Depending on the type and color of paper you are using, you may want to apply a base layer of paint. Though my paper was not terribly thick, I felt the pigmentation on it was strong, so did not apply a base layer.
Items Used
Tim Holtz Mini Clipboard
(optional) Screwdriver
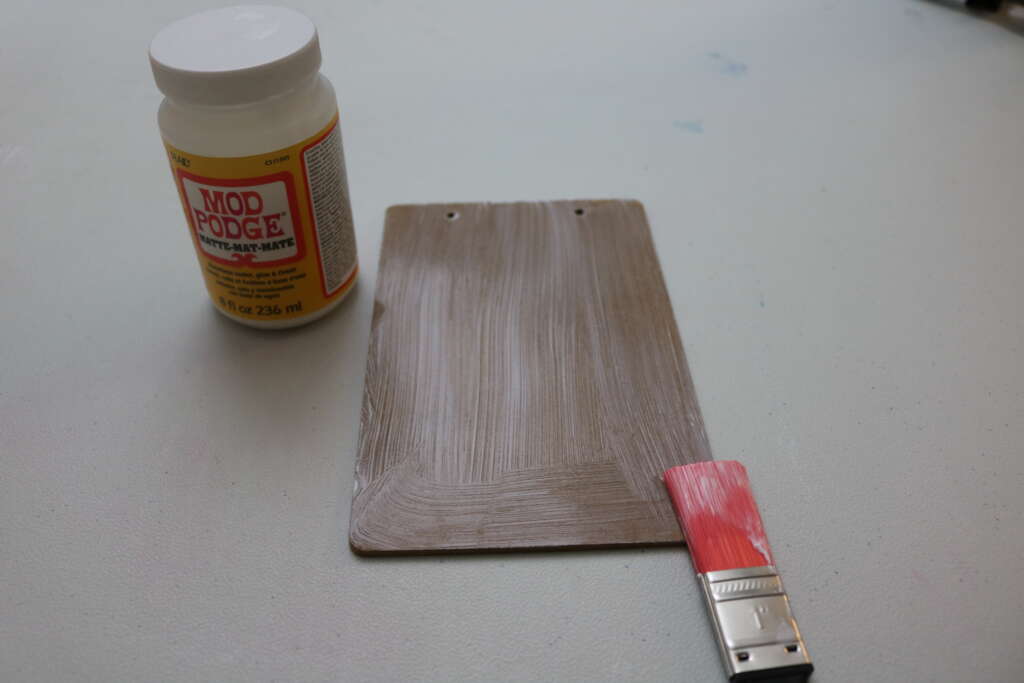
Mod Podge Glue (Matt)
Brush
(optional) Acrylic Paint
(optional) Paint Brush
Instructions
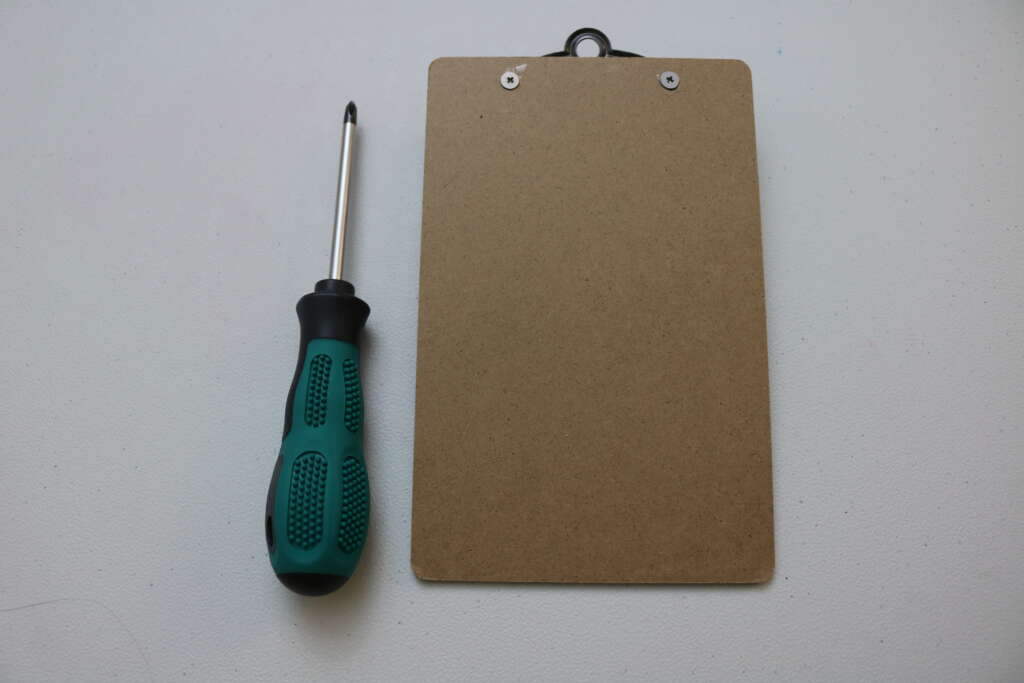
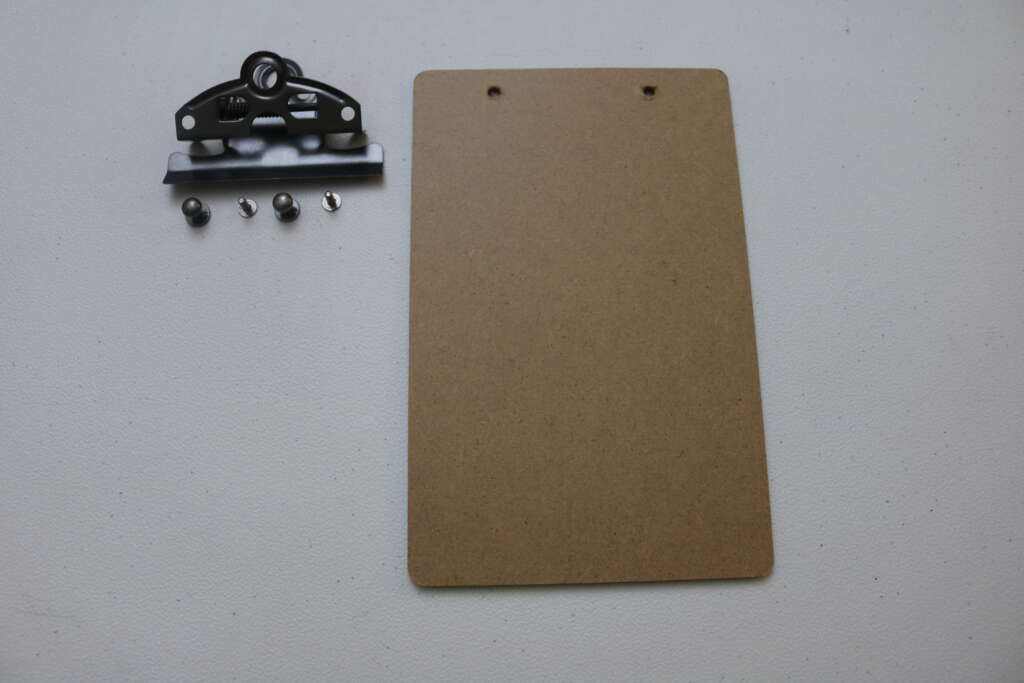
Unscrew the clip and set aside
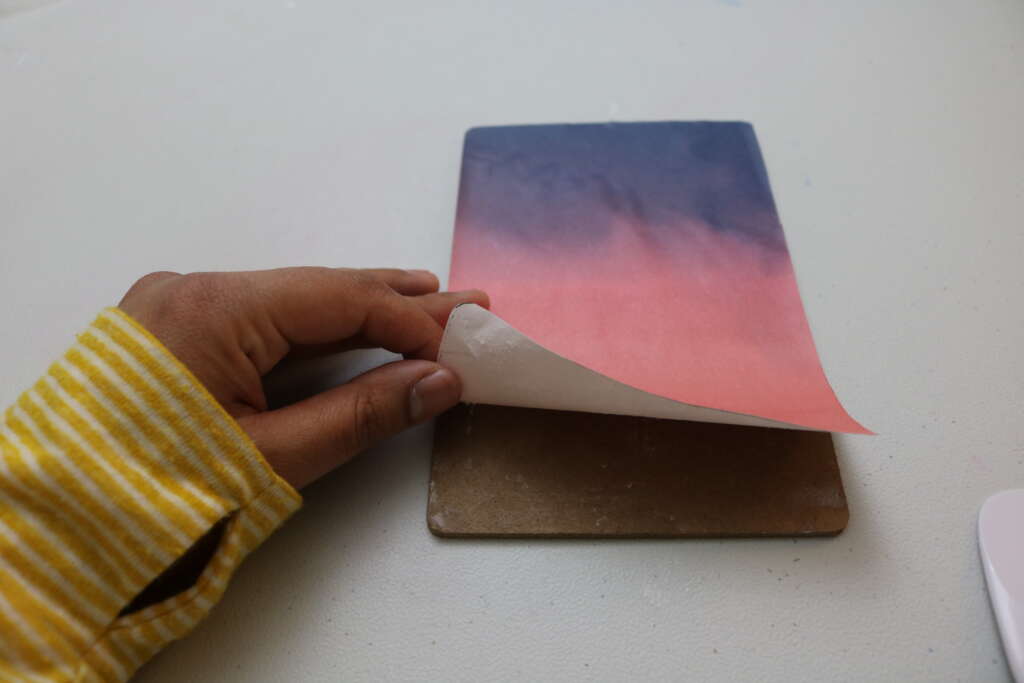
Place clipboard on desired paper and trace
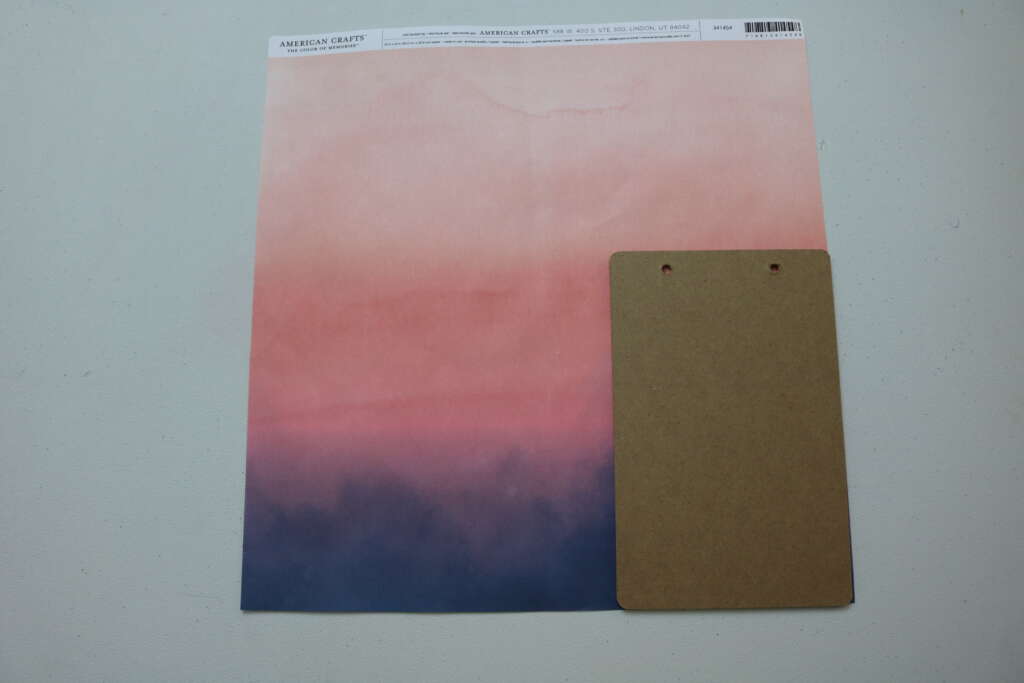
Cut to size and set aside
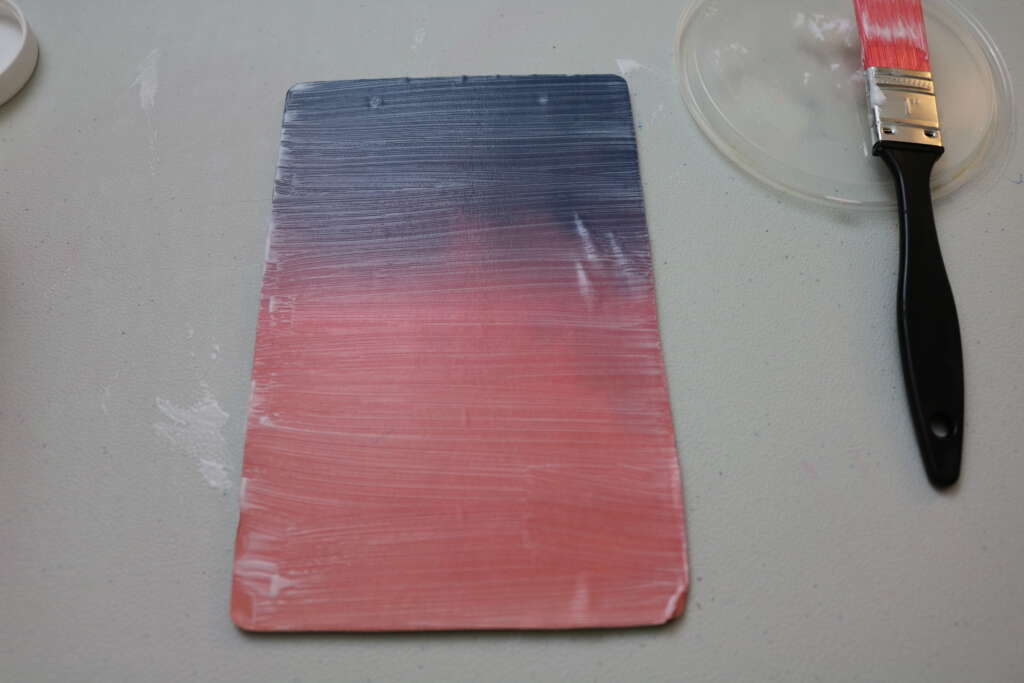
Apply a layer of Mod Podge on clip board
Place paper on top
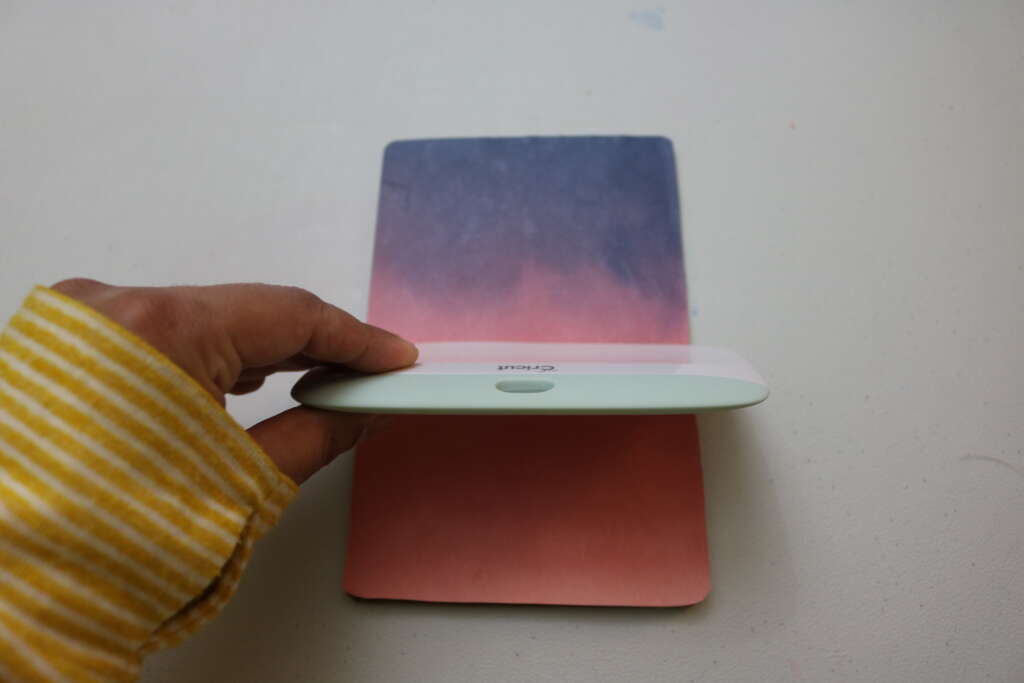
Note: You may need to removed air bubbles. I used my Cricut scraper tool to do this, but a plastic card would work just as well
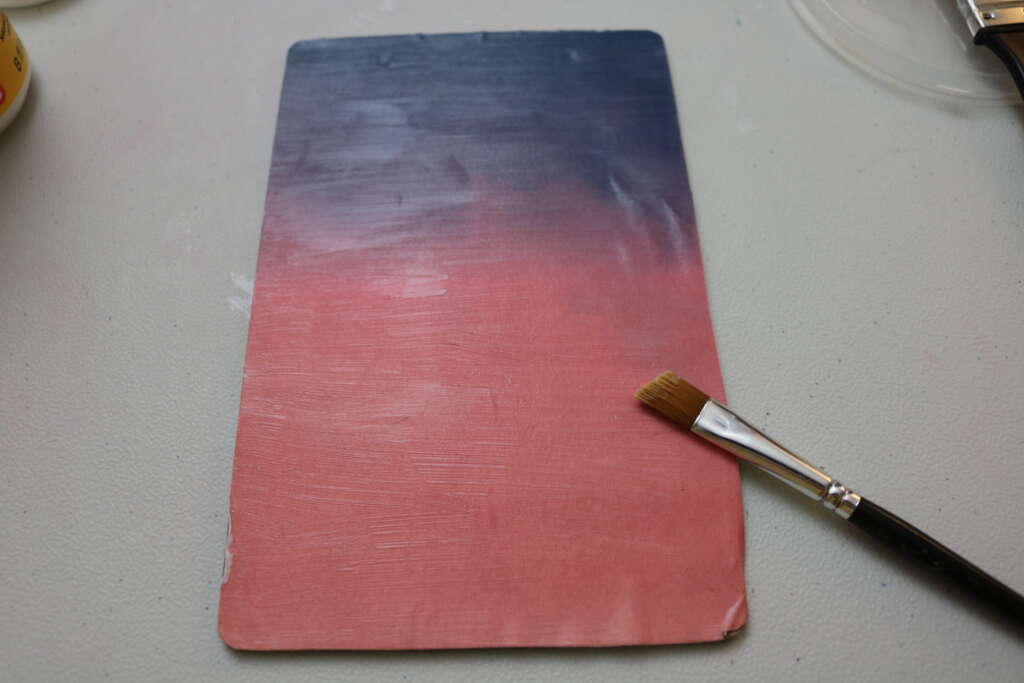
Paint the top of paper with Mod Podge to seal. Be mindful of what brush you use, as brushstrokes may be visible. I ended up going over the glue with a small brush to make the brushstrokes less obvious.
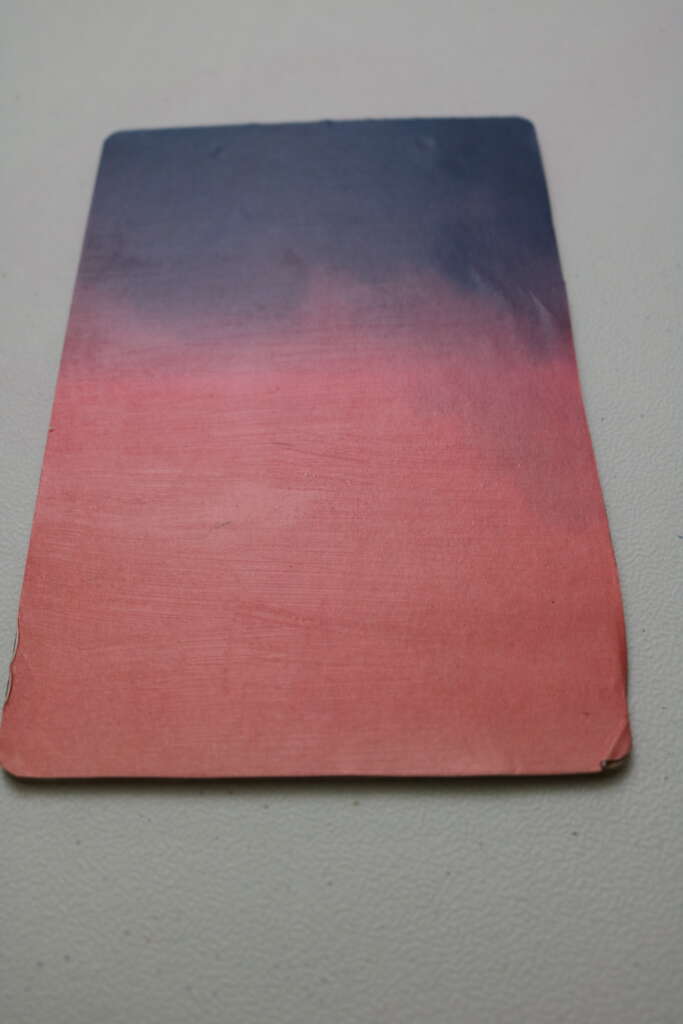
Let it dry for 20 minutes
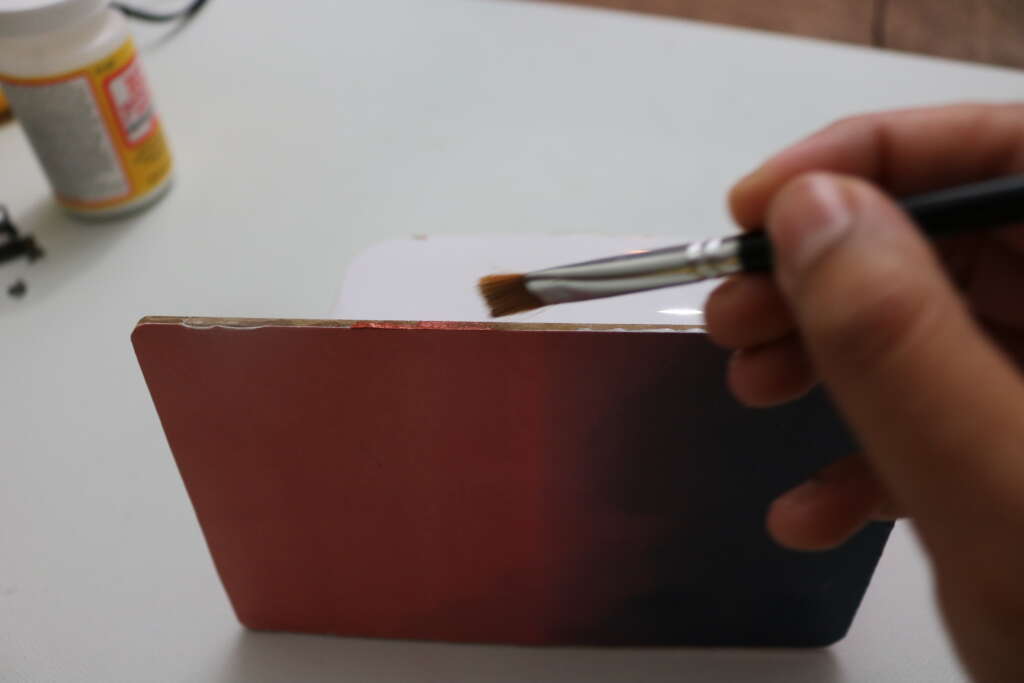
(optional step) Paint the edges of clipboard (I painted the edge of my clipboard copper), and set aside to dry

Once dry, attach the clip back

Hang on wall and display your tarot/oracle/affirmation card!

Congratulations! We just decoupaged a clipboard!
I really like how my tarot mini clipboard turned out, and it is the perfect size where I can see it while typing away on this laptop.
I actually like the plainness of it, as I think if I found the right type of tissue paper or ephemera in the future, it would be easy to build up on.
But for now, I think it is perfect as it is!
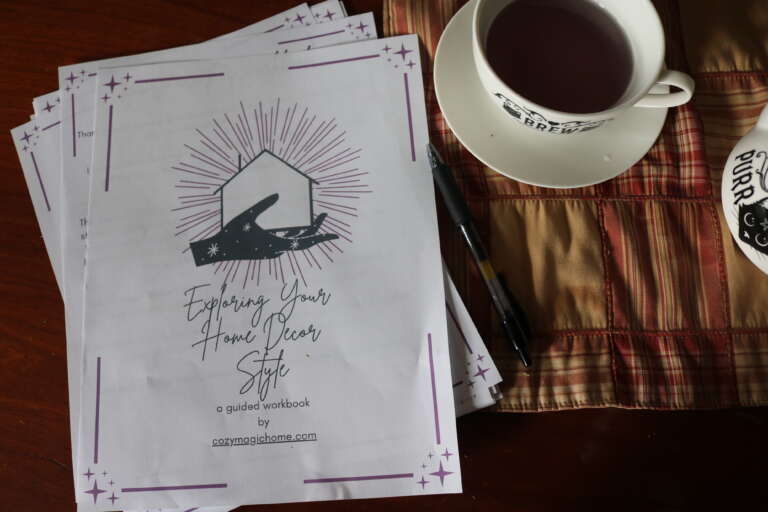
Wondering where to keep the rest of your cards? This tarot pouch is perfect for storing cards, and even as a sewn in mat. Also, check out the ‘Free Printables’ section for a free copy of a Daily Tarot Journal. Sign up to the blog for free access! Here is a sneak peek at a couple of the pages (and the cover)
Sign up to the blog for free access!
I would love to see your version of this project. You can find me at on social media under the handle @cozymagichome Feel free to use the tag #cozymagichome so I can see it too!
As always, I hope you day is filled cozy magic.
Blessed Be,
Amrita
xo