
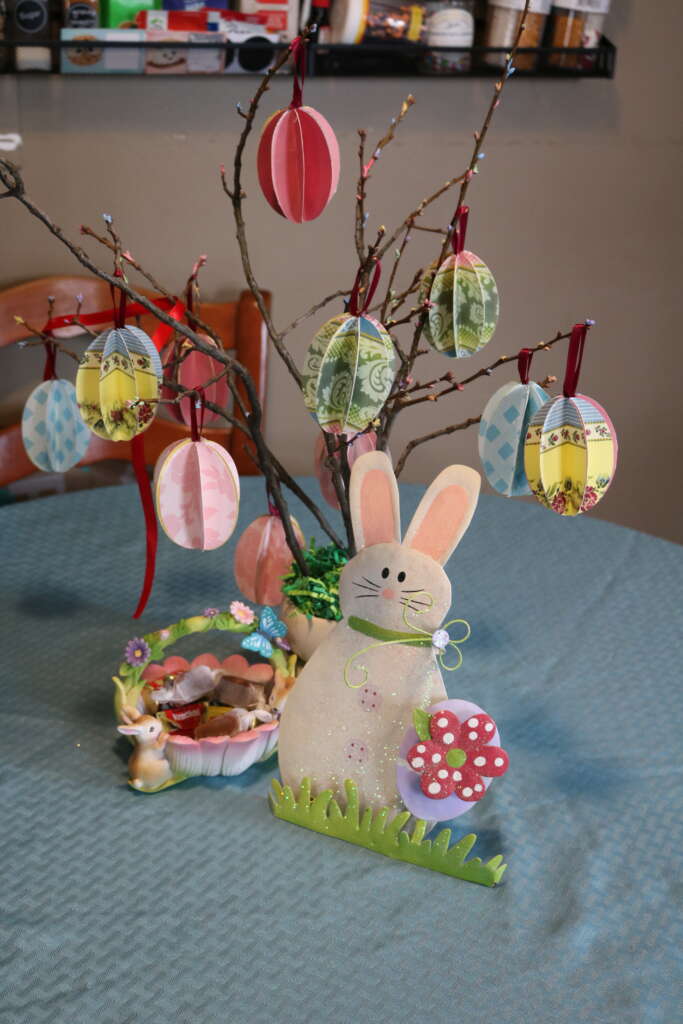
I’m so happy it is Spring! I’m trying to bring my personal cheer into my home, so I decided to make a Spring tree centerpiece for my dining table, kind of like I did with my Halloween bouquet.
I wish I had got this ready in time for Ostara, but it’s going to work well for Easter and this Spring season in general. I got the idea for this while browsing Pinterest and coming across this picture by Dolly Dowsie
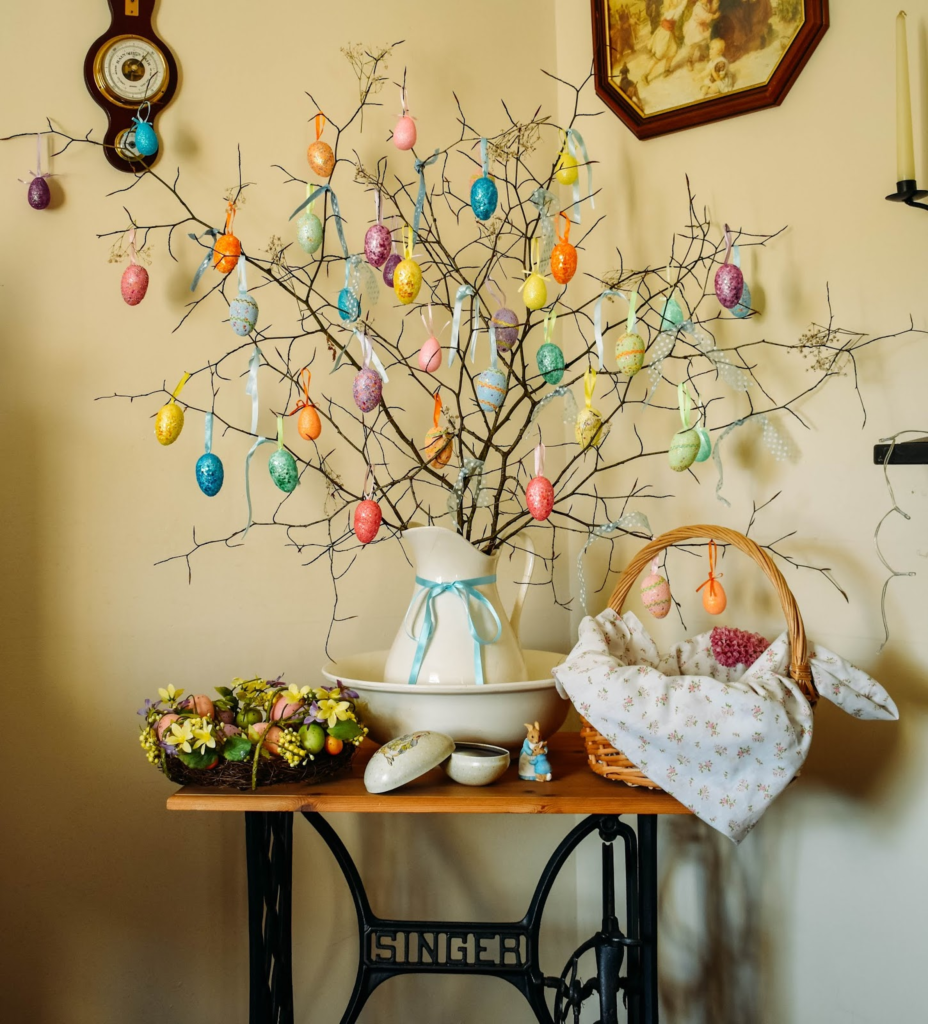
She did this back in 2020, and I think it looks so sweet! I decided to make something similar, but of course, I had to put my own spin on it. Plus, I decided to try and make it with items I already had. I guess its times like this I’m grateful that I’m always trying to pick up crafting supplies!
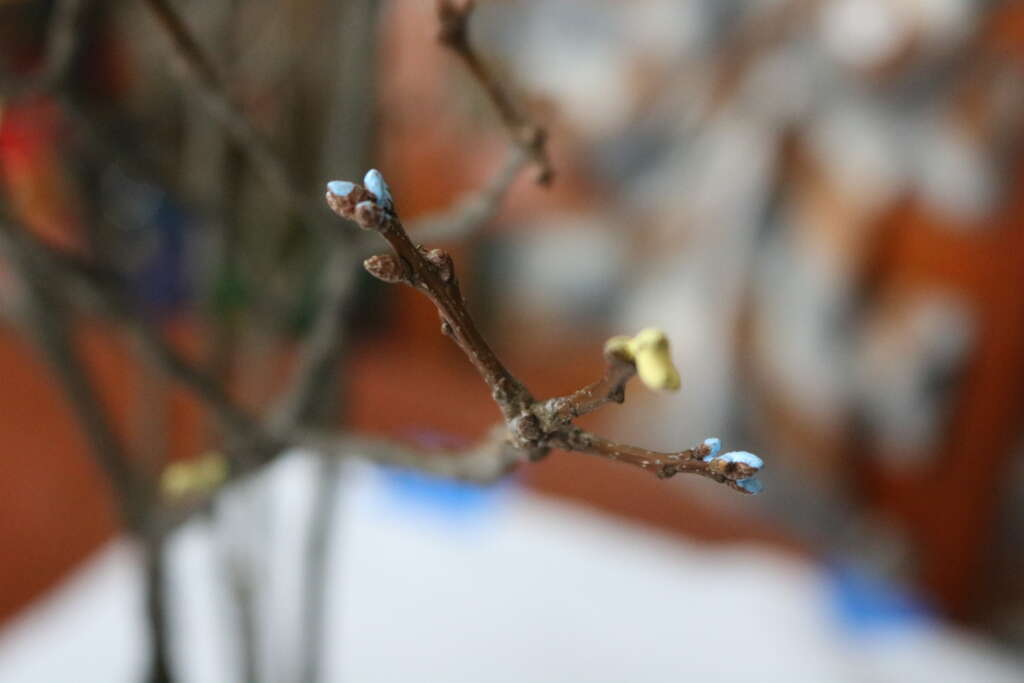
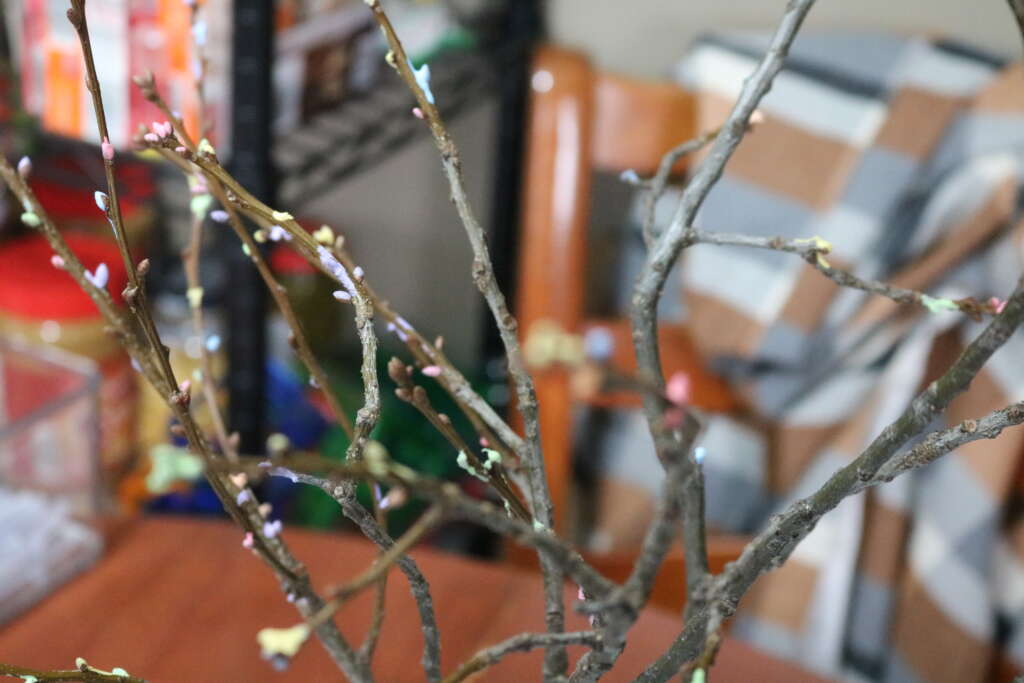
I do wish I had some flowering branches of any plant, but instead I painted the tips of the branches with pastel-ish colored paint. It works well to add to the Spring vibes I am going for (in my opinion!).
Items Used
Fallen tree branches (I think these are possibly oak, but I’m not sure)
Acrylic paint
Paint Brushes
Floral foam
Utility knife
Vase
Easter Paper Grass
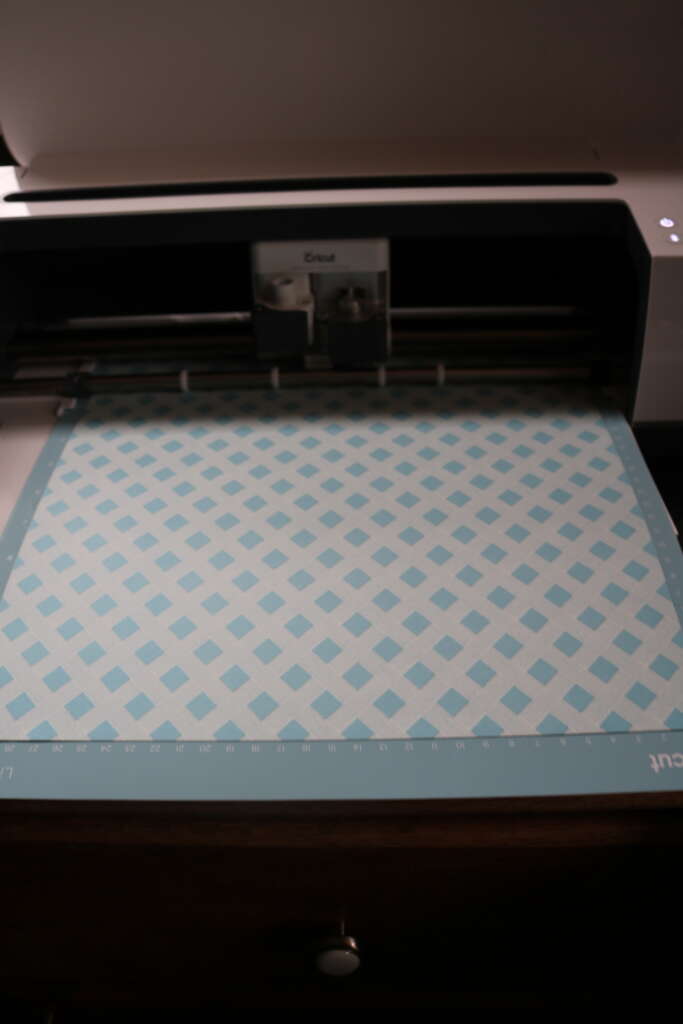
Cricut Maker*
Light Grip Board*
XL Scraper*
Weeding Tool*
Scrapbook Cardstock (12in x 12in)
Paper Glue
Ribbon
Hot Glue Gun
*Note: As I have access to a Cricut and hate fussy cutting, I used my Maker to do the cutting out. You could easily do this project by drawing out the eggs and cutting it out by hand
Instructions
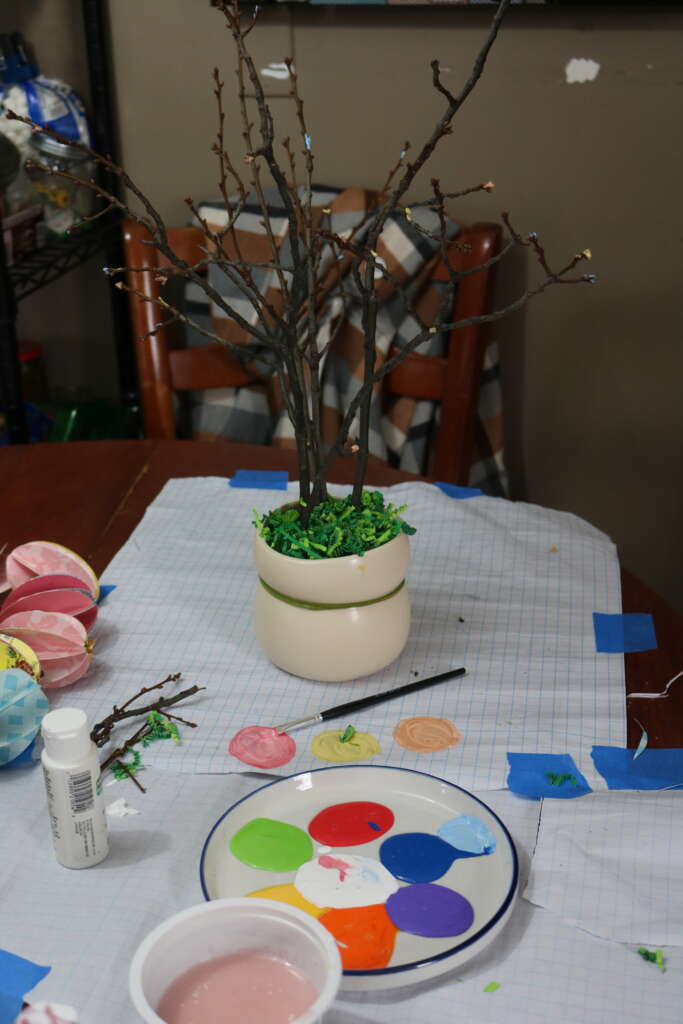
Assembling ‘Tree’
Cut the floral foam so that it fits inside your vase, and put in vase.

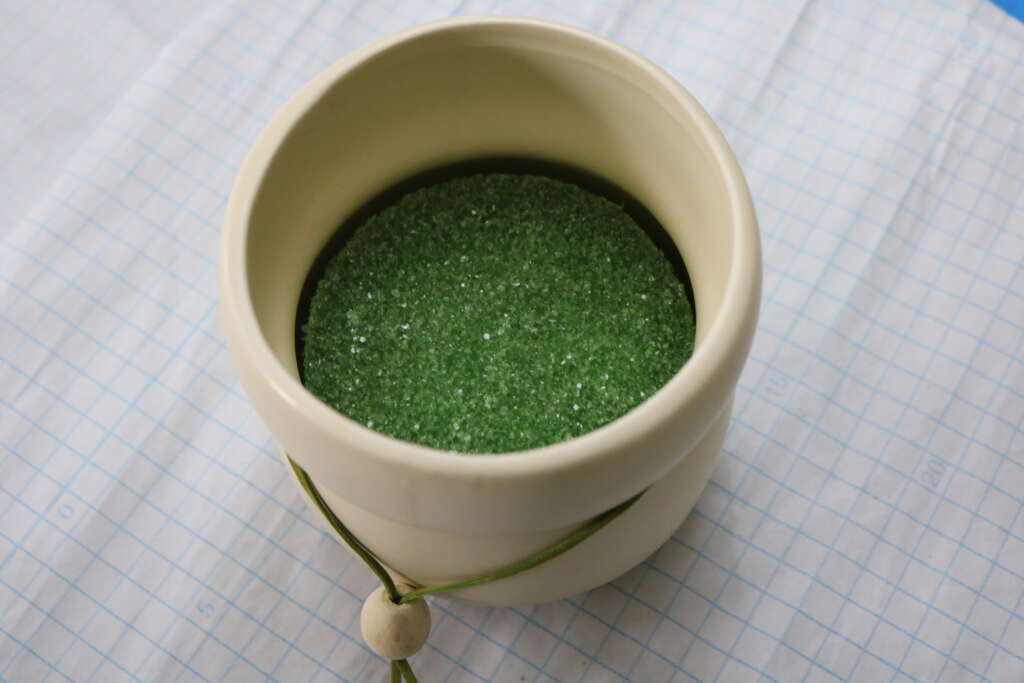
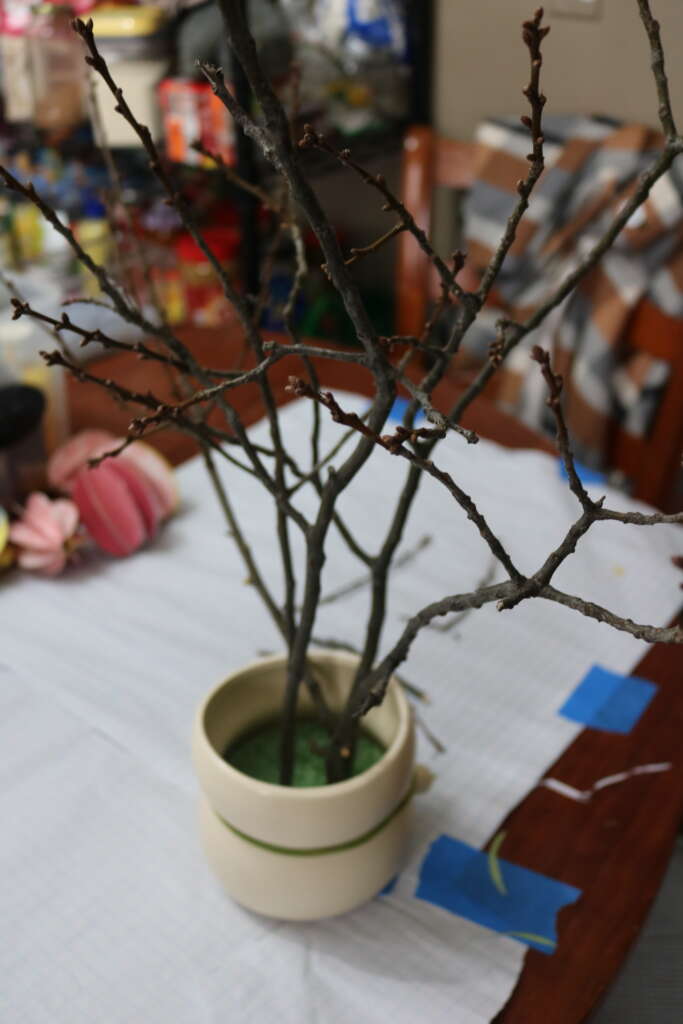
Trim branches as required, and arrange in vase, putting the ends into the floral foam. Add Easter grass if desired.
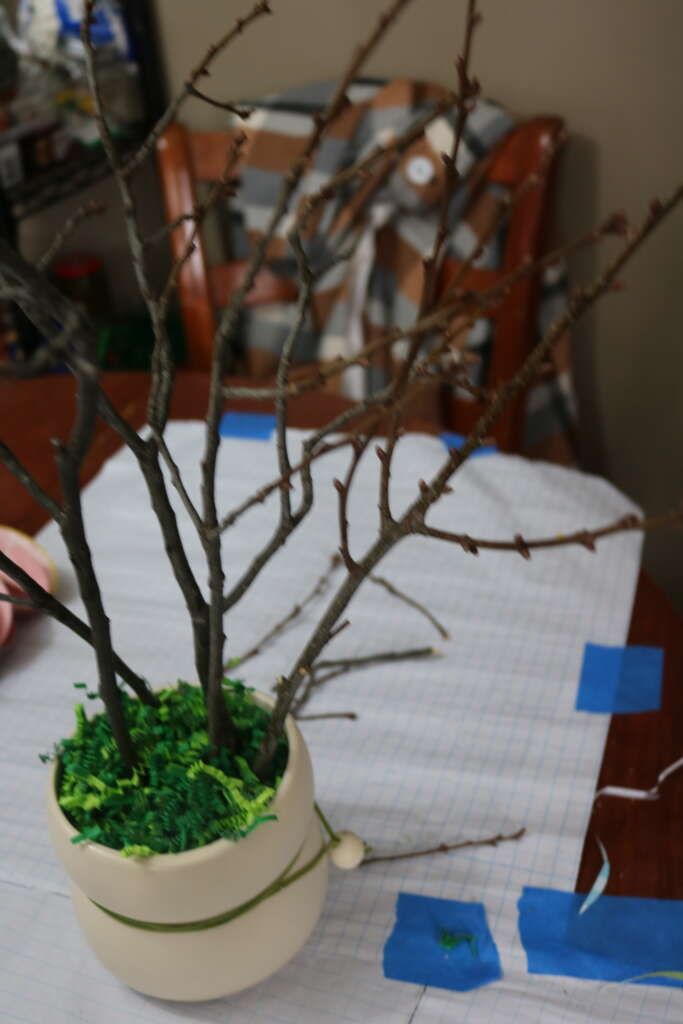
Paint the tips/buds in desired color

Set aside to dry
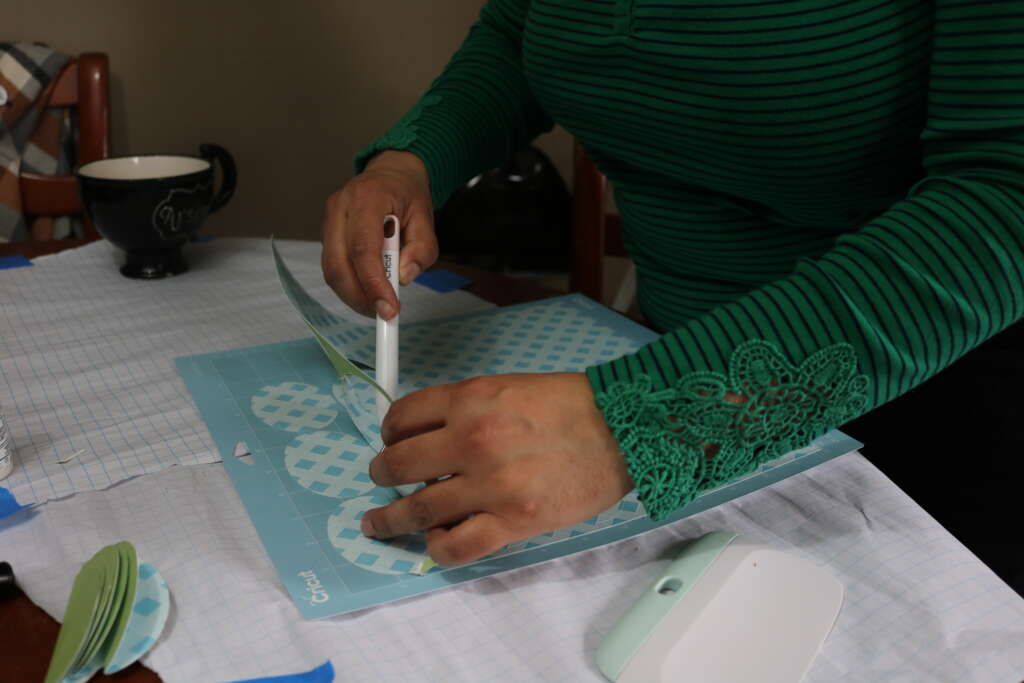
Making the Paper Eggs
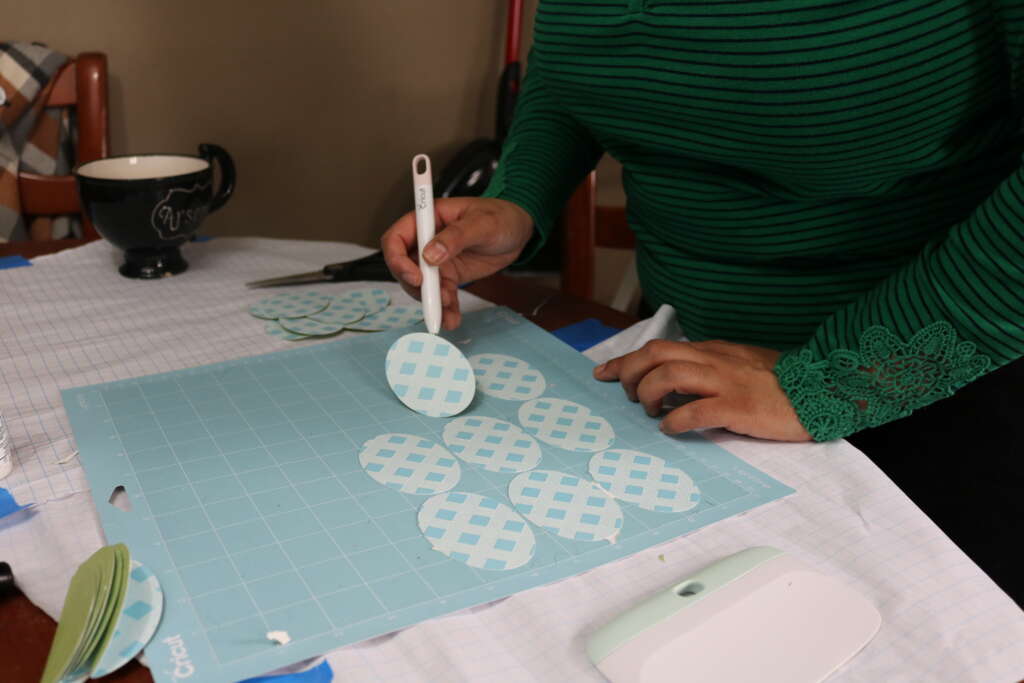
Cut out eggs on cardstock (either use template below or use this link for Cricut Design Space)
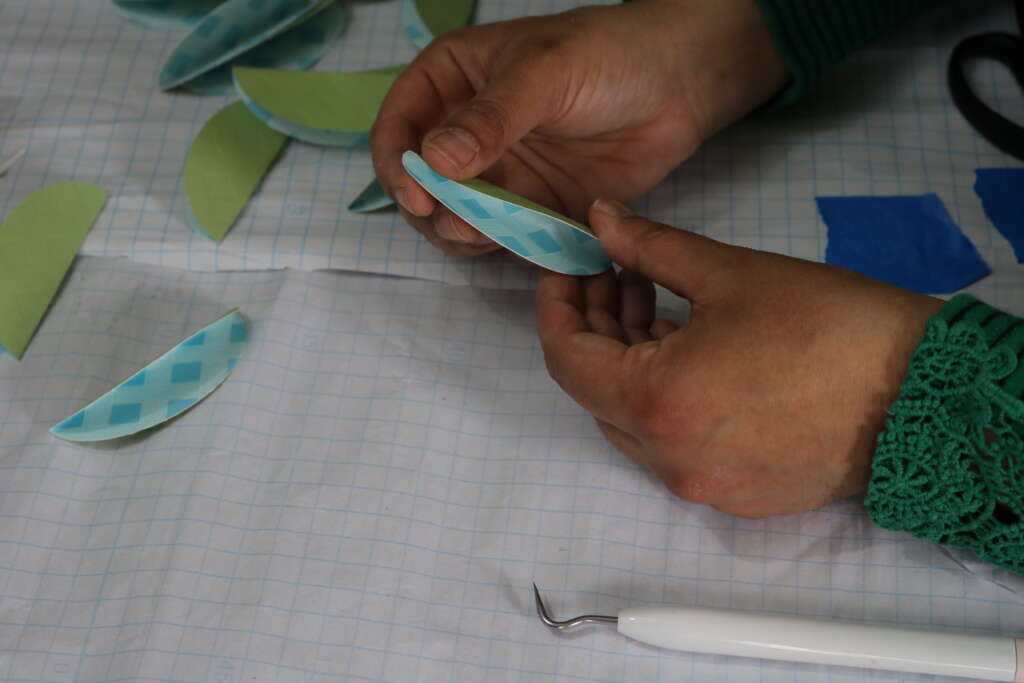
Fold eggs in half length ways

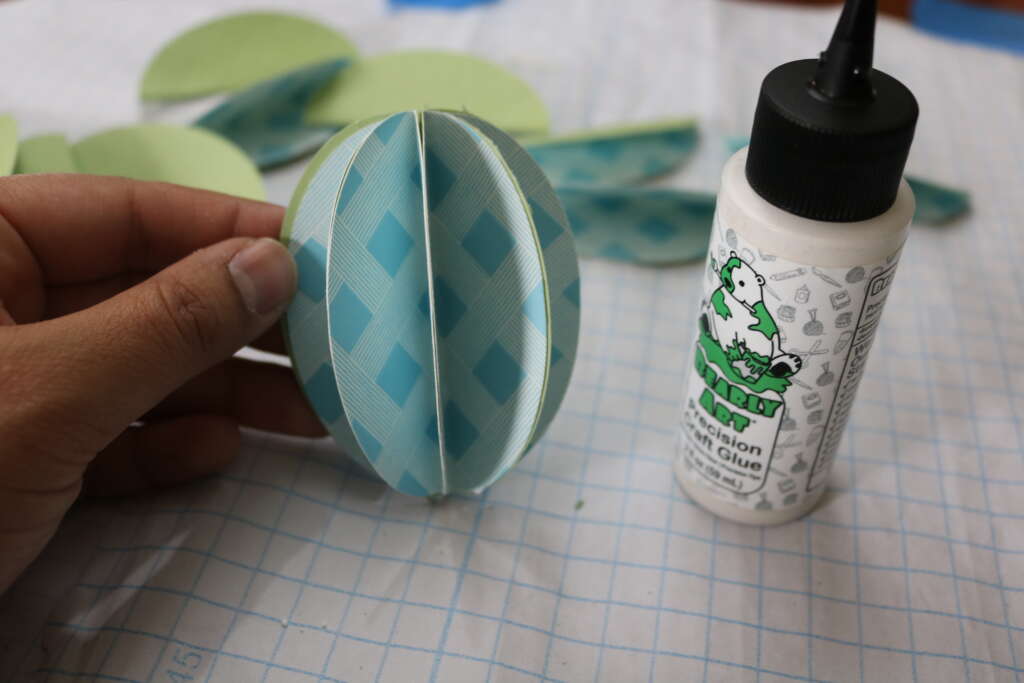
Glue one half of an egg, and place another egg on it.
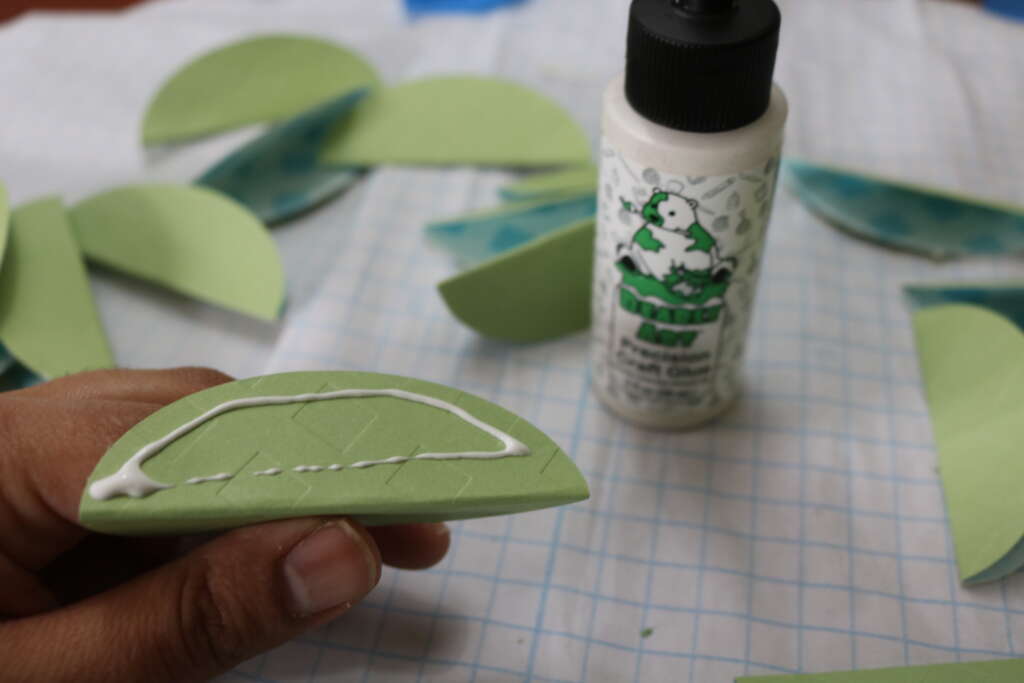
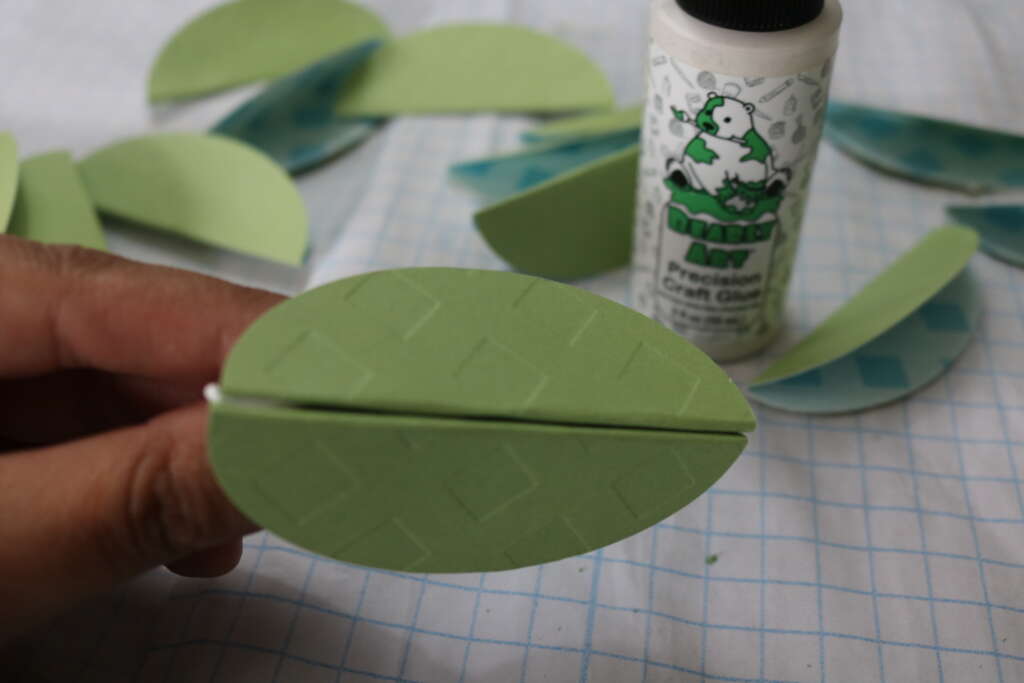
I used 8 pieces per egg. The more full you would like the eggs, the more individual egg shapes you will have to use.
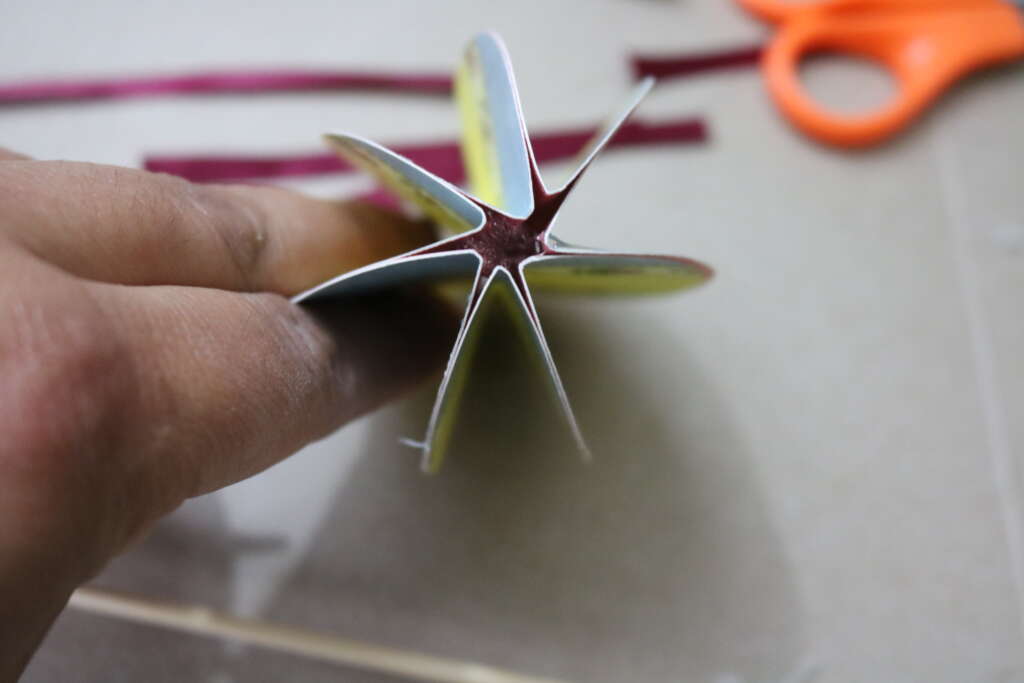
Glue the last sides together.

Keep repeating for as many eggs as you desire.
Hanging the Eggs
Place some hot glue in the hole on one end of the egg
Push some folded ribbon in the centre. I had to use a bamboo skewer to protect my fingers!
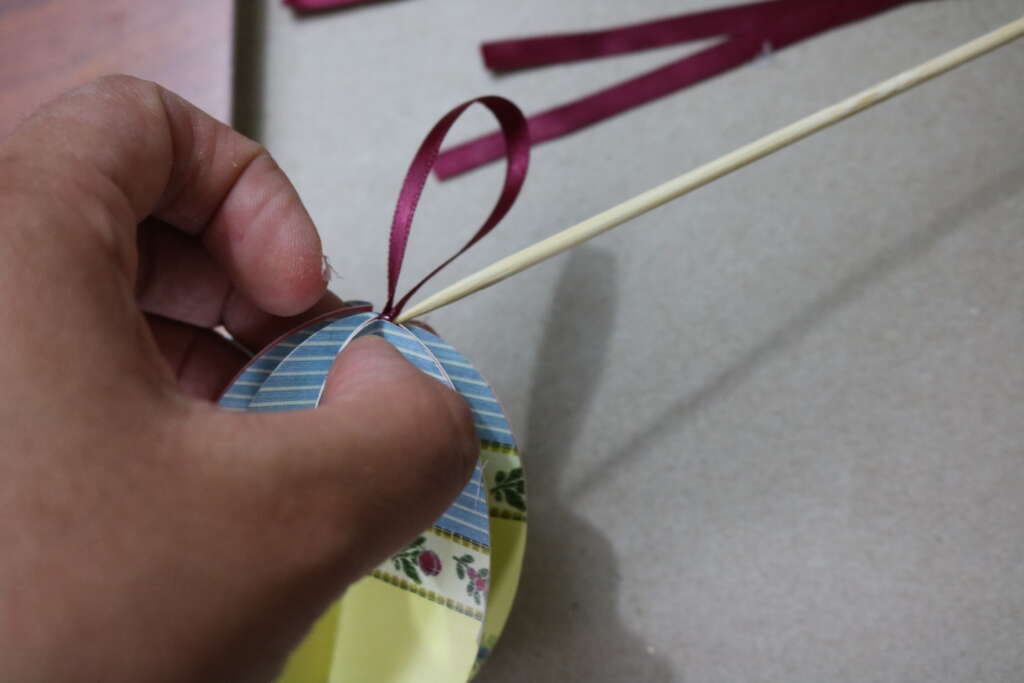
Pinch and hold in place for a moment to help the ribbon set in place.
Finishing Touches
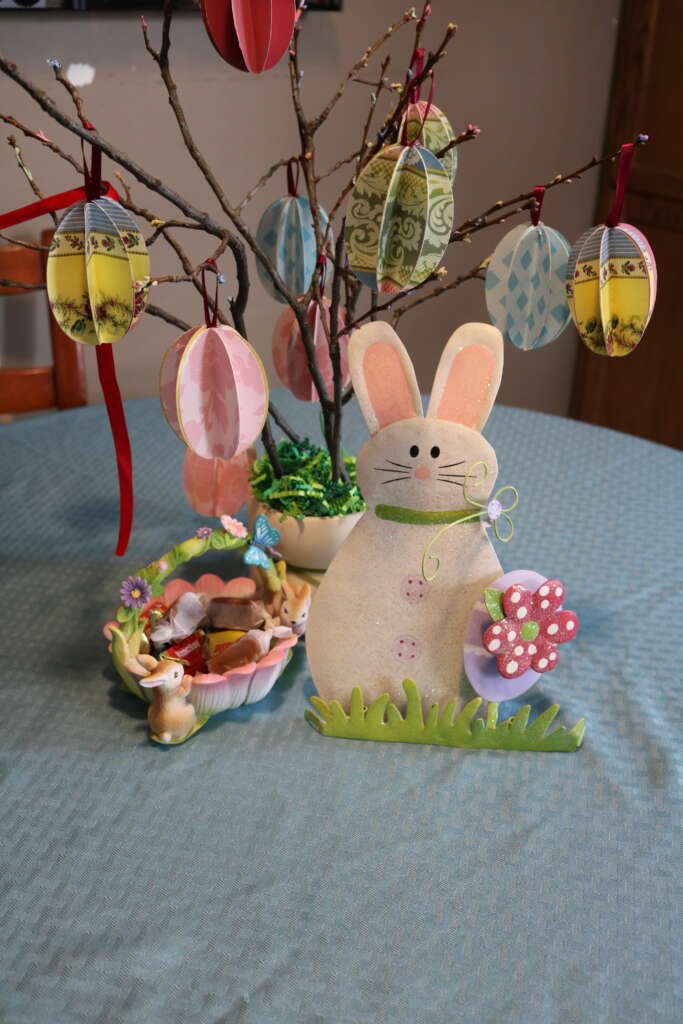
Hand the eggs to the tree and add some bunny candy!
Congratulations! We both just made a Spring tree centerpiece!
If you do decide to make this project, I would love to see your spin on it! You can email me at amrita@cozymagichome.com or find me on most social media sites under the user name @cozymagichome. Use hashtag #cozymagichome so I can find you easily!
Until next time, I hope the coziest, magical day.
Blessed Be,
Amrita
xo