
how to make a bunny bunting (cricut project)
With Ostara, Spring and Easter just around the corner, I wanted our place looking a little more festive. And there aren’t many things that add more whimsical cheer than bunting!
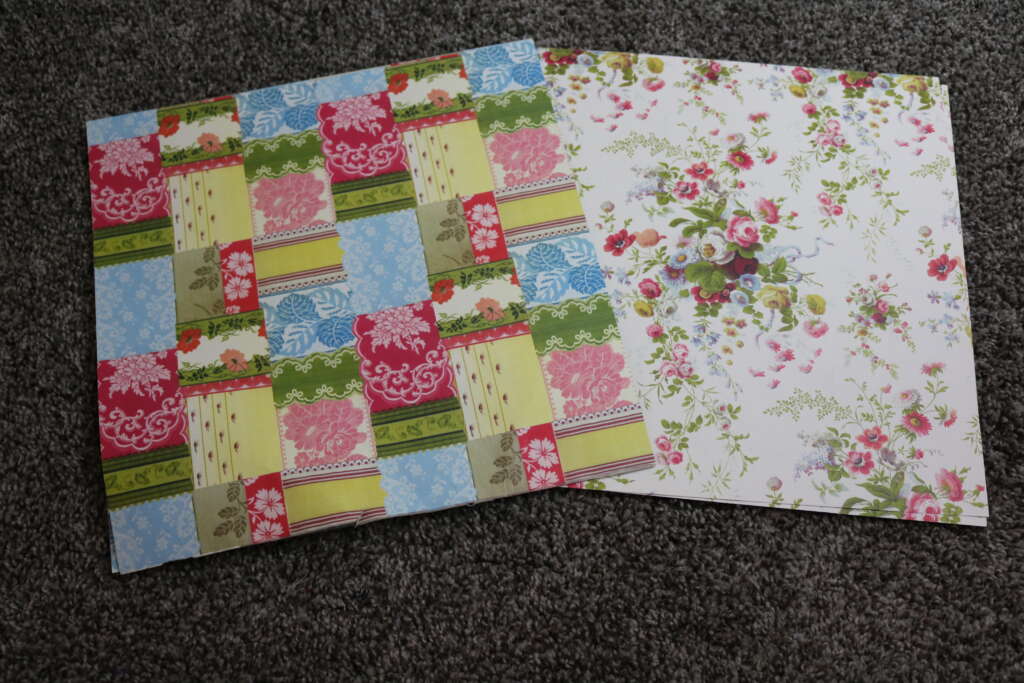
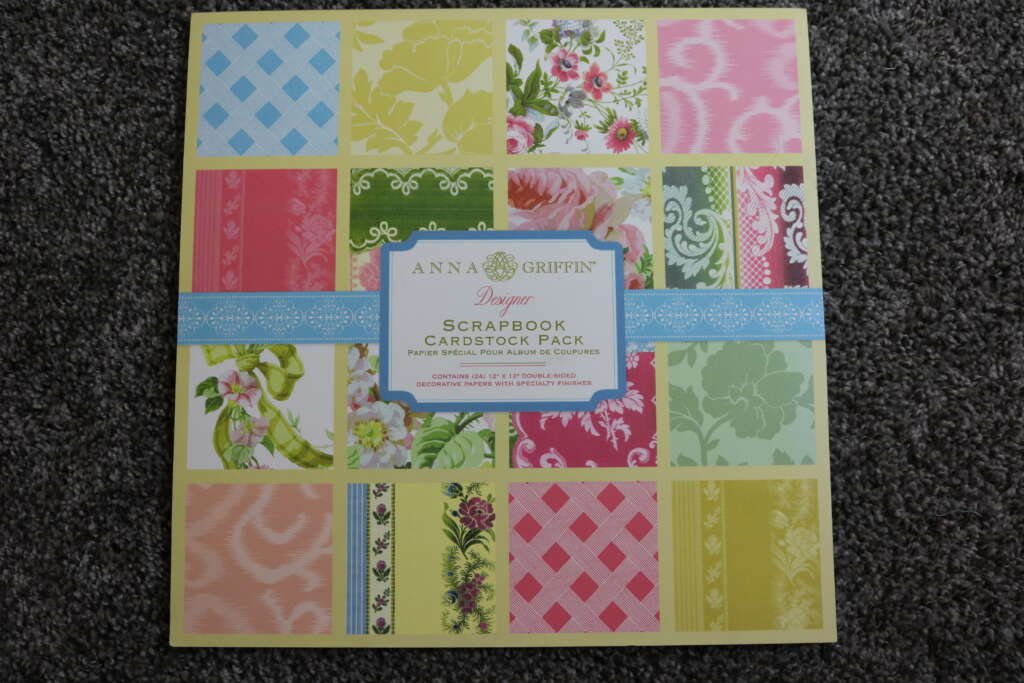
I had considered sewing some bunting similar to the cake bunting I had made. But in the end, I decided to use up some of scrapbooking paper I have. My Aunt is downsizing her scrapbook supplies, and let me have these gorgeous papers. Don’t they just ooze spring? side note: This set is by Anna Griffin, though I couldn’t find this exact set on her website.

There are lots of elements but I promise it isn’t complicate!
Without further ado, here is how I made this spring bunting.
Items Used
Cardstock (I used 16 12in x 12in pieces)
Scissors/paper cutter
Pencil
Gluestick
Hole Punch
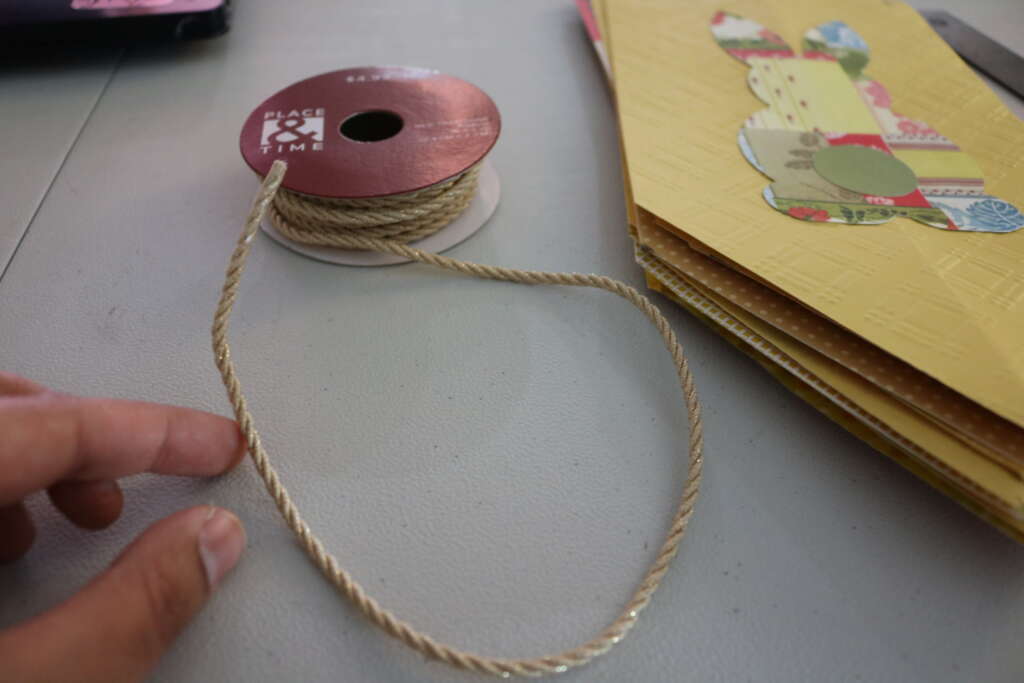
Wire ribbon (though twine, ribbon or yarn would also work)
Yarn Needle
Something to hold up bunting (thumbtacks, tape, blue tac, Command hooks etc).
If using printer
Printer
Pencil
Scissors
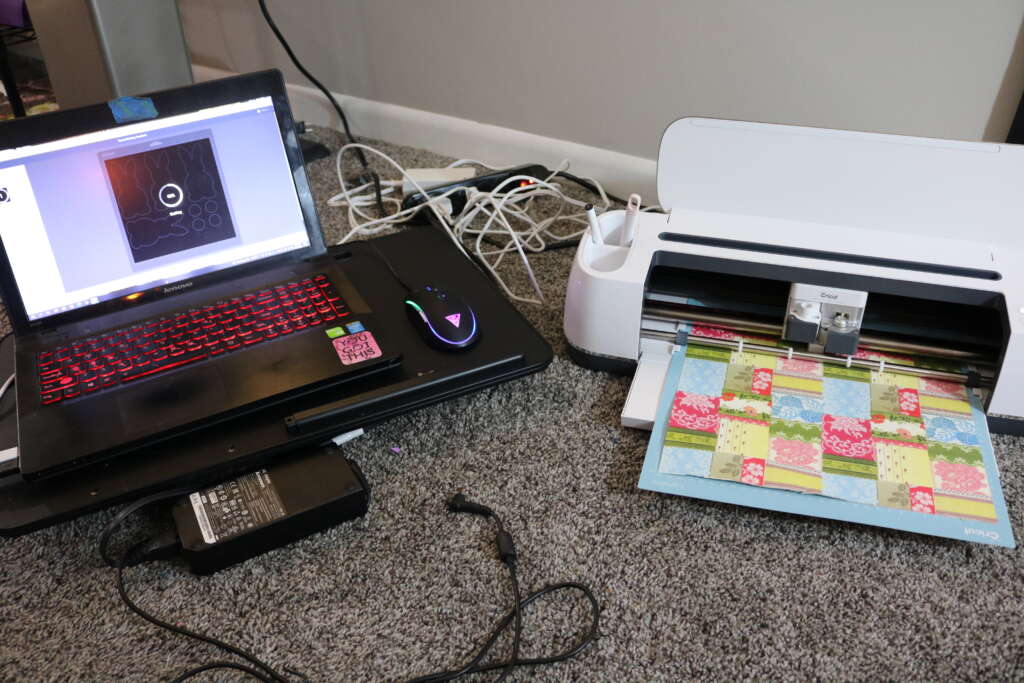
If using Cricut
Cricut (I have a Maker)
Preparing Bunnies
Printer Instructions
- Print out template
- Cut out the template
- Trace as many bunnies required onto cardstock
- Cut out bunnies
Adding Bunny Tails (optional step)
- Trace out a coin the size of a U.S. quarter on white card/paper
- Using a glue stick, glue the tails on to the bunnies
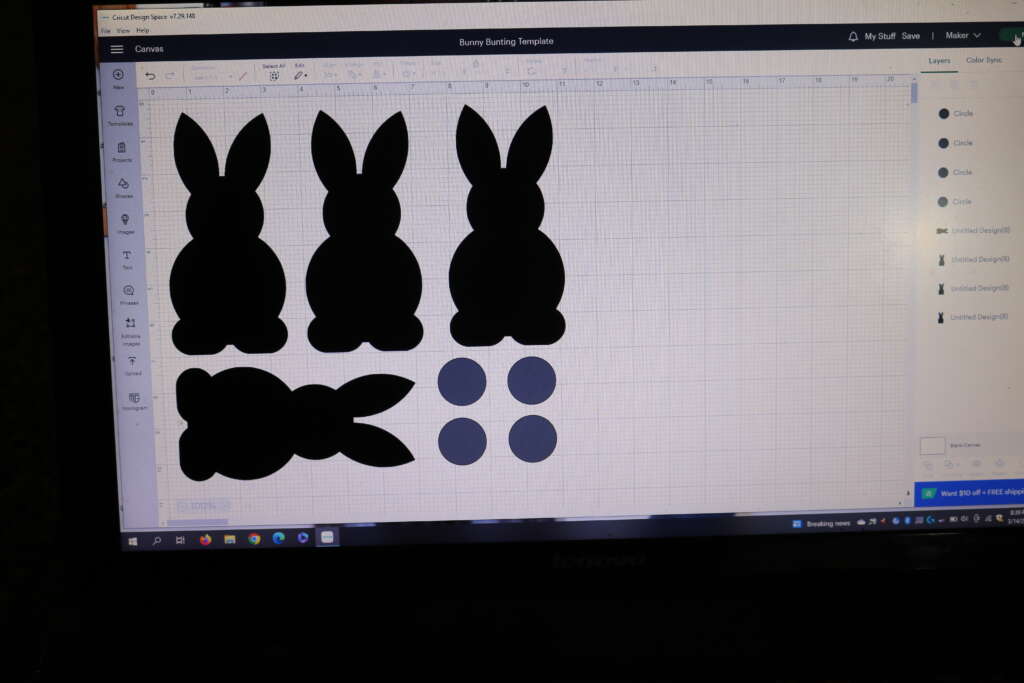
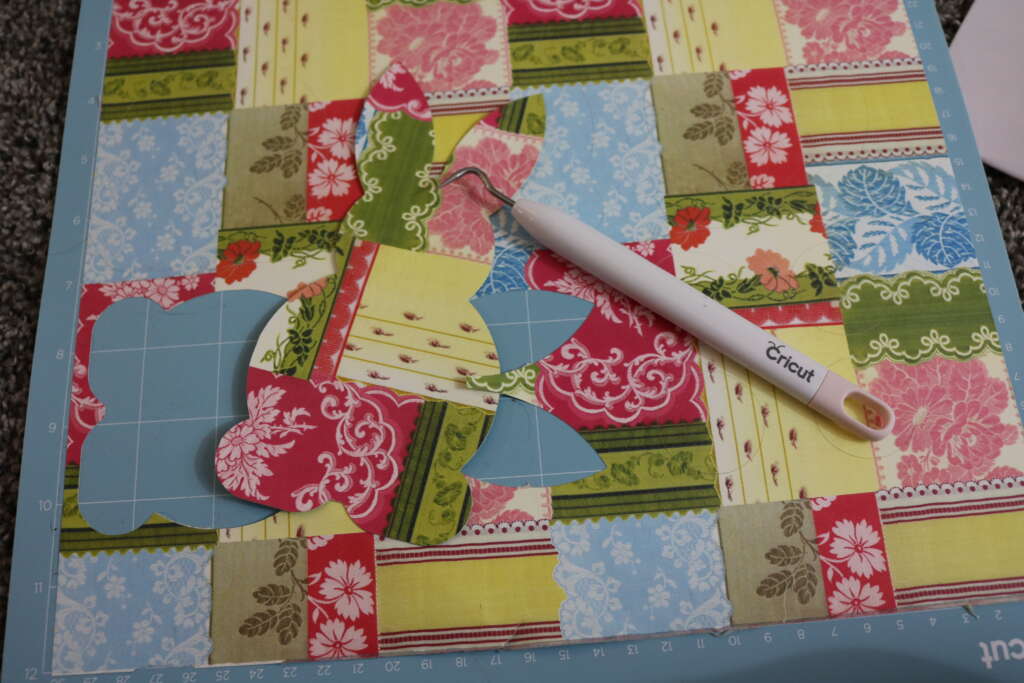
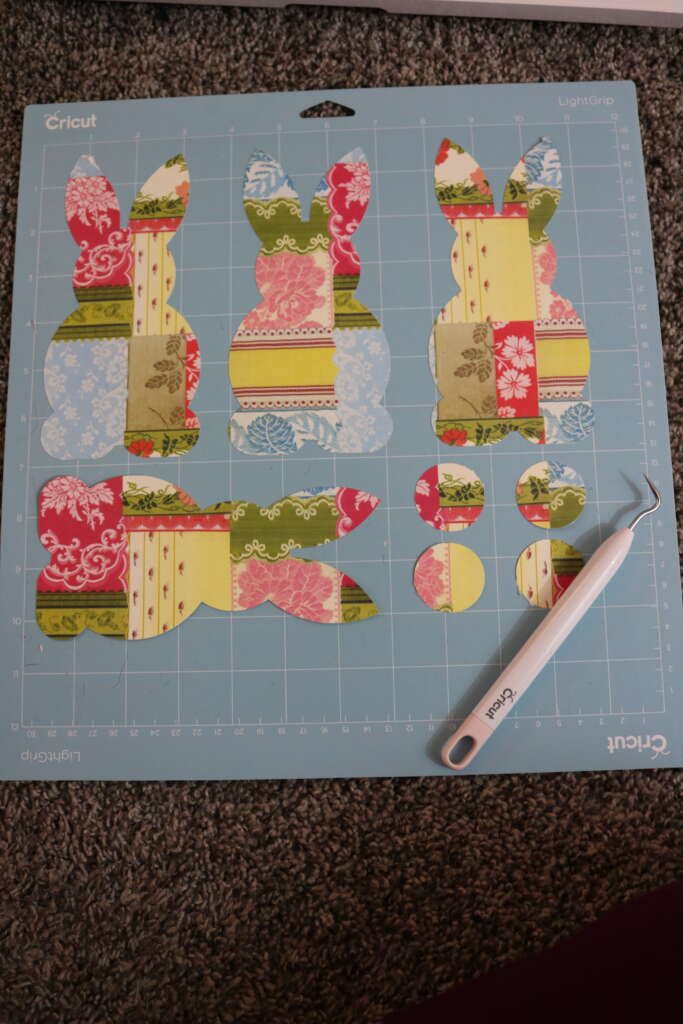
Cricut Instructions
- Follow this link to open bunny template in Design Space: https://design.cricut.com/landing/project-detail/640e6f47180f70fe64273a1a
- Customize design as required
- Cut out bunnies and tails
Gonfalon Banner Instructions
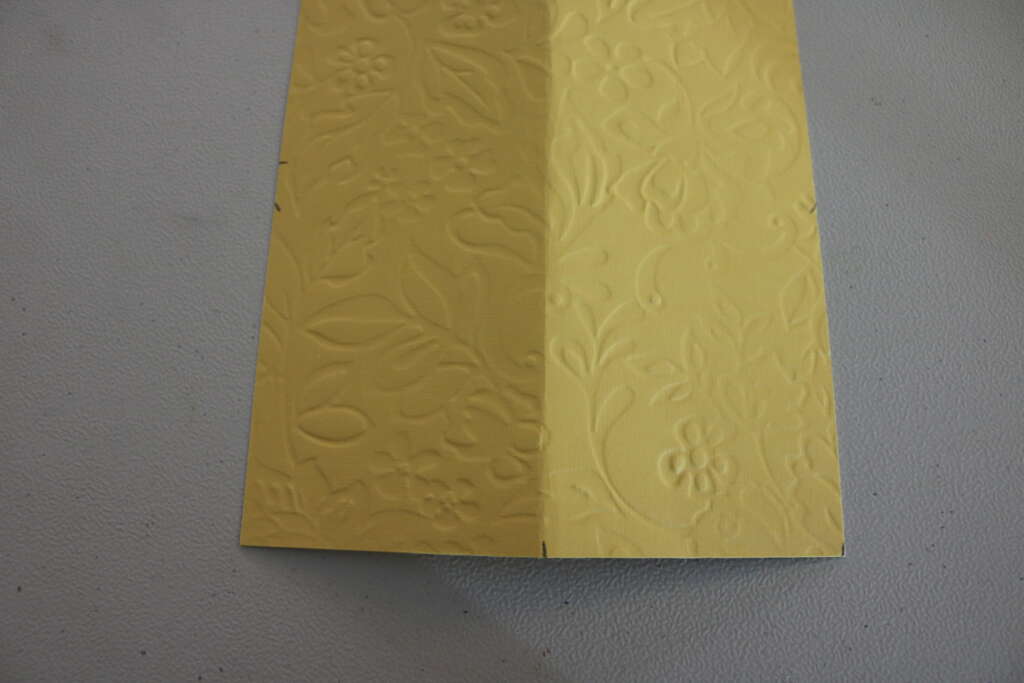
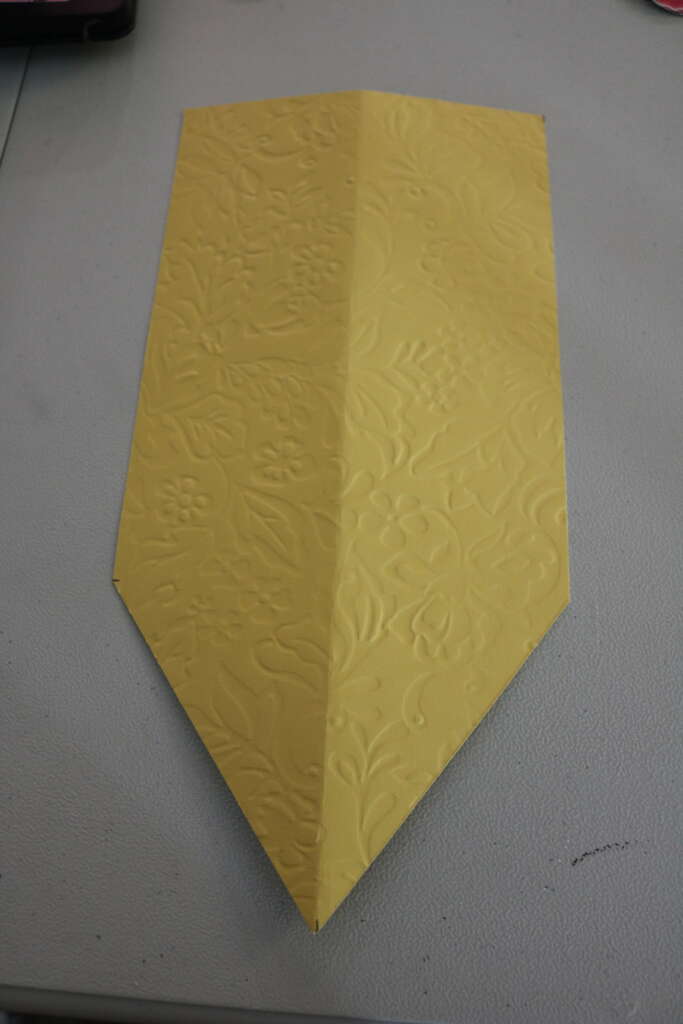
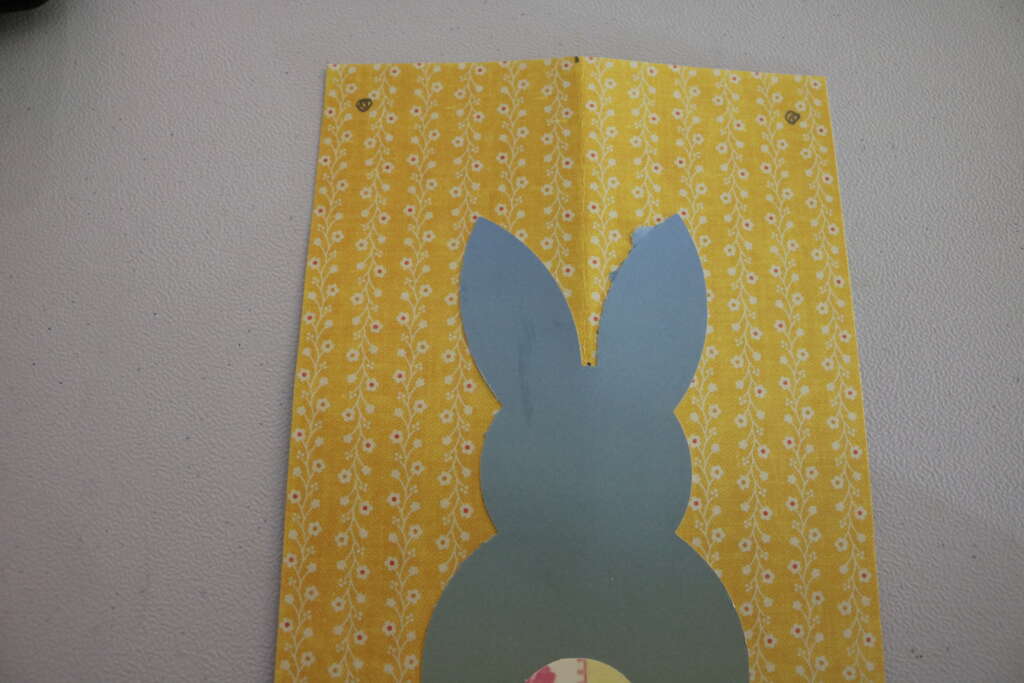
- Fold an A4 size paper in lengthwise.
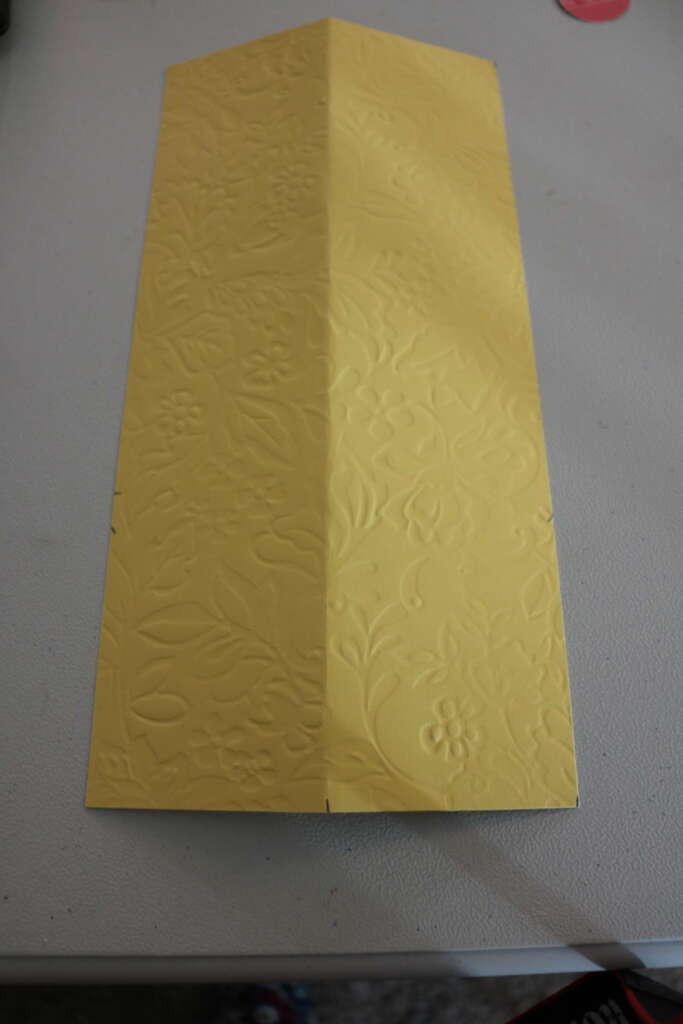
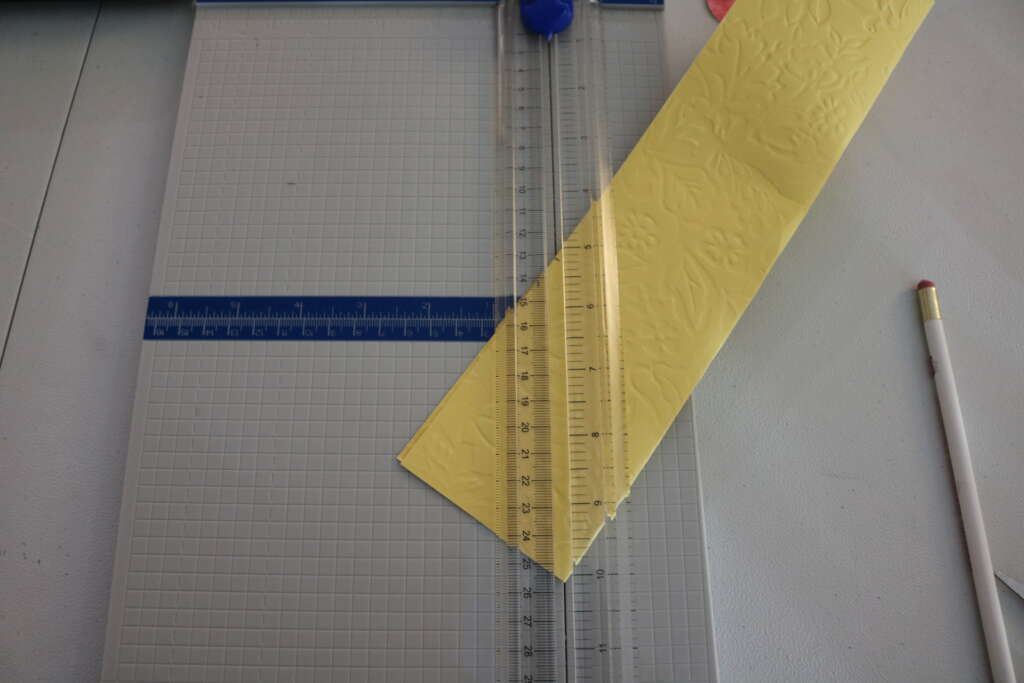
2. Cut the individual banners in accordance to the below picture:
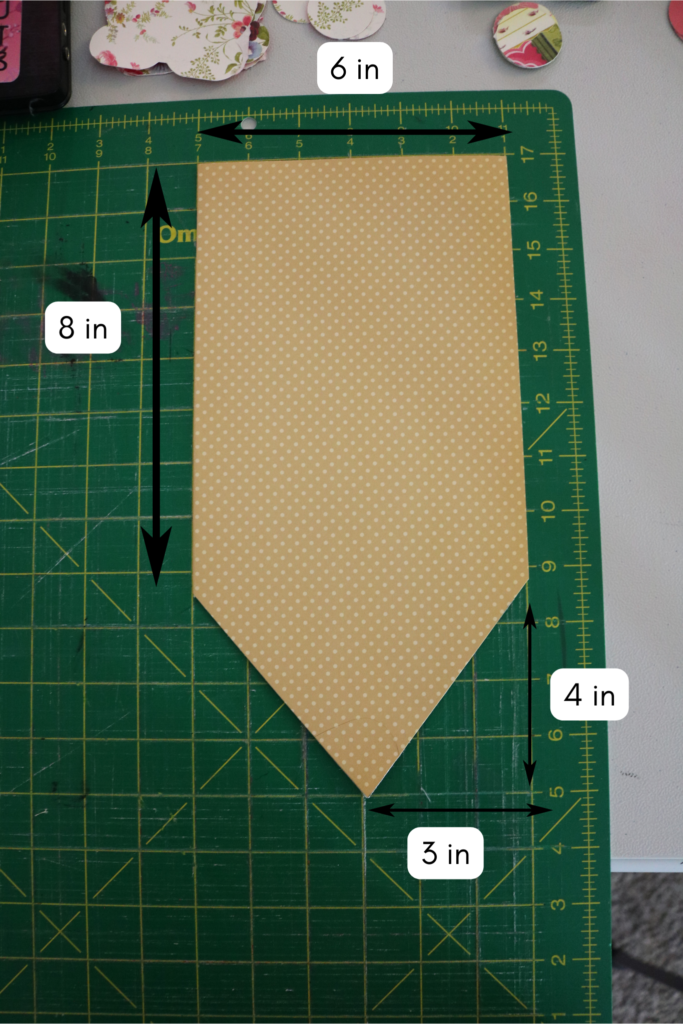
3. Repeat for as many bunnies you have.
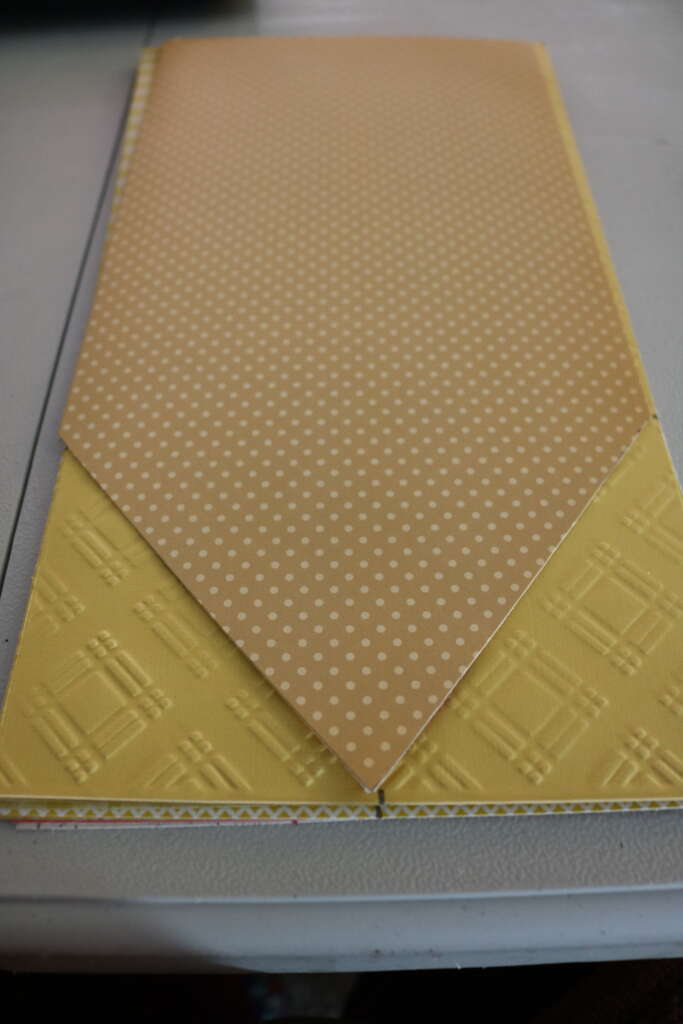

Constructing Pennants
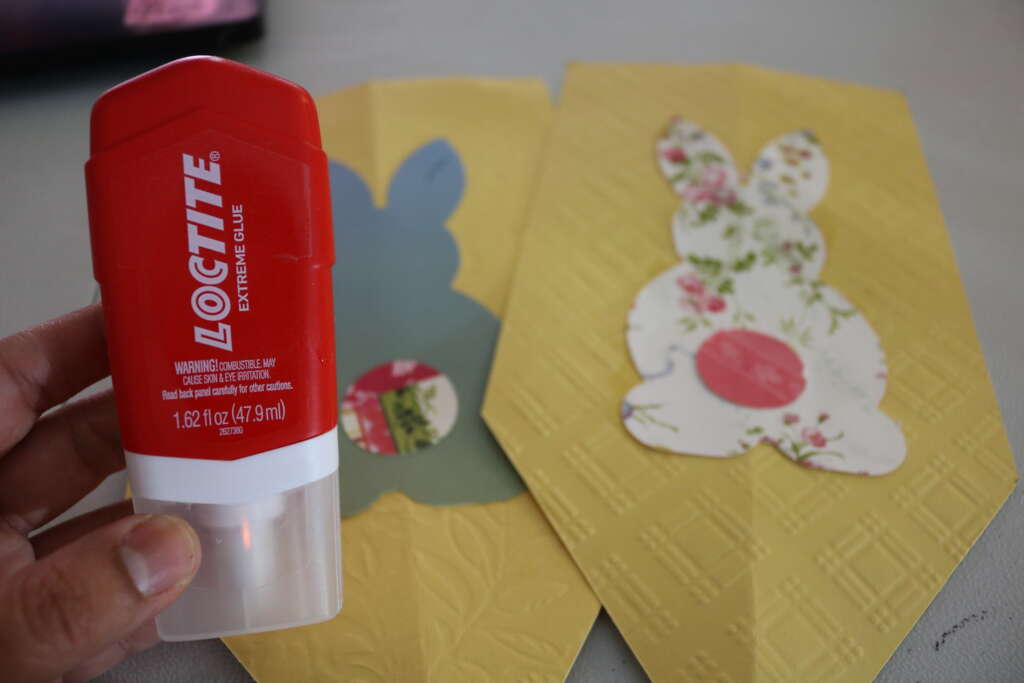
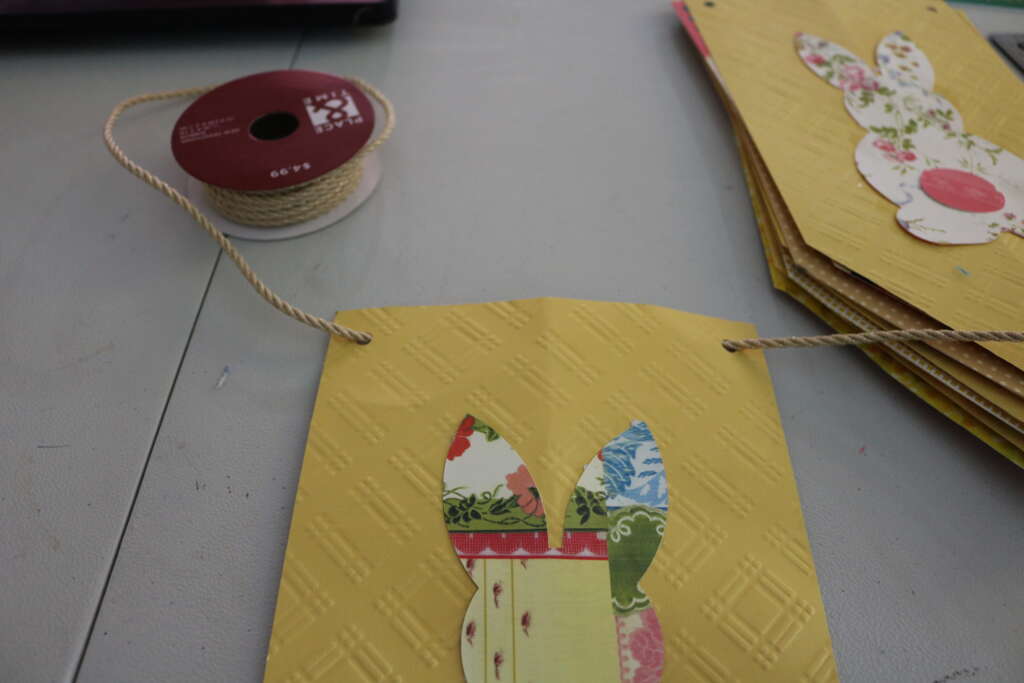
- Glue the tails on the bunnies.
- Glue the bunnies to the pennants
- (optional step) Use additional embellishments on pennants.
note: I was used a regular gluestick to stick the bunnies on the pennants, but some of the pennants were embossed, and this loctite glue worked well to stick the thicker cards.
Constructing Banner
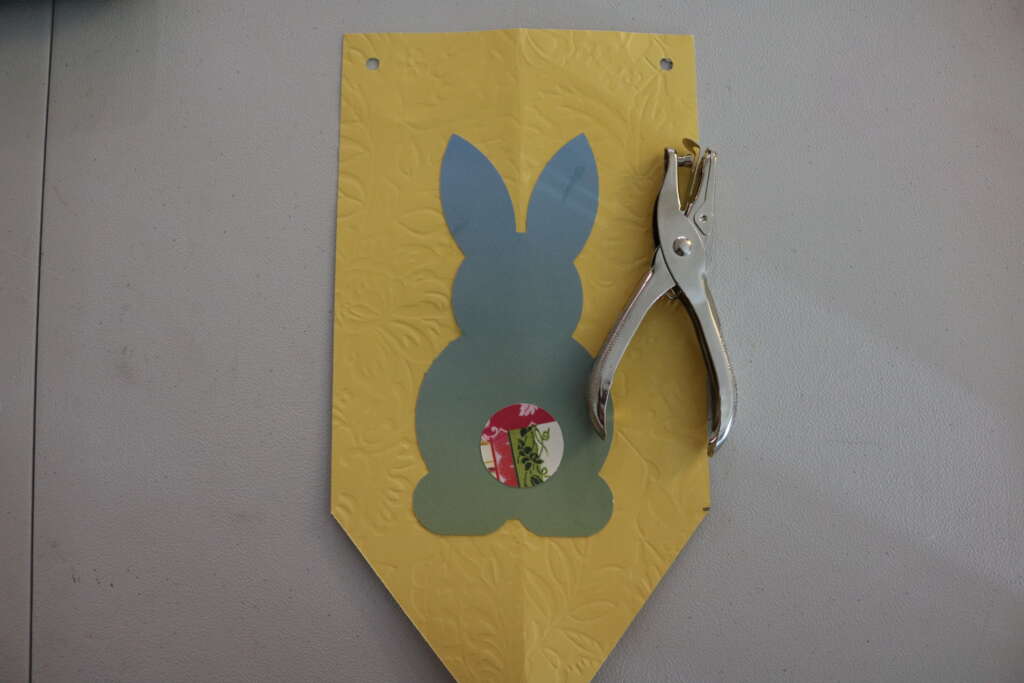
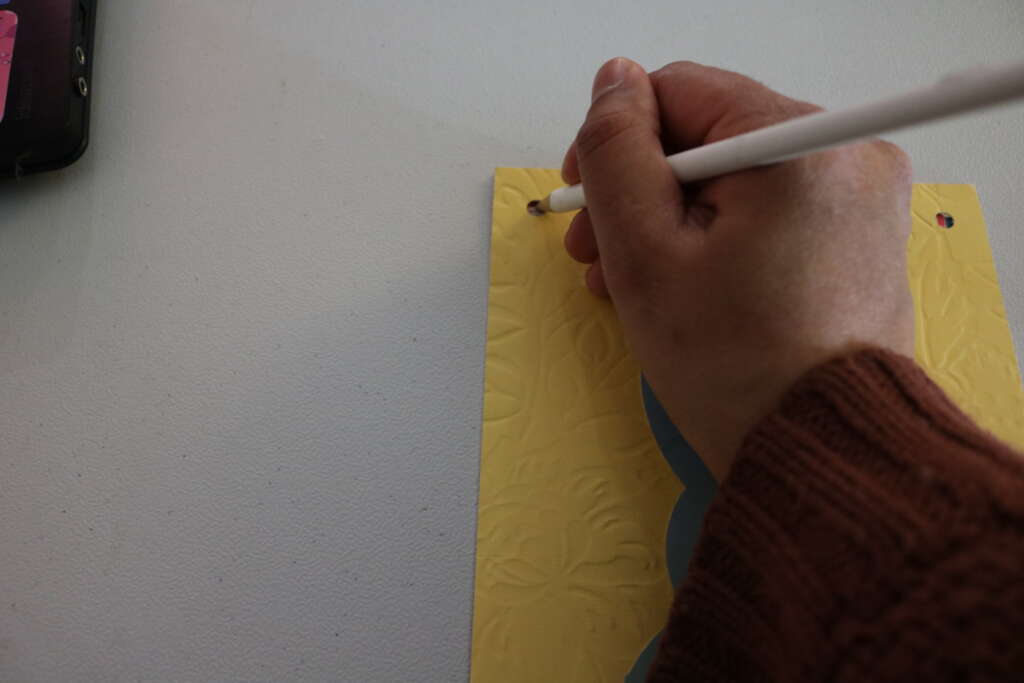
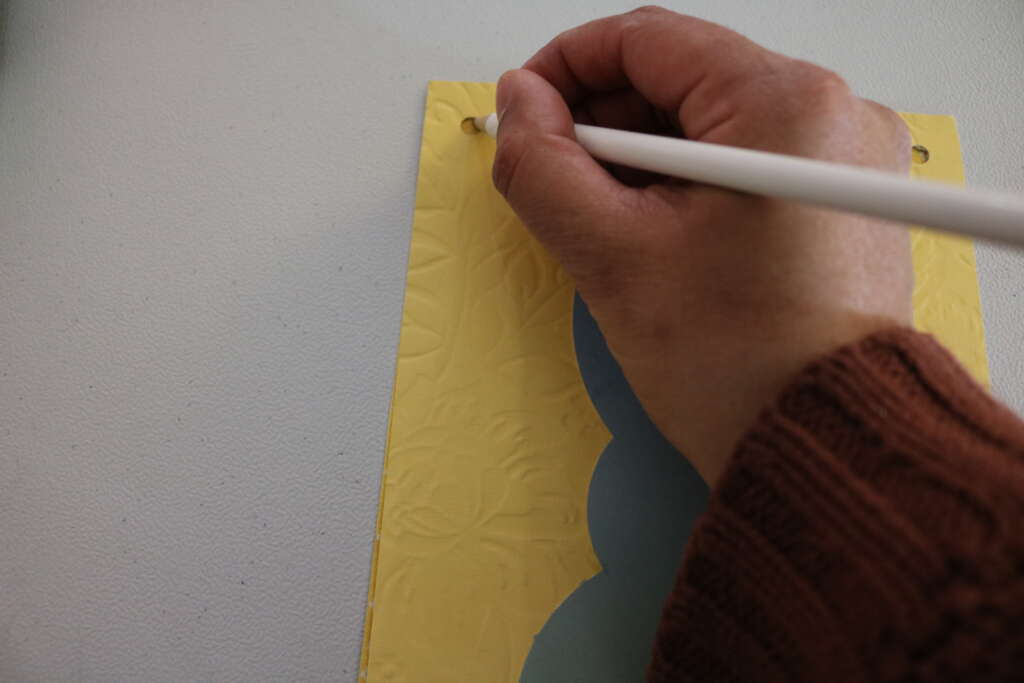
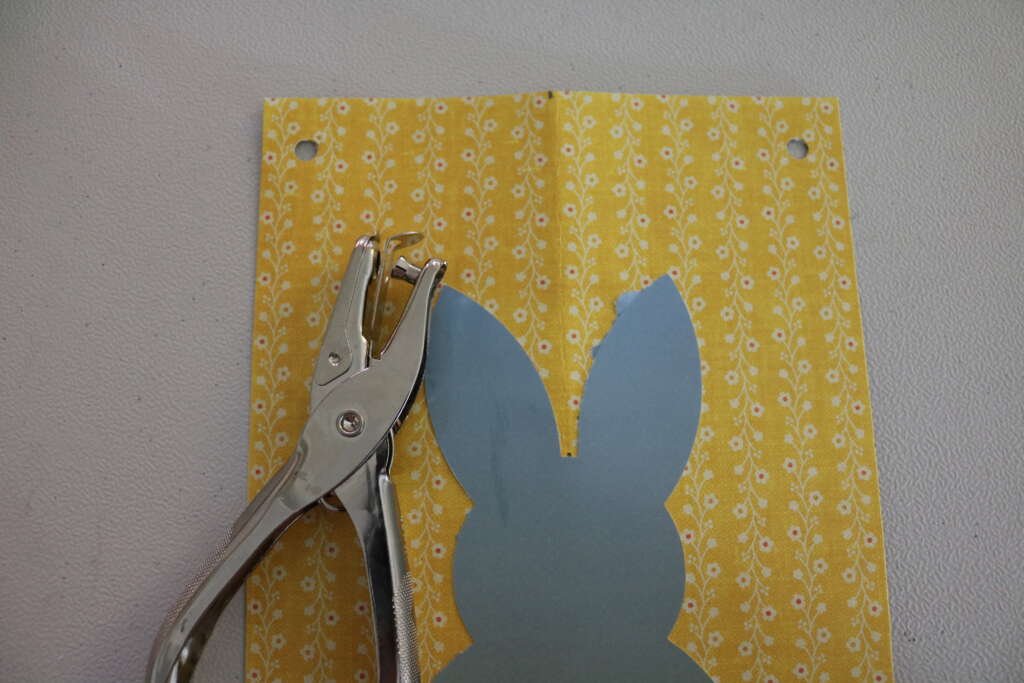
Mark approximately 0.5 in across and down from the top edge, make a hole with a hole punch.
Use the banner with holes to mark hole placement with a pencil on to the other banners, and punch a hole.
Using a yarn needle, sew ribbon, yarn or twine through the hole (my wired ribbon had tape wrapped around the end, so I was able to slip it through without a needle).
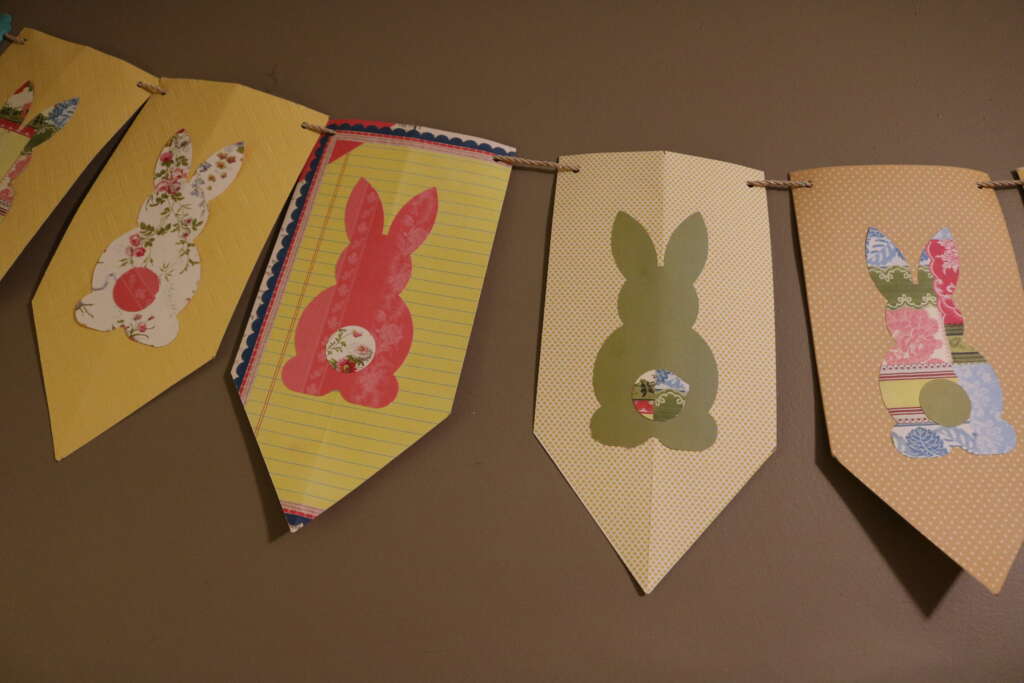
Your bunting is complete!
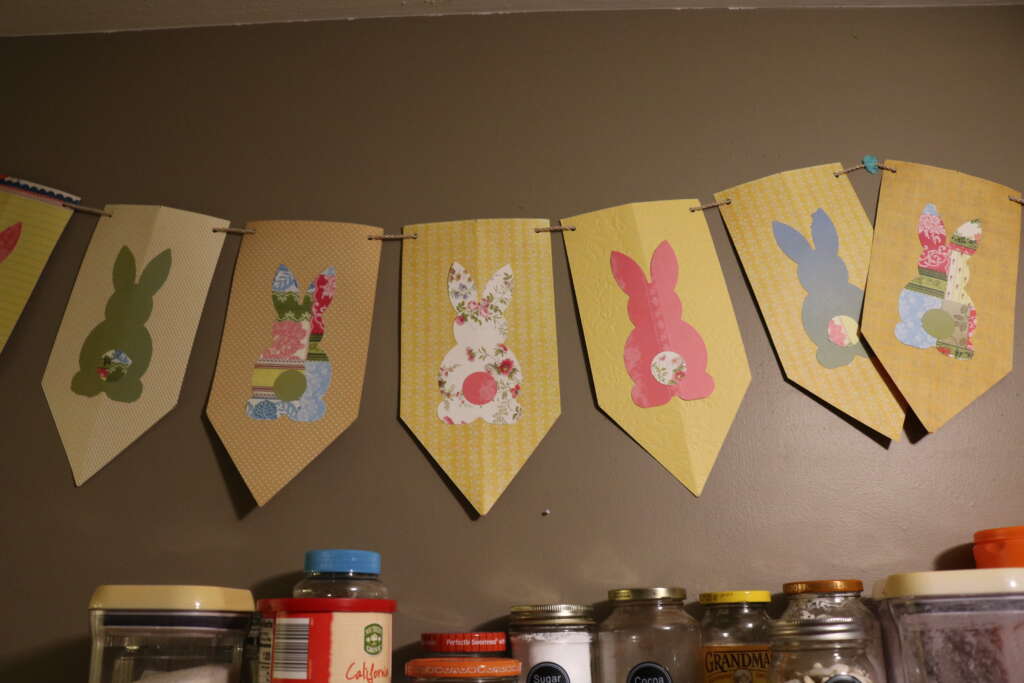
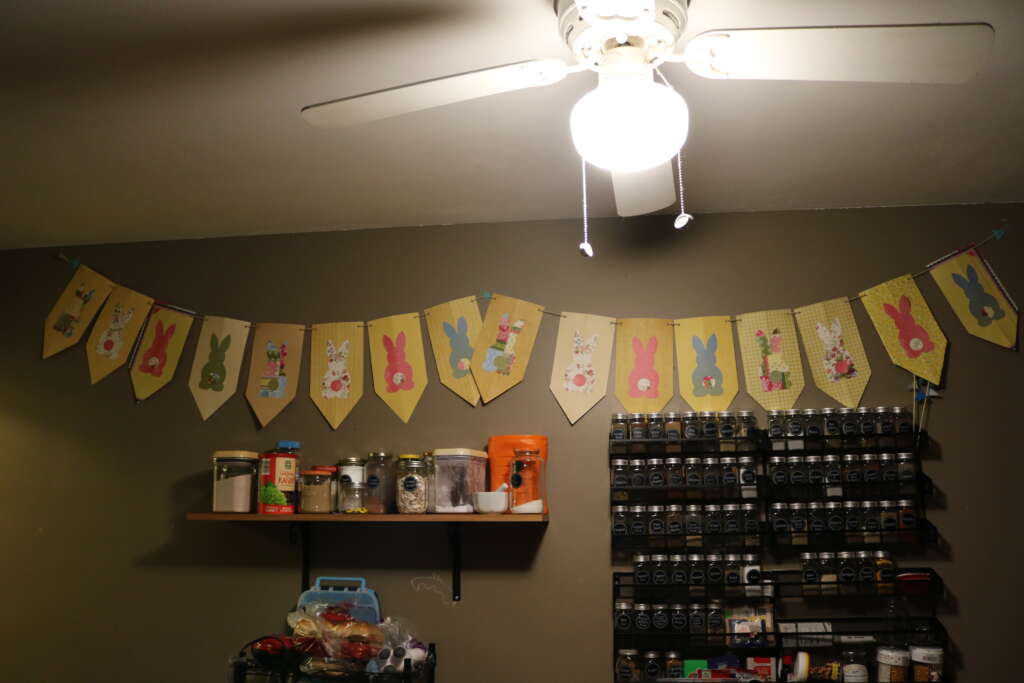
I’m displaying mine in my kitchen, where will you be putting up yours?
If you do decide to make this project, I would love to see your spin on it! You can email me at amrita@cozymagichome.com or find me on Facebook, Instagram, TikTok or YouTube. Use hashtag #cozymagichome so I can find you easily!
Until next time, I hope the coziest, magical day.
Blessed Be,
Amrita
xo